Assigning the Design area of the product is an essential to enable the customization of any product. It is even more essential to add the design area and assign it to your products. To add the design area stick to the following steps:
-
- Go to the Magento backend dashboard.
- In the left panel go to CATALOG -> PRODUCTS -> Select the product you wish to add customization to -> Click EDIT, it will redirect you to the product configuration page.
- Go to the Images and Videos Tab.
- Here, you will find a Brush Button at the upper-right corner of the uploaded product image.

-
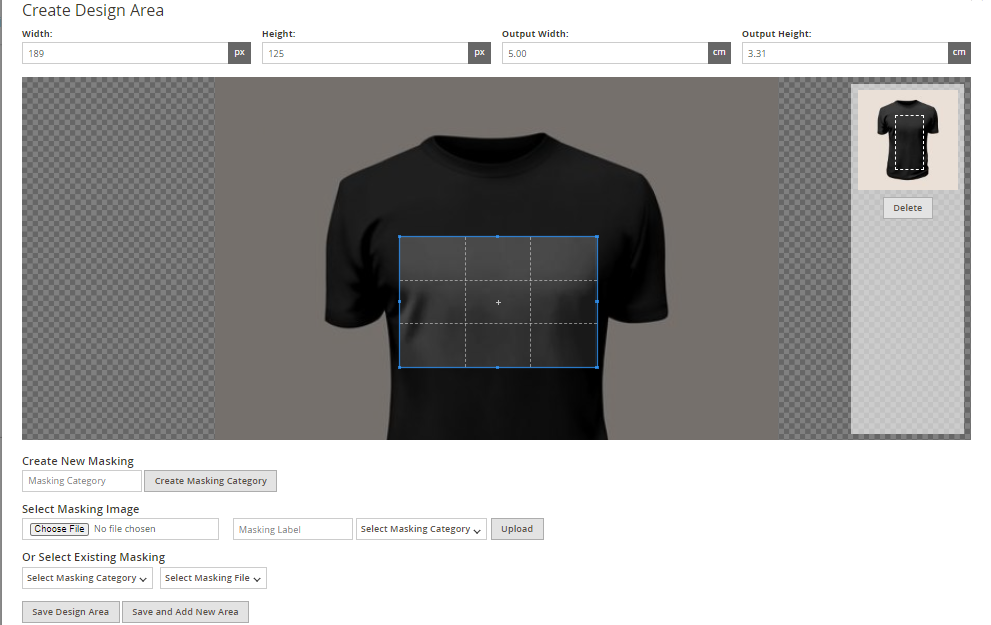
- As soon as you’ll click on it, another pop-up named “Create Design area” will appear.

- As soon as you’ll click on it, another pop-up named “Create Design area” will appear.
- Drag the selection bar as per your choices
- Select the design area as per your wish and click the “Save design area” button. Also, with our premium version you can add multiple design areas using the “Save and add New Area” button.


