


You can add your products for customization by enabling the product designer button. Whether you want to add product customization on your existing products or on new products, go around with the following steps:
Login to Backend
Navigate to the Catalog ➤ Products; you will land on the “Products” page. Now open the product in Edit mode you wish to customize.
Scroll down to the Product Designer tab.
Activate the “Enable Product Designer” switch. This will enable that particular product for customization on your store-front.

Three important things/settings to keep in mind while adding your products for customization:
- You should assign the sides to the product image.
- Assign the Design Areas to the product.
- Enable the “Design it” button for your store-front.
In the left panel, go to STORE ➤ CONFIGURATION ➤ Under the PrintXpand tab, click on “Product Designer Settings” ➤ Go to the “General Settings” tab -> Enable the “Design button on category page” field.
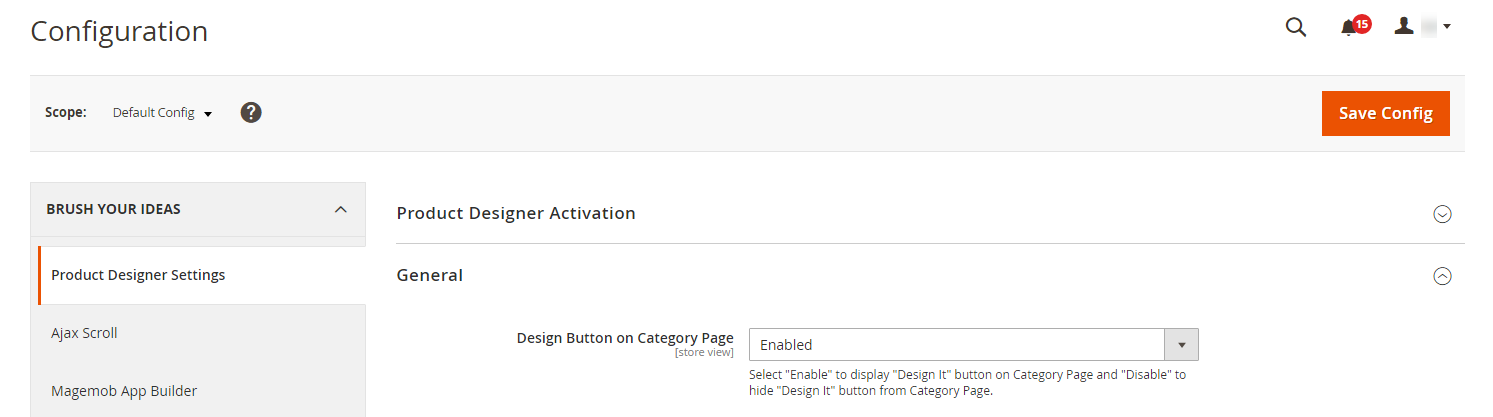 After configuration, click on the “Save Config” button to save the configuration.


