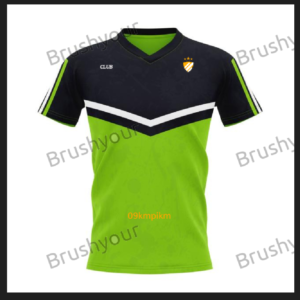
PrintXpand designer tool lets your customers download an image of their product designs. You can set a ‘watermark’ for all downloadable images. You can display the watermark previewing the designed product.
Login to Backend
The customers can see the watermarked product image when they preview and download the designed product. To set the watermark to be displayed, go to Stores → Configuration → Watermark.
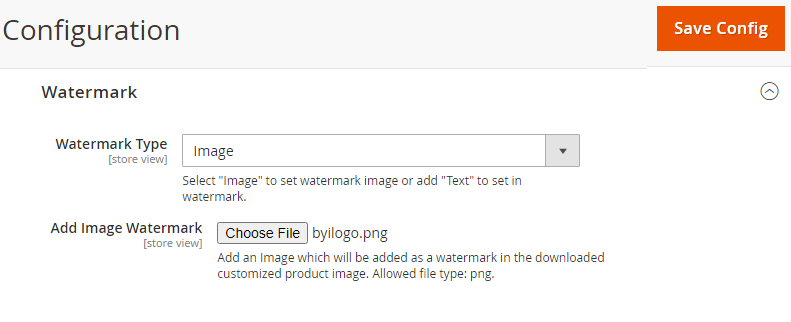 Configure the following options for the Watermark:
Watermark Type: By selecting the watermark, choose the available options to set the watermark as ‘Image Or ‘Text’.
Image Watermark: Choose and upload an image that you want to add as a watermark when customers preview and download the designed products. The image must be in PNG format.
After selecting the image, click on the “Save Config” button to save the uploaded image.
After saving the configuration, you will see the uploaded image besides the “Add Image Watermark”.
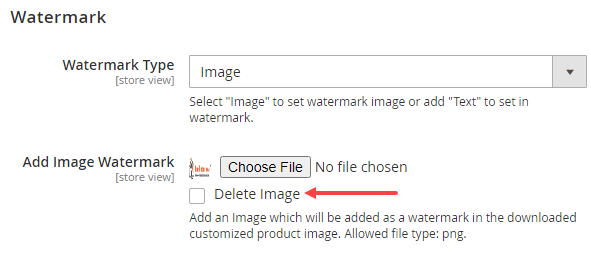 Delete Image: To delete the uploaded watermark image, check the “Delete Image” checkbox and click on the Save button. After saving the configuration, the image will be deleted.
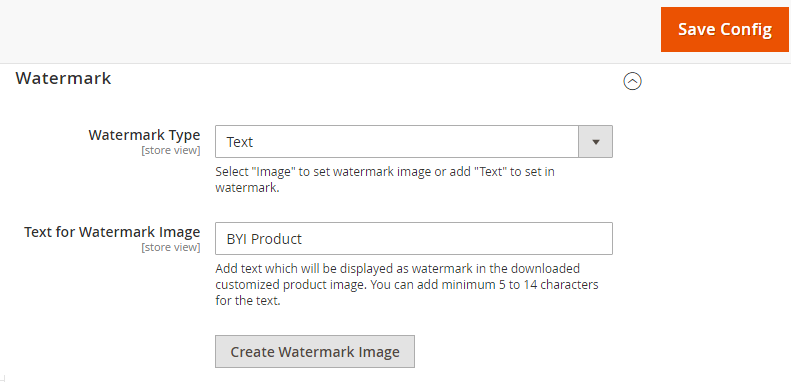
Text for Watermark Image: Insert the text to be displayed as a watermark in the designed product’s preview and downloaded image.
You must create a watermark image to display the text as a watermark. Click on “Create Watermark Image” to create a watermark image.
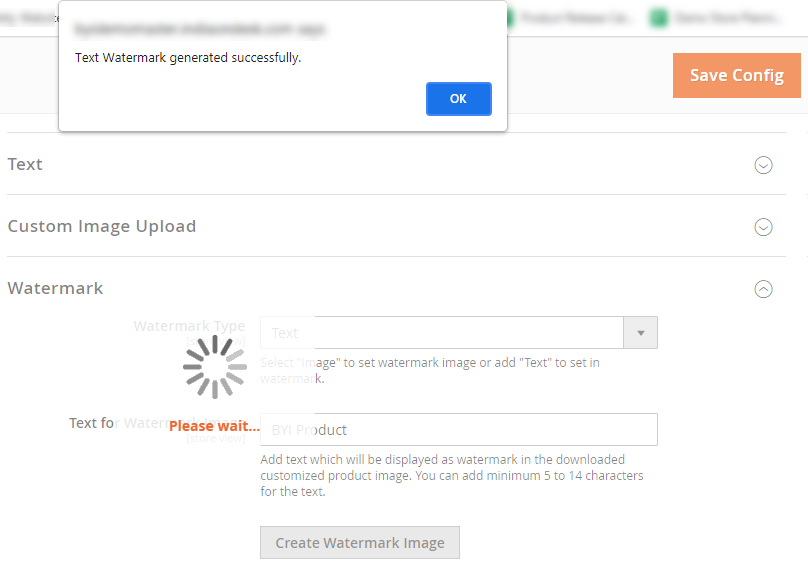
You will get a popup message when the Text Watermark is generated. Click on OK and Save the configuration.
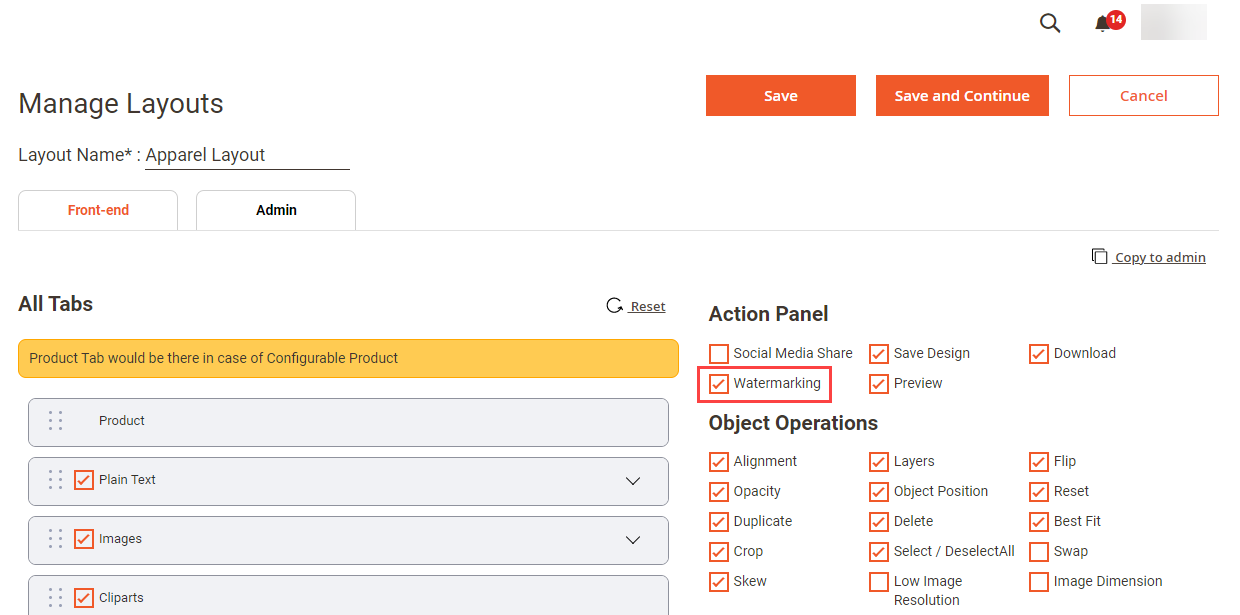
You must enable the Watermark from the Product Designer → Manage Layout → Enable “Watermarking”. You need to enable the watermarking option to add the watermark during the download of the designed product.
 After selecting the image, click on the “Save Config” button to save the uploaded image.
Frontend
After applying the watermark when you download the product image, it will be having the watermark.
