In this article, you will get to know how to enable safe and cut Line on Product Level.
Login to Backend
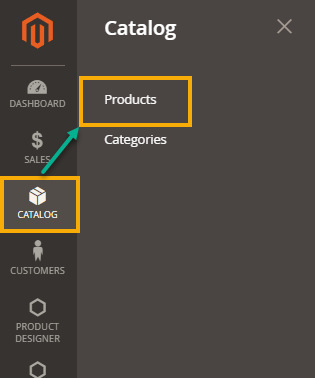
Navigate to Catalog -> Products.
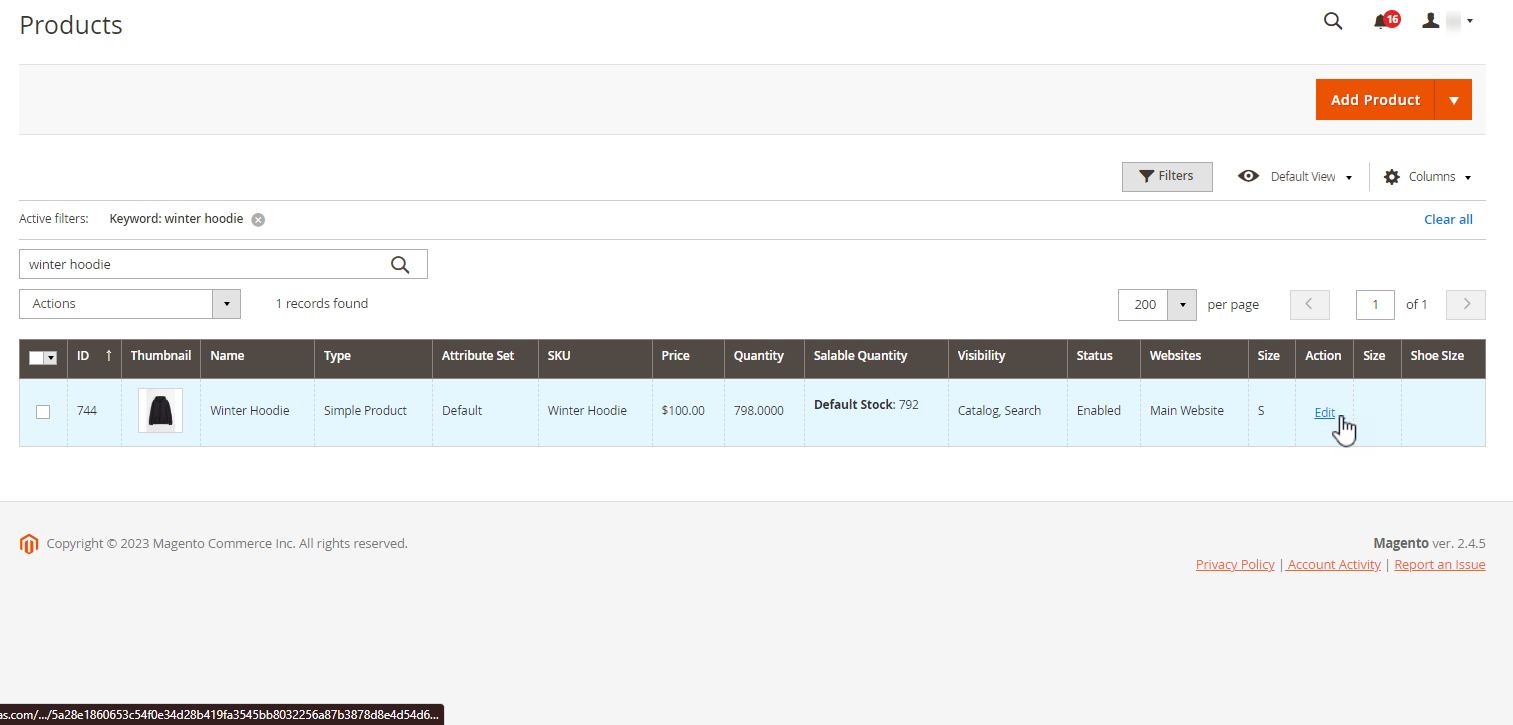
You will land on the Products page where a list of all the added products are displayed. Now, to set a safe and cut line, you have to click on the Edit button on the Action column.
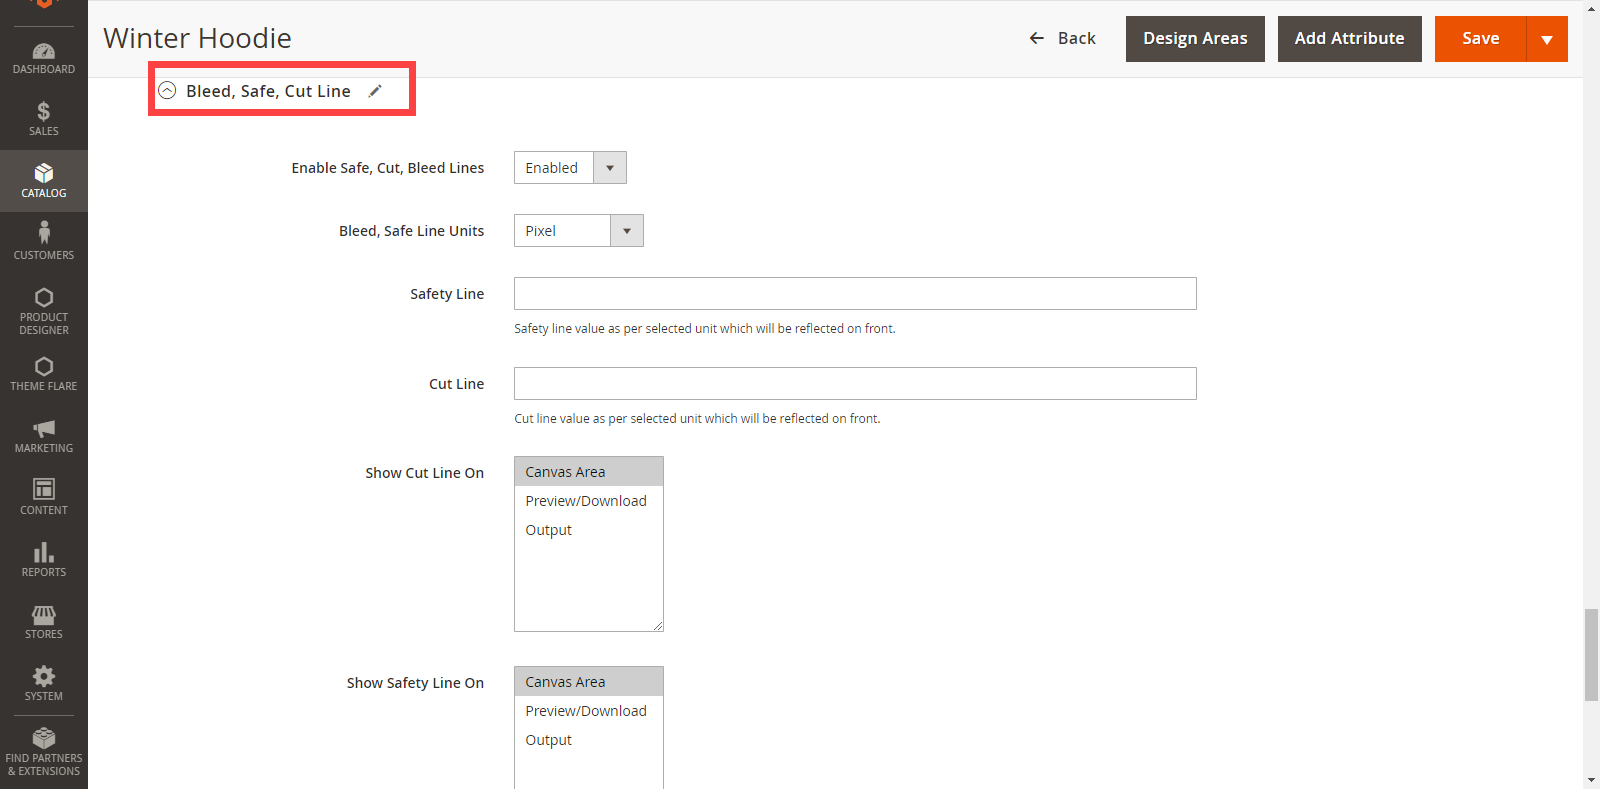
By doing so, you will land on the Edit Page of the product. Scroll down to the Product Designer drop down section and here click on the Bleed, Safe, Cut Line drop down section.
Here, you will see the Enable Safe, Cut, Bleed Lines drop down menu.
Here, you have to fill the following fields accordingly :-
- Bleed Safe Line Units : Here select the Units as per your convenience.
- Safety Line : Here set the value for the safety according to the unit you have selected.
- Cut Line : Set the value for the cut line according to the unit you have selected.
- Show Cut Line on : Select the area that you want to display the cut line on.
- Show Safety Line On : Select the area that you want to display the safety line on.
Explore how you can enable safe, cut and bleed lines on product level through this article.