


The spine width is nothing but the number of pages and the thickness of the page. The wider the spine width more are the pages available for printing. With the PrintXpand Product Designer Tool, admins can easily set the spine width for a Photobook. Here is how you can configure the spine width.
Login to Backend
Navigate to the Product Designer ➤ Manage Spine Width, you will land on the Manage Spine Width page. Here, you will get all the added spine width lists. Now click on the Add Spine Width button and do the below configurations.

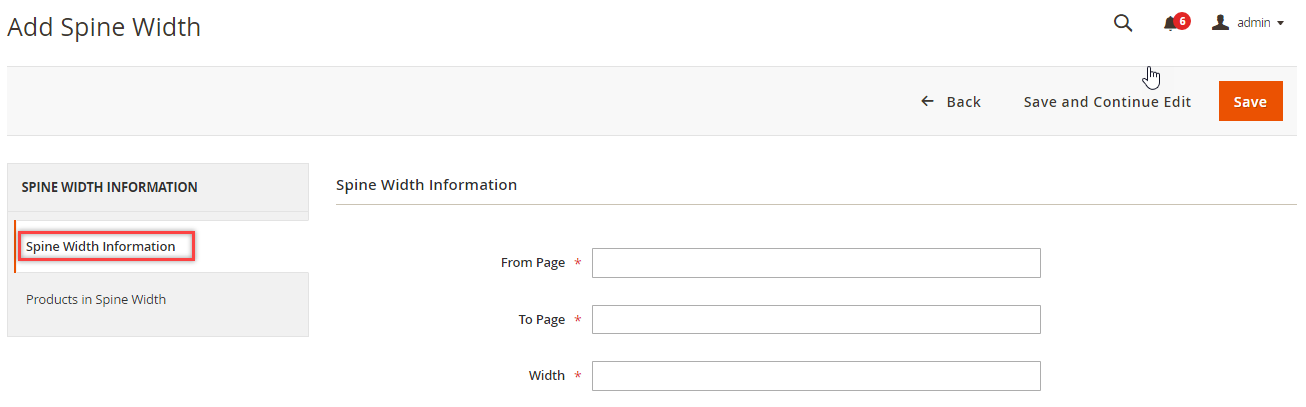
Spine Width Information
From Page: Insert page no. from where the album pages are added.
To Page: Insert page no. after which your customers can’t add more pages.
Width: Insert the width in pixels as per the pages.
Products in Spine Width
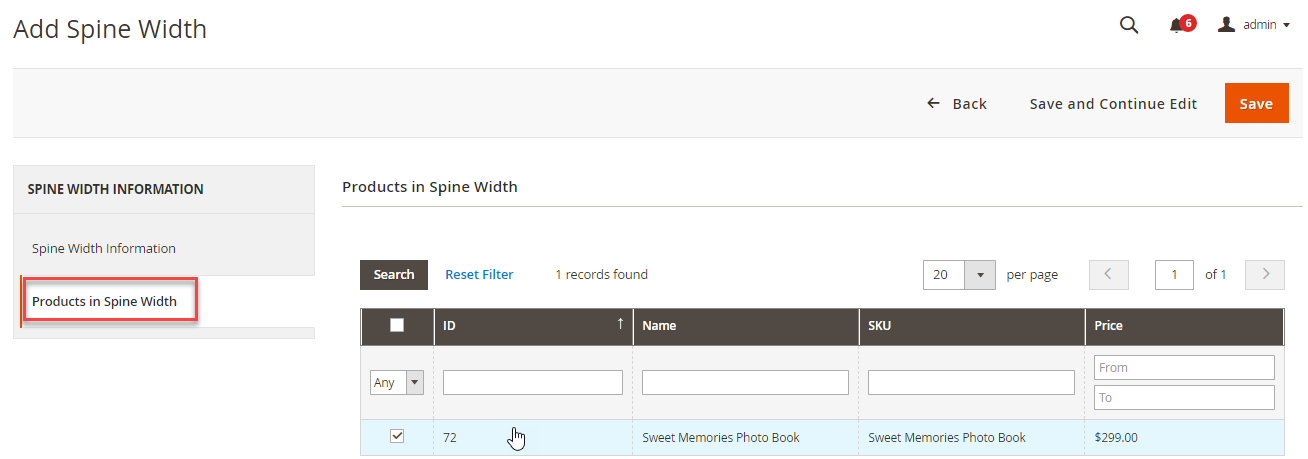
In this section, you will get all the list of the Photo Book products. Now you have to select the product for newly created spine width.
After all the configurations, click on the Save button to save the configurations.

Later you can edit the spine width by clicking on the Edit button under the Action column. To delete any spine width, click on the Delete button from the Action dropdown and click on the Submit button.


