


You can add an image on each side of the product for customization or restrict customization to one side as per your product compatibility. This will directly reflect on the frontend after the backend configurations.
Login to Backend
Navigate to Product Designer ➤ Manage Image Sides; you will land on the “Manage Image Sides” page. Here you can manage the image sides of the products.
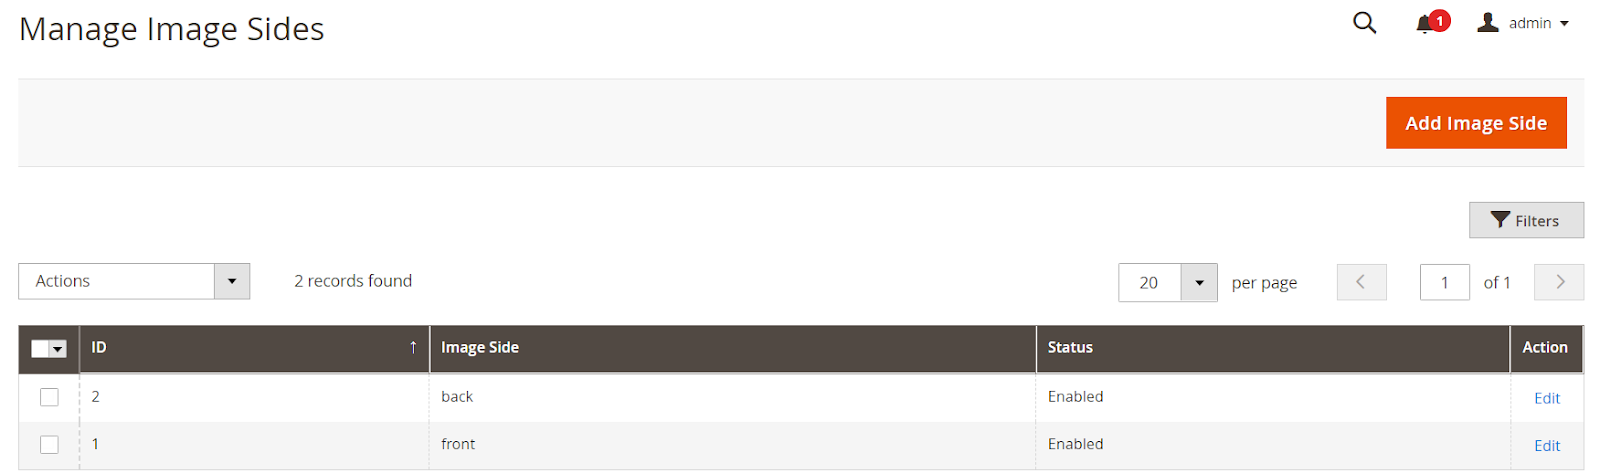
To add the new image side, click on the “Add Image Side” button and insert the image side information.
Image Side: Enter the name of the image side.
Select Status: Keep the status “Enabled” to enable the side.
After adding the image side, click on the “Save” button.
To assign the image side to the product, go to Catalog ➤ Products, you will land on the “Products” page. Now open the product in Edit mode.
Click on the “Design Areas” button.
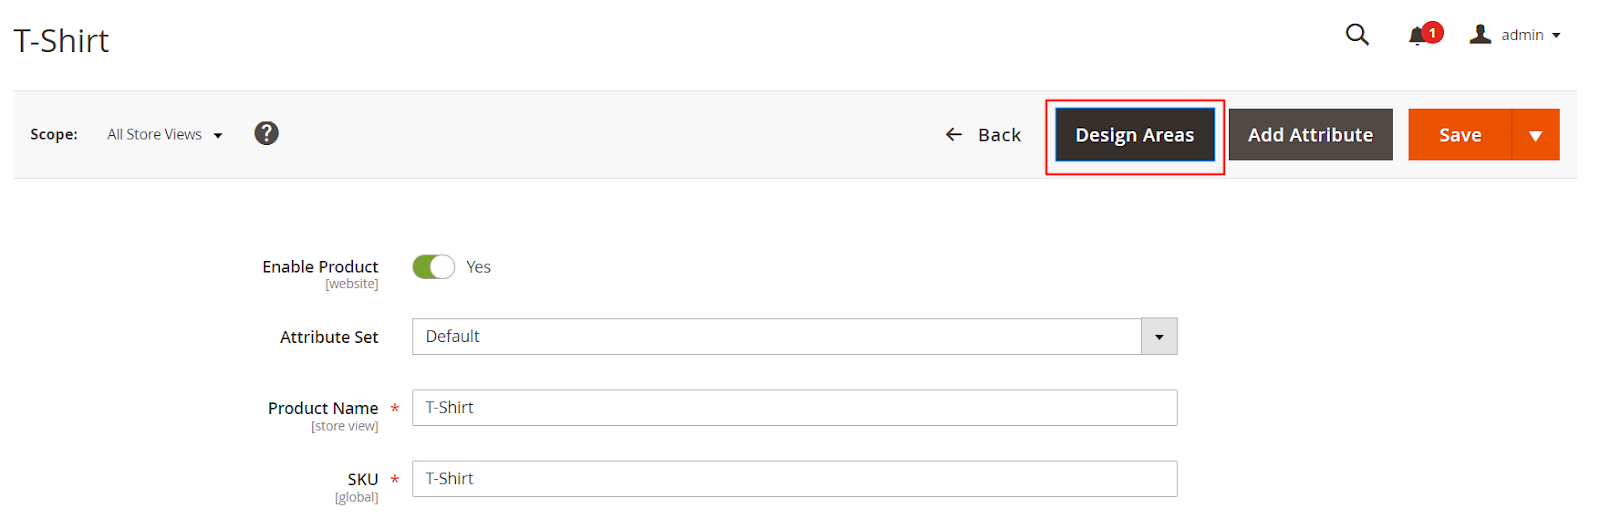
After clicking the button, you will get the option to add the image side.

After configuring the details, click on the “Save” button to save them in the product designer tool.


