Photobook layout can help your customers in designing the photobook. They can apply the ready-made layouts to the photobook offered by you. They can select any layout and apply the images to it.
For that you need to add the layout from the backend of the Product Designer Tool:
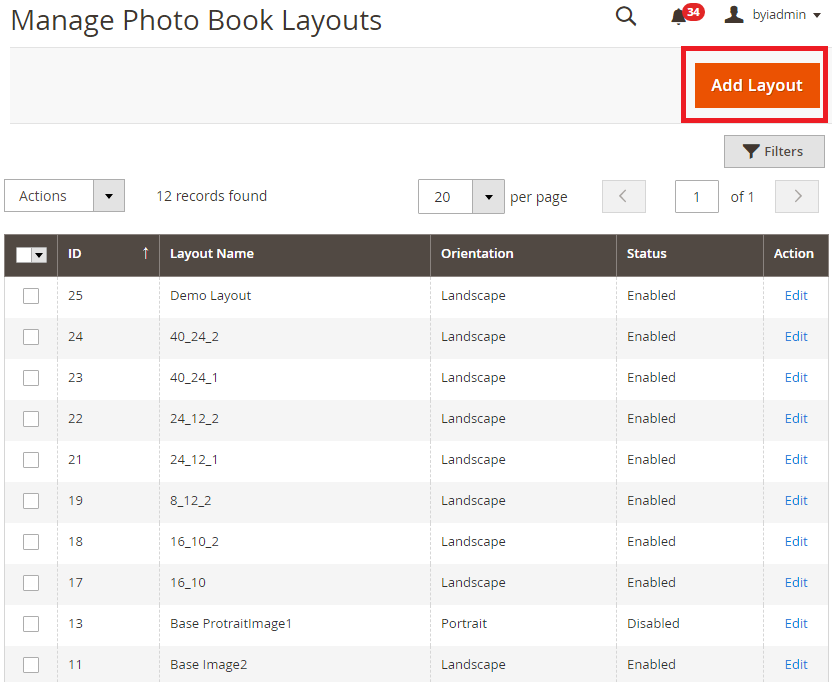
Go to Product Designer ➤ Manage Photobook Layouts.
By clicking on it, if layouts have already been created, you can view the list of layouts along with details like name, orientation, and current status.

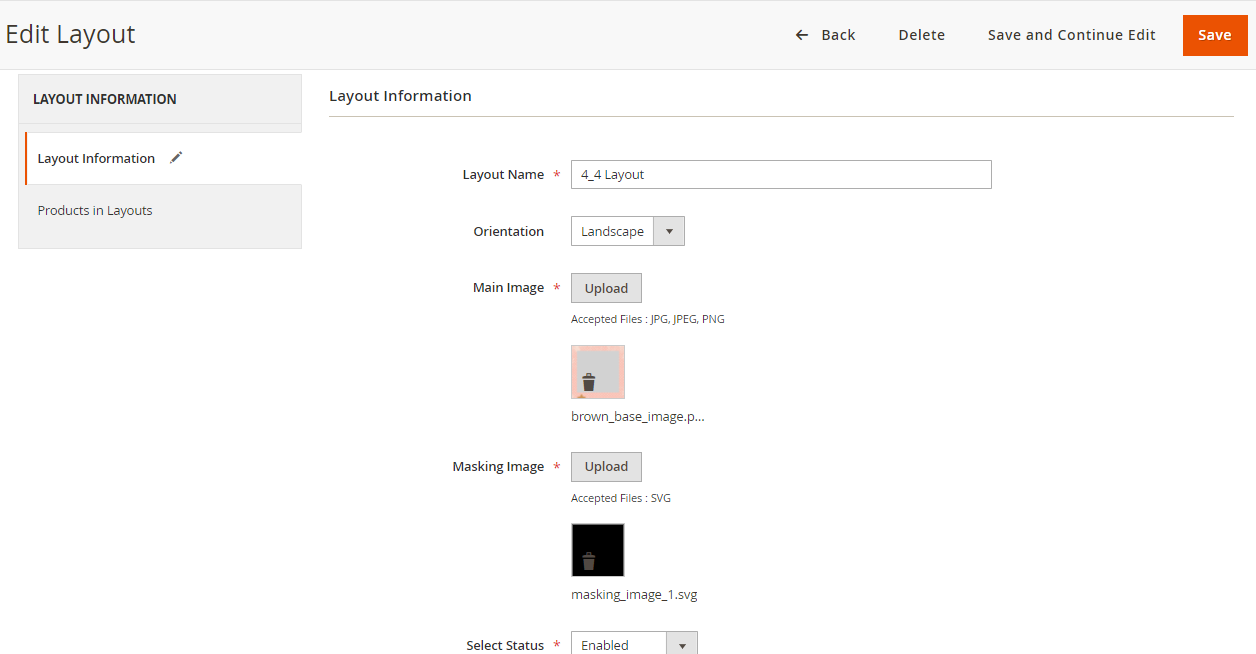
To add new Photo Album Layout, click on Add Layout button and you will be redirected to the “Add Layout” page with the following information for configurations:

Layout Name: Insert a relevant name. Ex. Marriage Album, Office Group Album, etc.
Orientation: Select the display of the Photo Album either Landscape (horizontal display) or Portrait (Vertical display).
Main Image: Select the Main image for the Photo Album display.
Masking Image: Select the image to cover up parts in the image so that only certain parts of an image can be shown.
Status: Keep the layout either Enable/Disable as per your requirement.
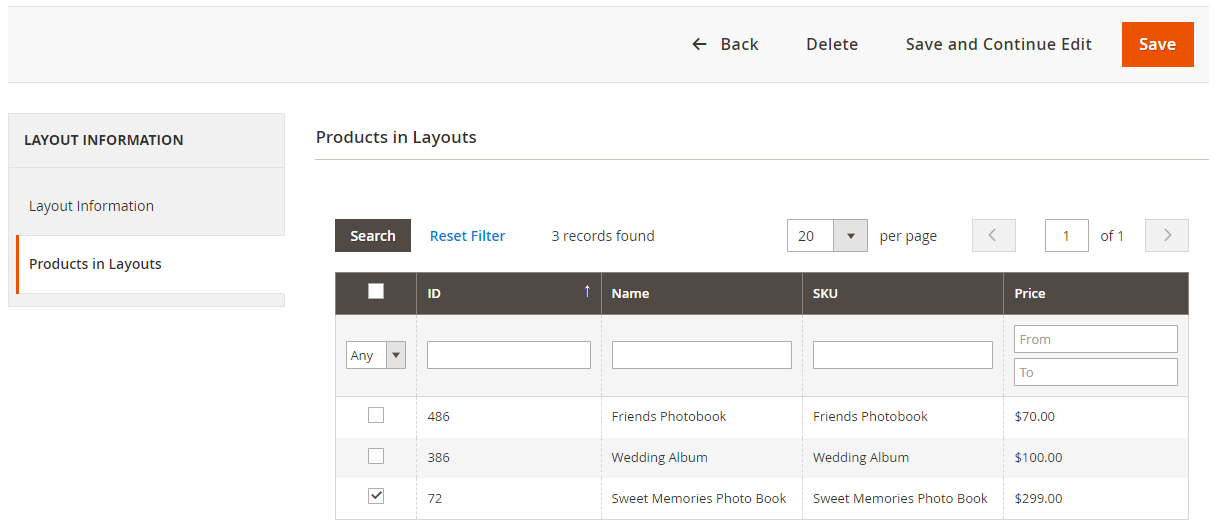
Products In Layouts
You can select the products for the layout from the Products In Layouts tab. By clicking on it, you will see the list of Photobook products.

Select the product to enable this layout. So, the customers will see the layout to select in the photobook product in the storefront.
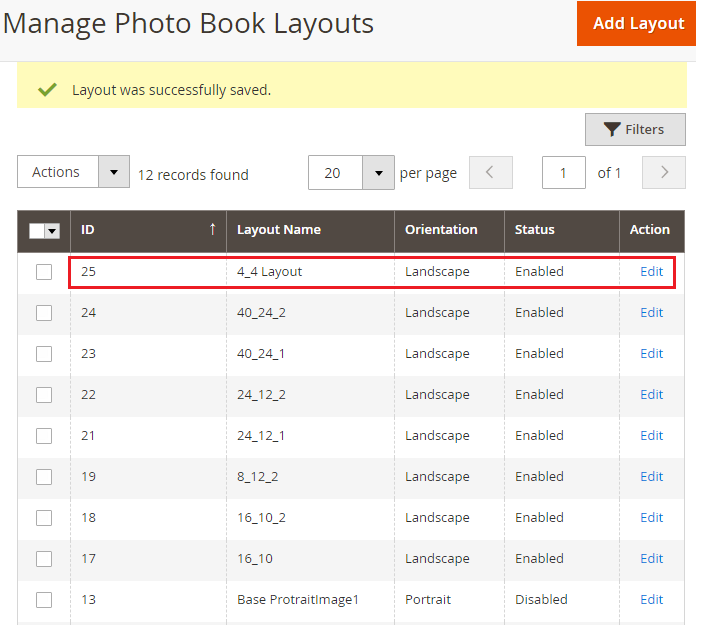
After configuring the layout information, click on the Save button. Thereafter a new Layout will be added to the list of Photobook Layouts.


