Firstly make sure you have enabled the 2D configurator in your store in order to manage the product configurator for your products. After enabling the product configurator, here is how you can manage it.
Login to Backend
Go to Product Designer ➤ Manage Product Configurator, you will land on the “Manage Product Configurator” page.
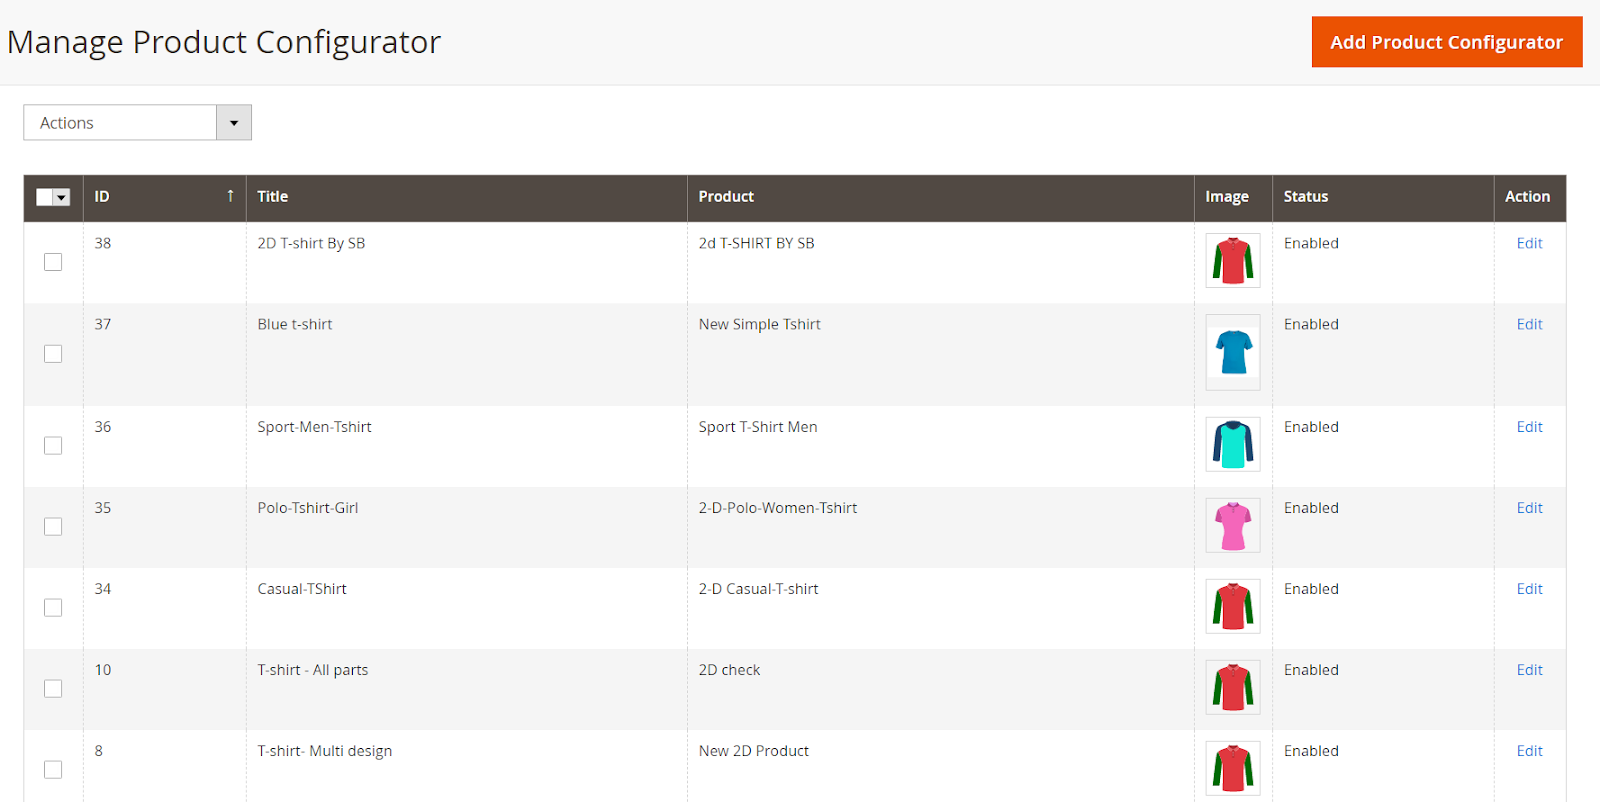
Now press the “Add Product Configurator” button to add the product configurator and do the following configurations.
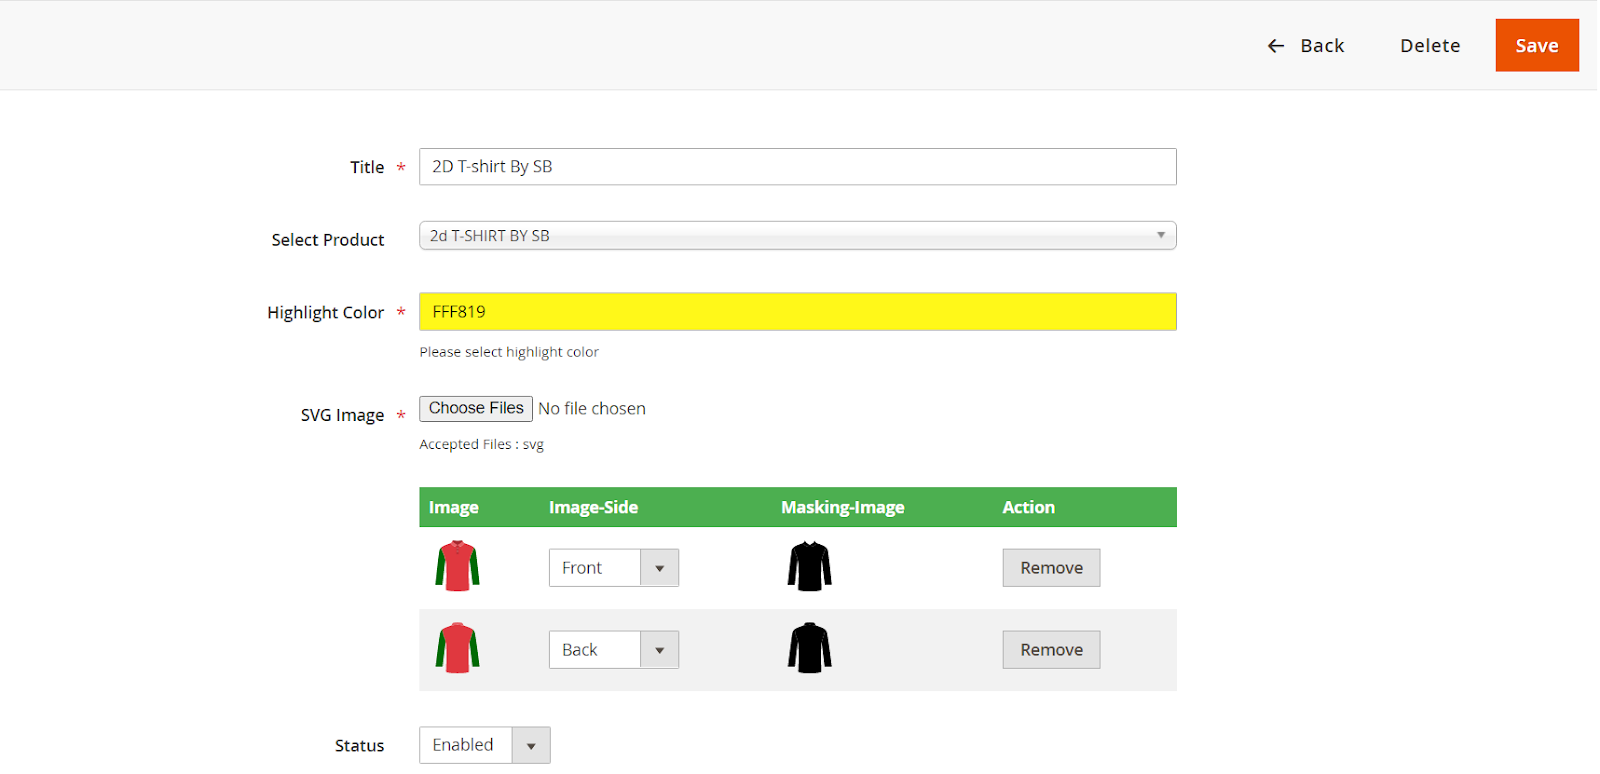
Title: Enter the title for the product.
Select Product: Select the product from your store if it already exists.
Highlight Color: Select the highlight color which will be displayed to highlight the part of the product.
SVG Image: Browse and upload the image and the masking image for the product. Select the Image Side for the image. To Remove an image press Remove or to add a new press Choose Files.
Status: Select “Yes” to enable the product configurator for the product.
After configuring the above information press the “Save” button to save it in the store. After saving the product you can see the front and back images with the Highlighted color we have selected above.
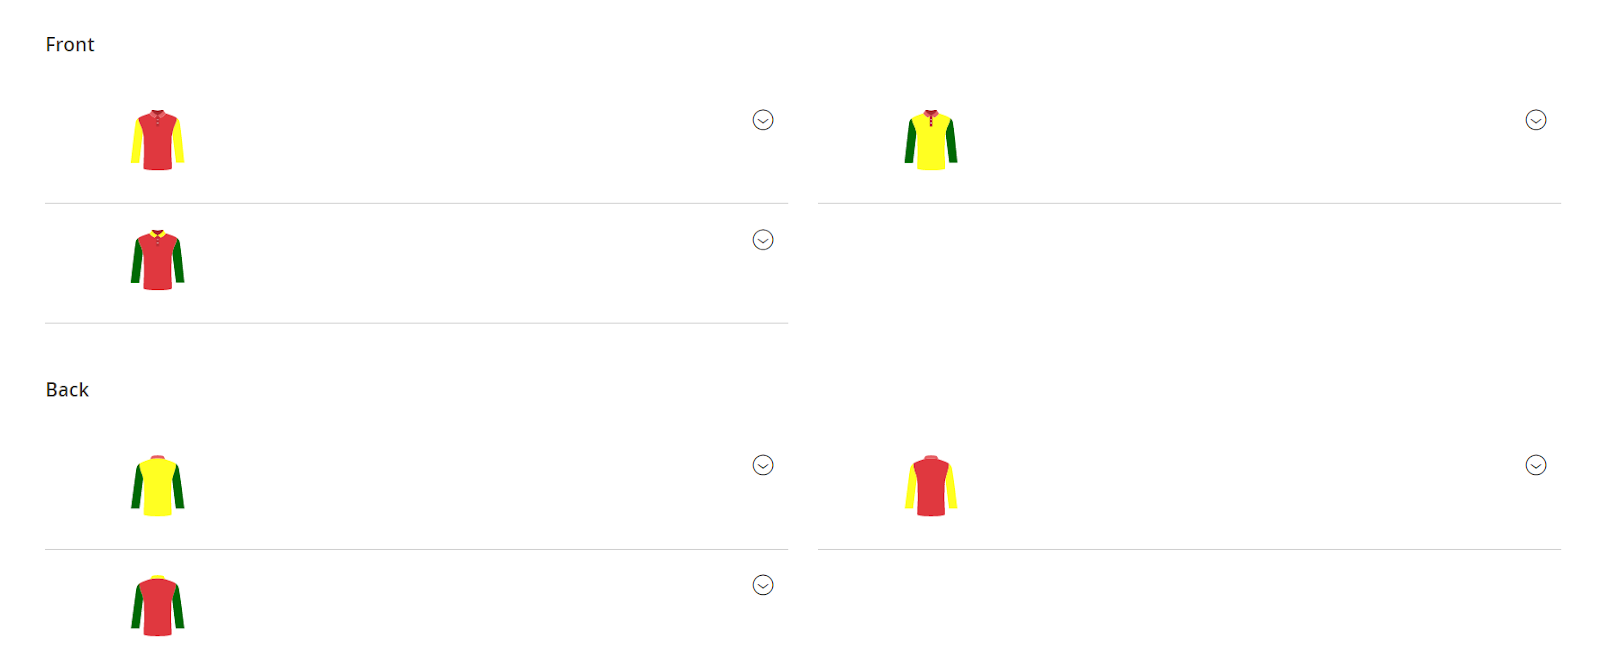
Expand Each and every part and configure the following fields.
Front
Sleeves
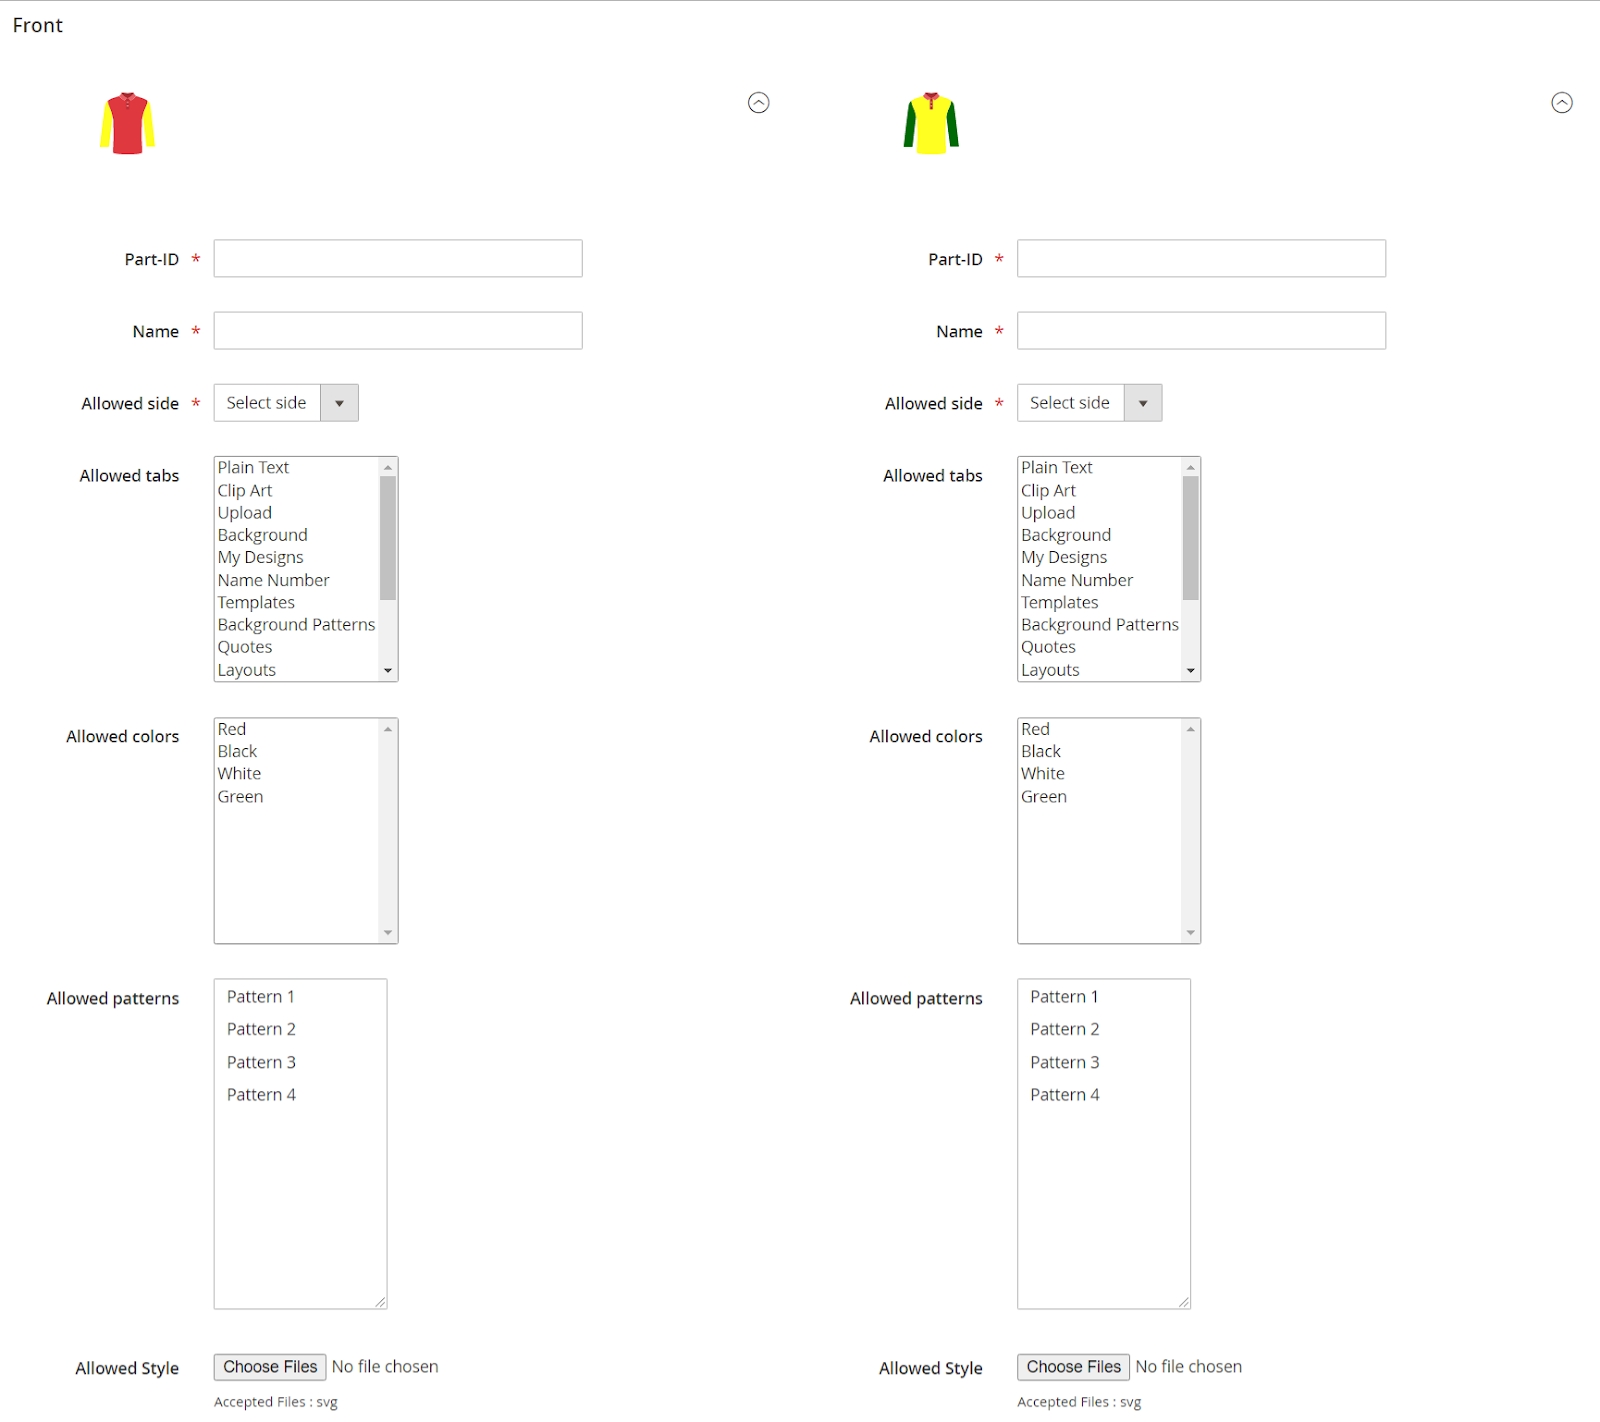
Part-ID: Enter the suitable part-id for easy recognition. Also, you can keep the part ID of another product to copy the same data.
Name: Enter the name of the part. As it is Sleeve, so you can keep the name Sleeve. The will be displayed on the product designer tool.
Allowed Side: Select the allowed side for the part.
Allowed Tabs: Select the tabs that are allowed for this body part.
Allowed Colors: Select the allowed colors for designing the part.
Allowed Patterns: Select the allowed patterns for designing the part.
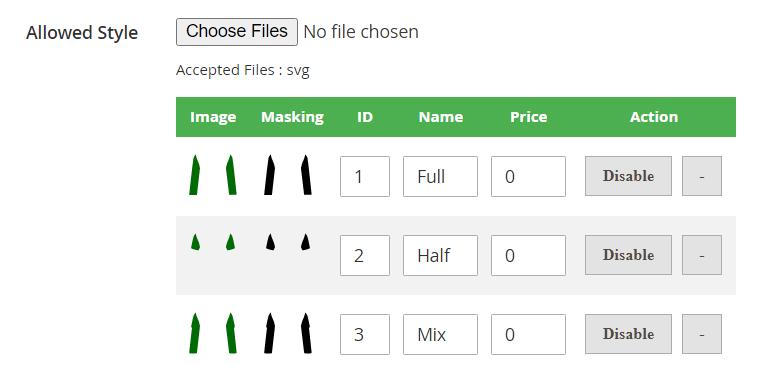
Allowed Style: Browse and upload the image and masking the image for styling the part. Enter the ID, name, and price for the style.
Body
Part-ID: Enter the suitable part-id for easy recognition. Also, you can keep the Part ID of another product to copy the same data.
Name: Enter the name of the part. As it is Sleeve, so you can keep the name Sleeve. The will be displayed on the product designer tool.
Allowed Side: Select the allowed side for the part.
Allowed Tabs: Select the tabs that are allowed for this body part.
Allowed Colors: Select the allowed colors for designing the part.
Allowed Patterns: Select the allowed patterns for designing the part.
Allowed Style: Browse and upload the image and masking the image for styling the part. Enter the ID, name, and price for the style.
Collar
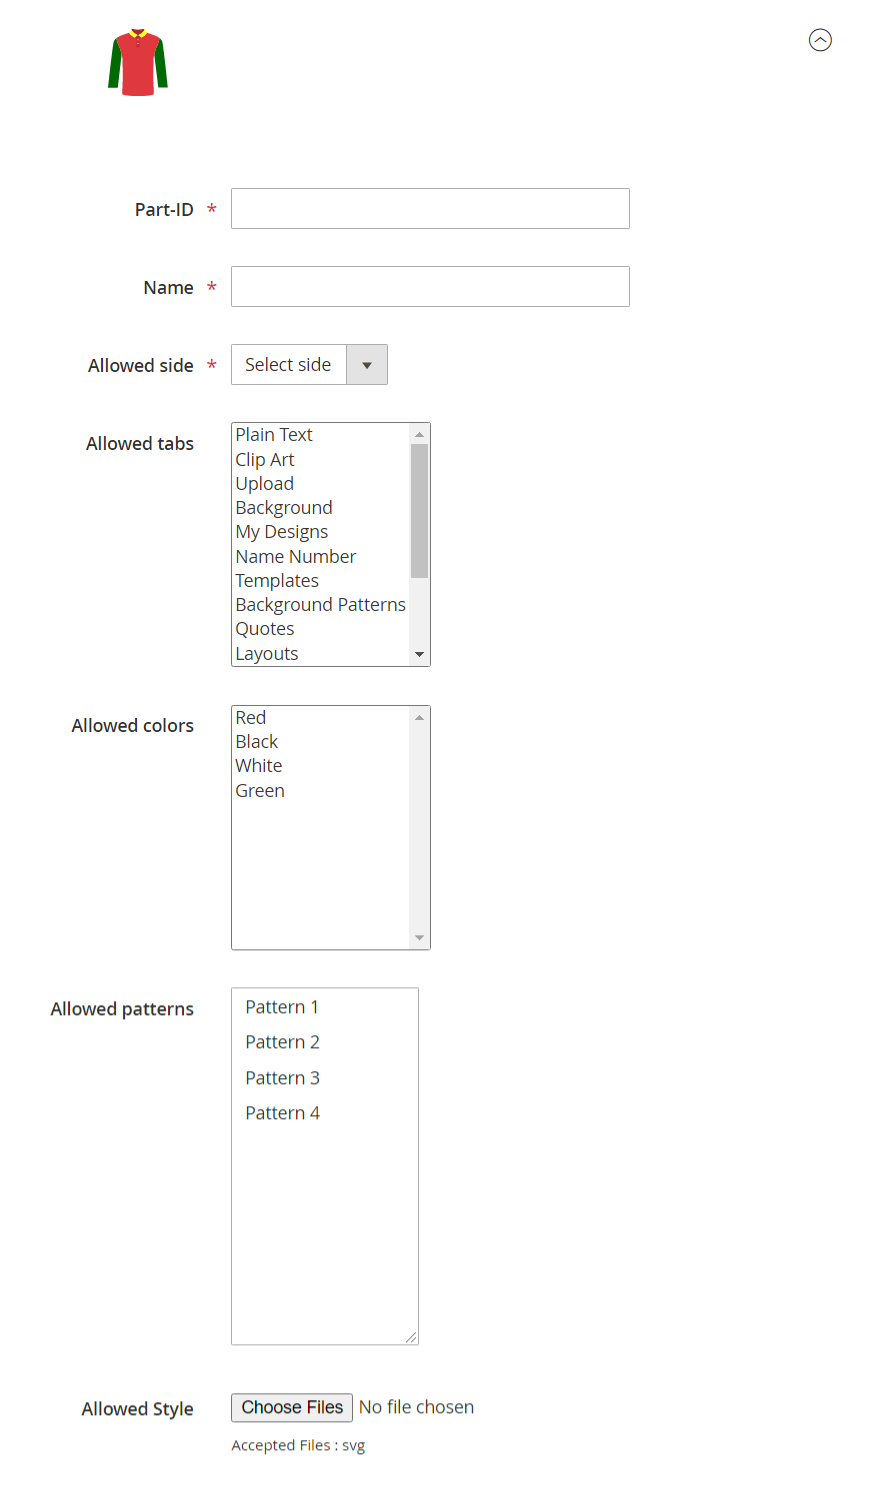
Part-ID: Enter the suitable part-id for easy recognition. Also, you can keep the part ID of another product to copy the same data.
Name: Enter the name of the part. As it is Sleeve, so you can keep the name Sleeve. The will be displayed on the product designer tool.
Allowed Side: Select the allowed side for the part.
Allowed Tabs: Select the tabs that are allowed for this body part.
Allowed Colors: Select the allowed colors for designing the part.
Allowed Patterns: Select the allowed patterns for designing the part.
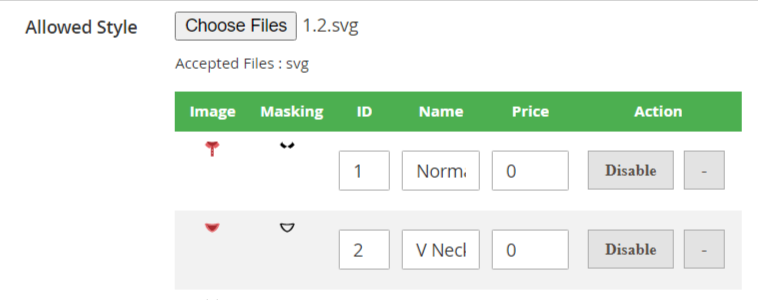
Allowed Style: Browse and upload the image and masking the image for styling the part. Enter the ID, name, and price for the style.
As we have configured all the parts of the front side follow the same process for configuring the other sides of the product. After configuring all the parts as per the requirement press the “Save” button to save it for your store.
Note: The 2D Configurator is an Addon so one has to purchase it additionally along with the premium or essential package.
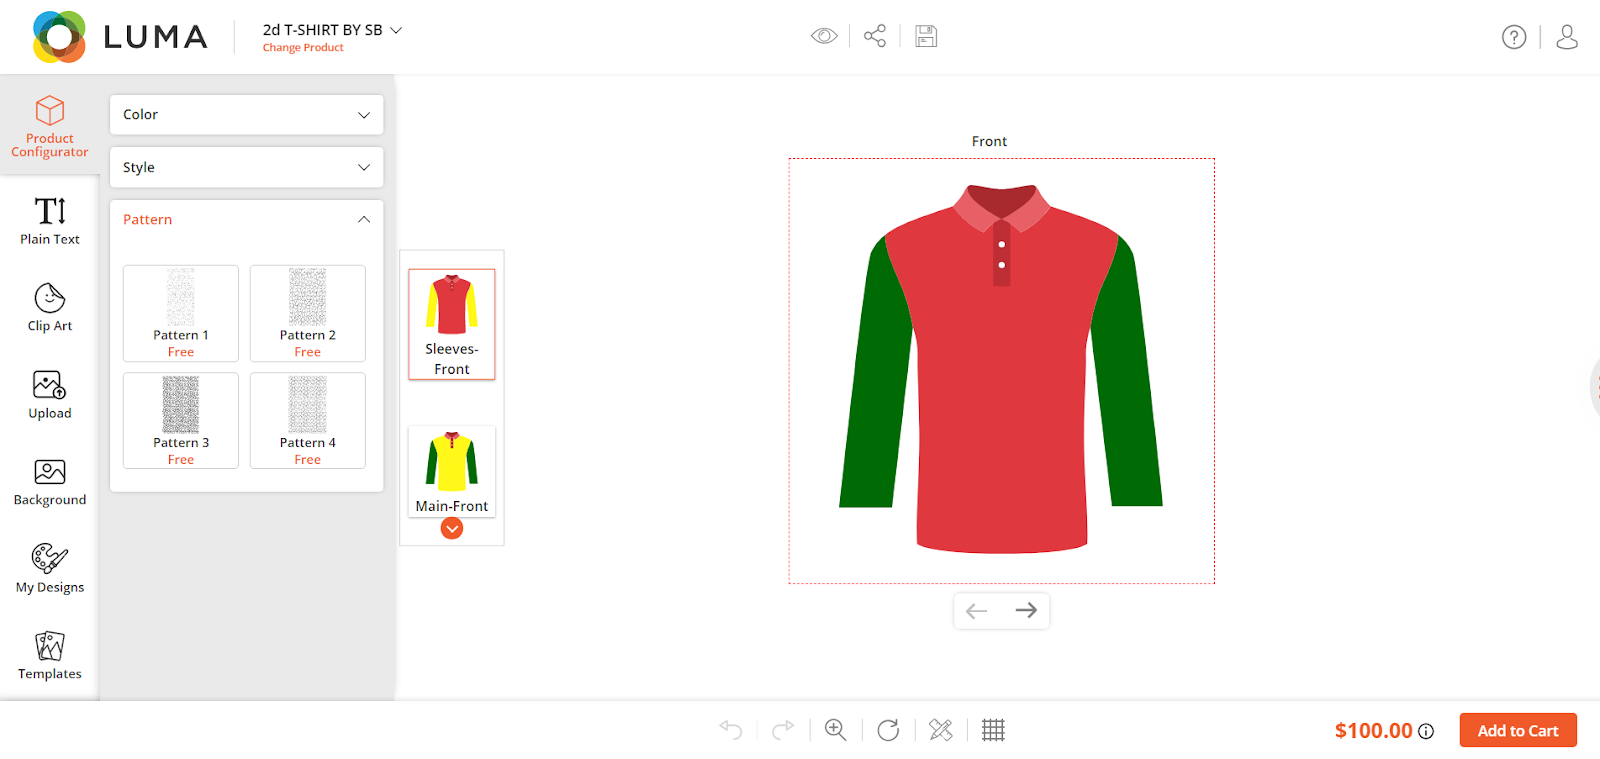
Frontend
As per the configurations of the admin, the product configurator is enabled on the frontend. The tabs will also be visible according to allowed tabs from the backend. The yellow color is the highlight color that we have selected from the backend. Only highlighted parts will be applied to the design.