


To customize the colors of the image you have to enable the Color Detection feature. Color Detection helps to make changes to the colors of the image that has been uploaded onto the product. Here is how you can enable the feature.
Login to Backend
Navigate to the Stores -> Configuration.

You will be directed to the Configuration page. Go to PrintXpand and in that, click on Product Designer Settings. Scroll down to Image Color Conversion.
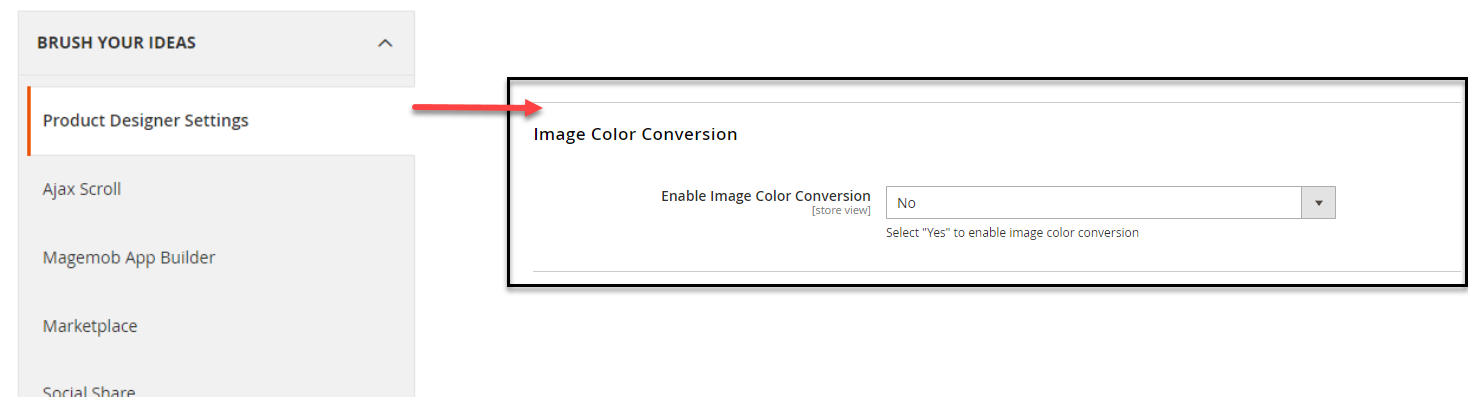
From the drop down menu, select “Yes” to enable Image Color Conversion. When you do so, different sections become visible :
Enable Image Color Conversion For Guest User : Those users that either have not logged in to their existing account or those who have not created an account yet, for them, you can enable Color Conversion by clicking on “Yes”.
Image Color Convert Guest User Message : The entered text in this section would be displayed as a message for the guest users when they click on those features that they do not have access to.
Image Color Convert API URL : The URL of the Paid API of Image convert has to be entered here.
X-Credits-Code : A code is received when the Paid API is accessed. You have to enter that particular code here.
Min Colors : Minimum colors a user can select should be entered in this section. Note that, you have to enter at least ‘1’. For example : If you are entering number ‘3’, then minimum 3 colors will be selected during the color selection process.
Max Colors : Maximum number of colors the users can select has to be entered. For example : If you enter ‘32’ then the user can select upo 32 colors and not more than that. Note that, only till 99 you can enter.


