


Our Product Designer tool comes with the pre-loaded clipart category. Your shoppers can use these unique clipart to give an alluring look to the product while customizing.
Login to Backend
Navigate to Stores ➤ Configurations ➤ Product Designer Settings, you will land on the “Configurations” page. Now scroll down to the “Clipart” section and do the following configurations.
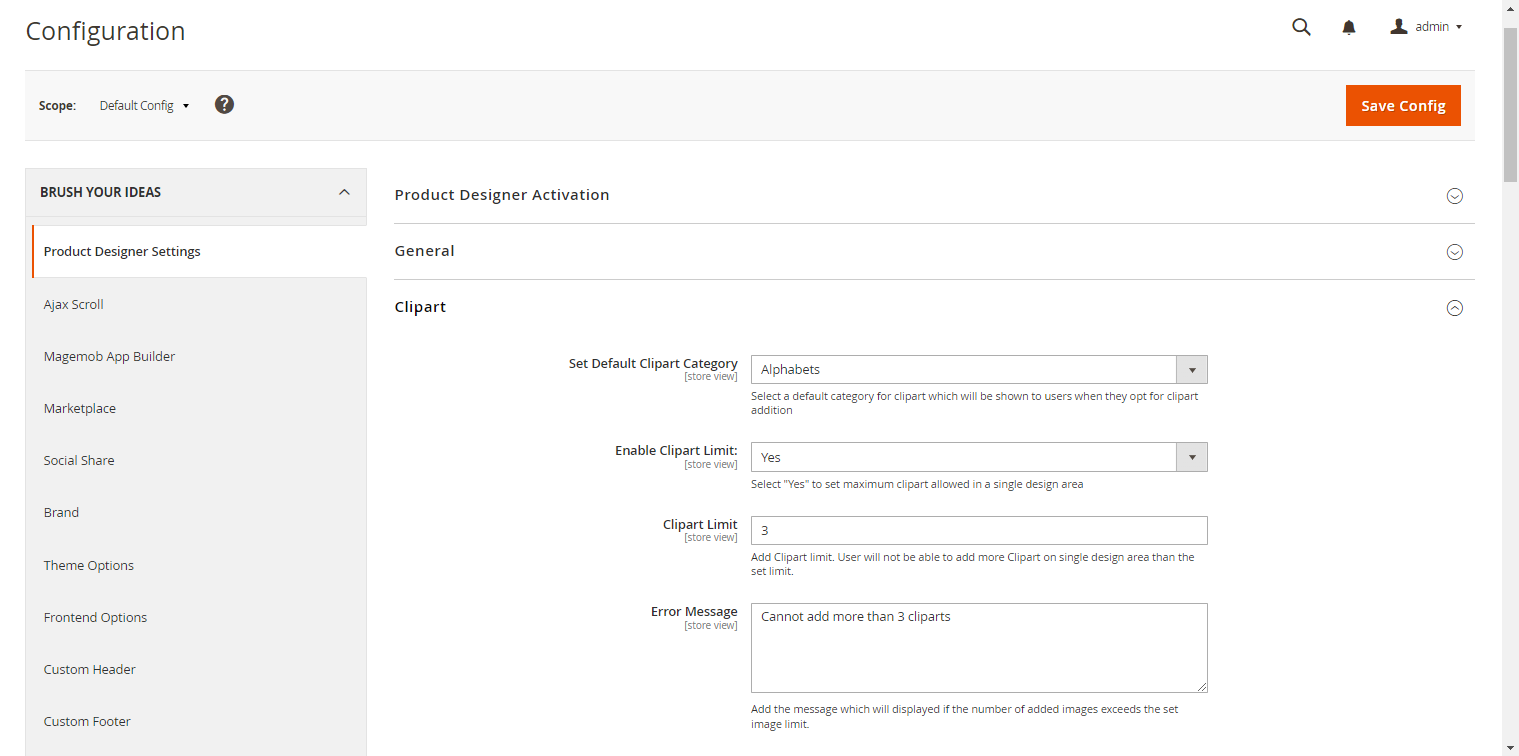
Set Default Clipart Category: Set the default category for clipart, which will be shown to users when they opt for clipart addition.
Enable Clipart Limit: Select Yes to set the limit for the allowed clipart in the single design area.
Clipart Limit: Enter the number, so that the user won’t be allowed to apply more clipart.
Error Message: Enter the error message, which will be displayed if more cliparts are added than the limit.
After all the configurations, click on the “Save Config” button to save the configurations.
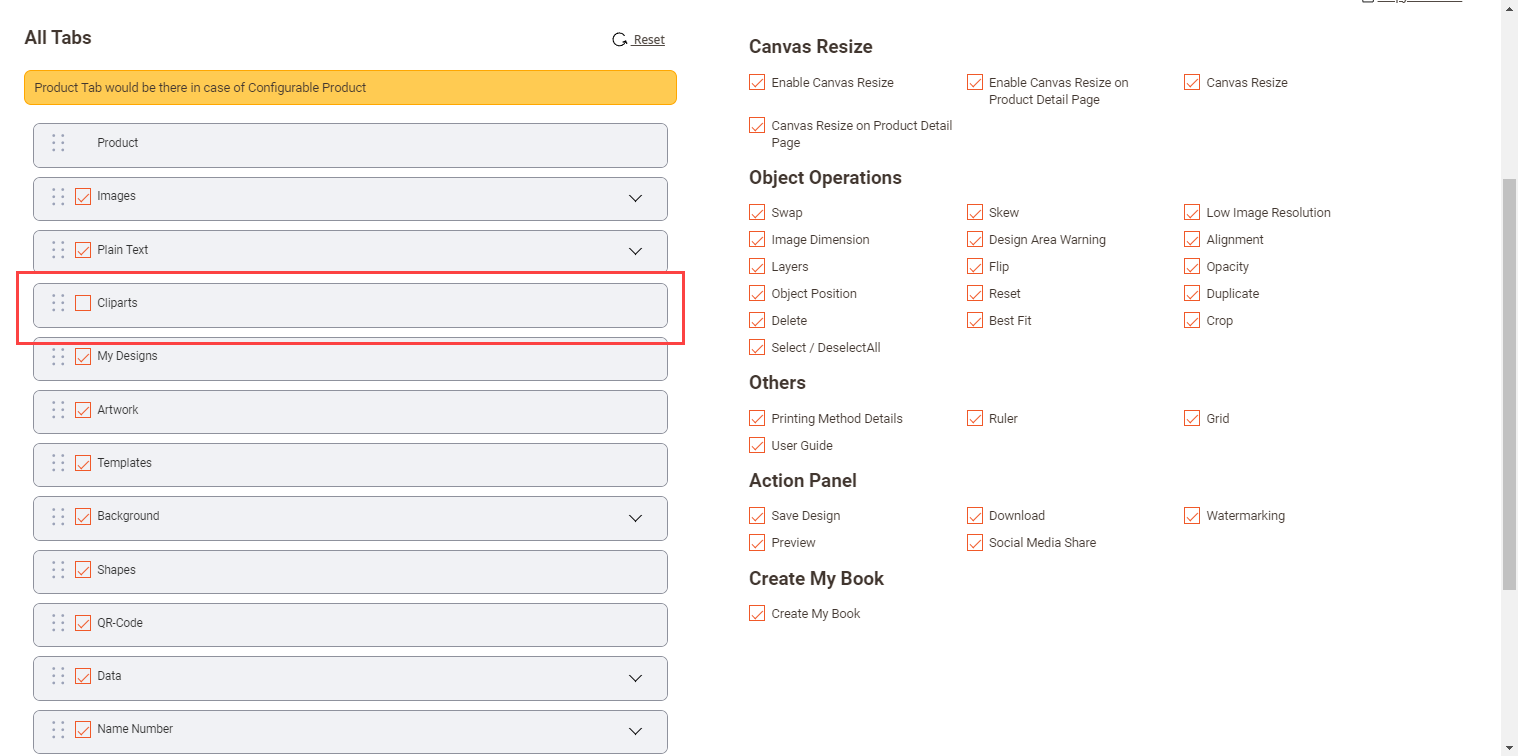
You can also disable the cliparts section if you want. Navigate to the Product Designer ➤ Manage Layout, and open the layout in the Edit mode. Now disable the Clipart section and click on the “Save” button to save the configurations.
Frontend View
After the backend configurations, the user will not be able to see the Clipart section on the frontend.
Before Backend Configurations

After Backend Configurations


