The Variable Data Printing feature simplifies the process of customizing ID cards or Smart cards for employees within an organization. This article will help you to enable VDP on frontend.
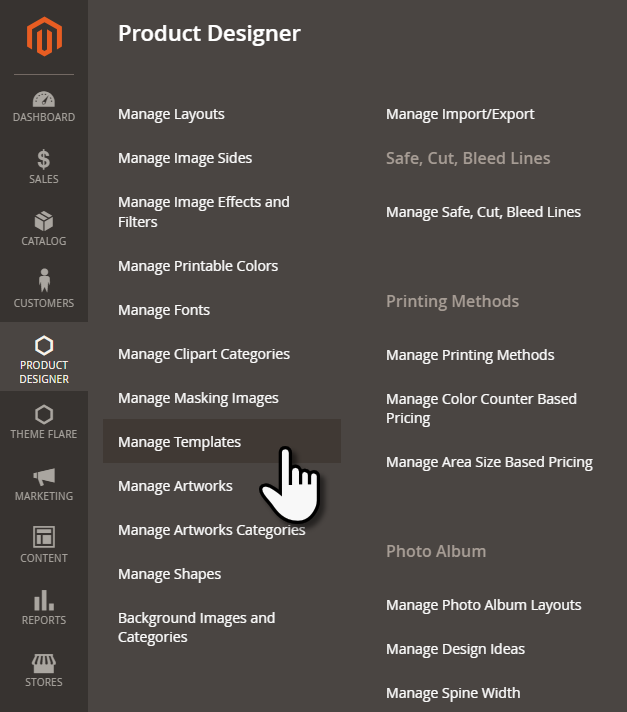
Navigate to Product Designer → Manage Templates where you will get the list of created templates.
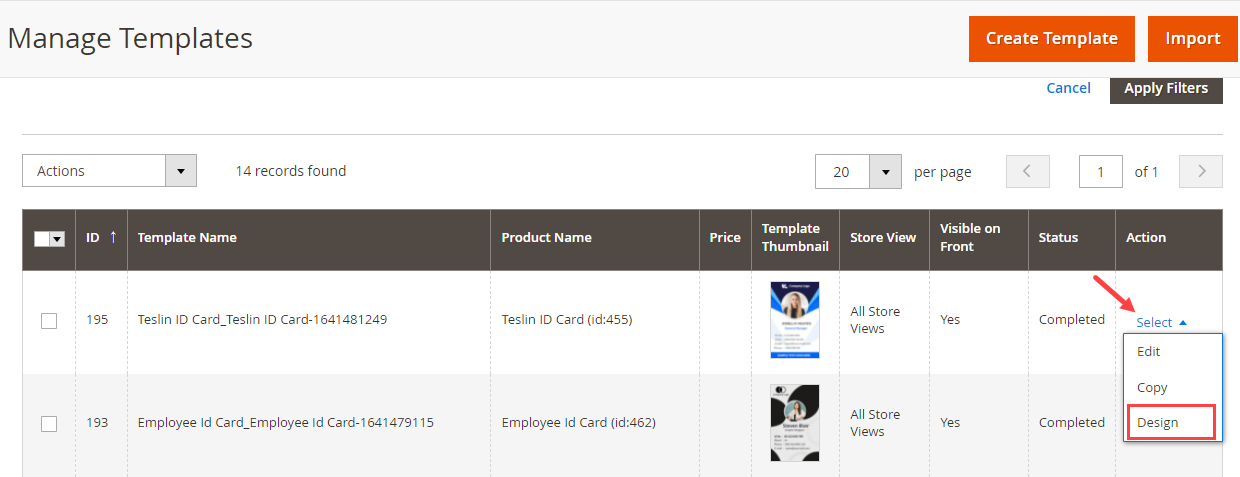
Proceed to open the template in Design mode.
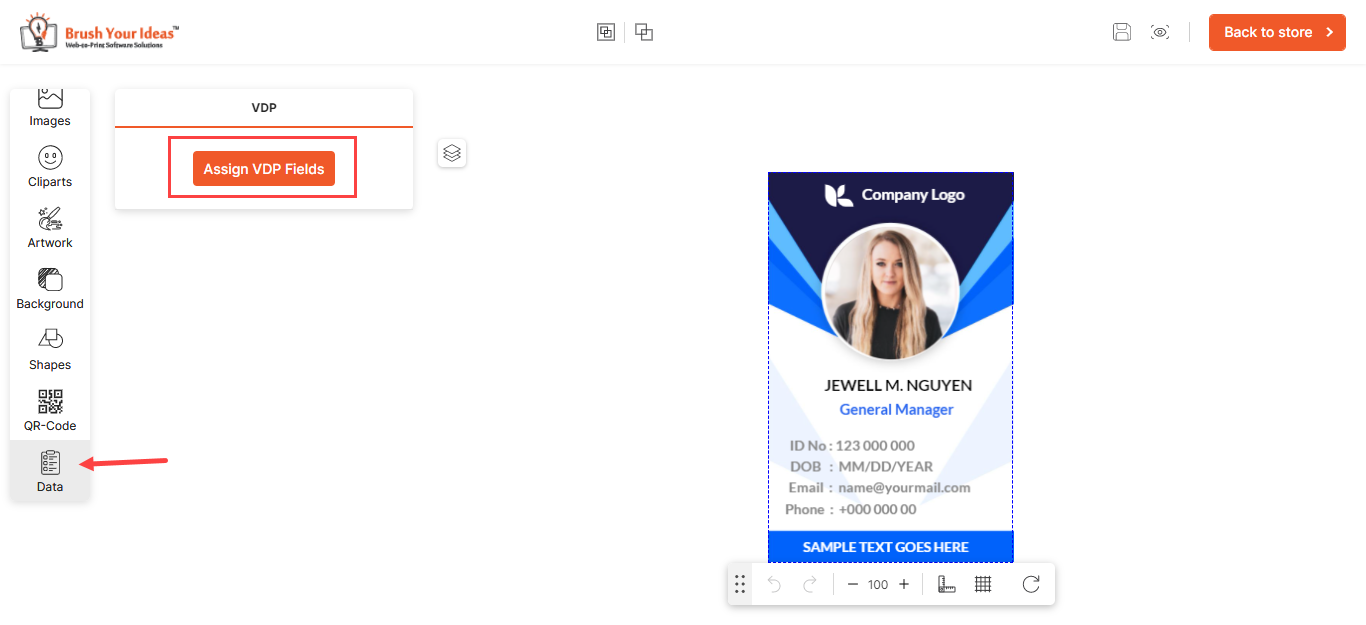
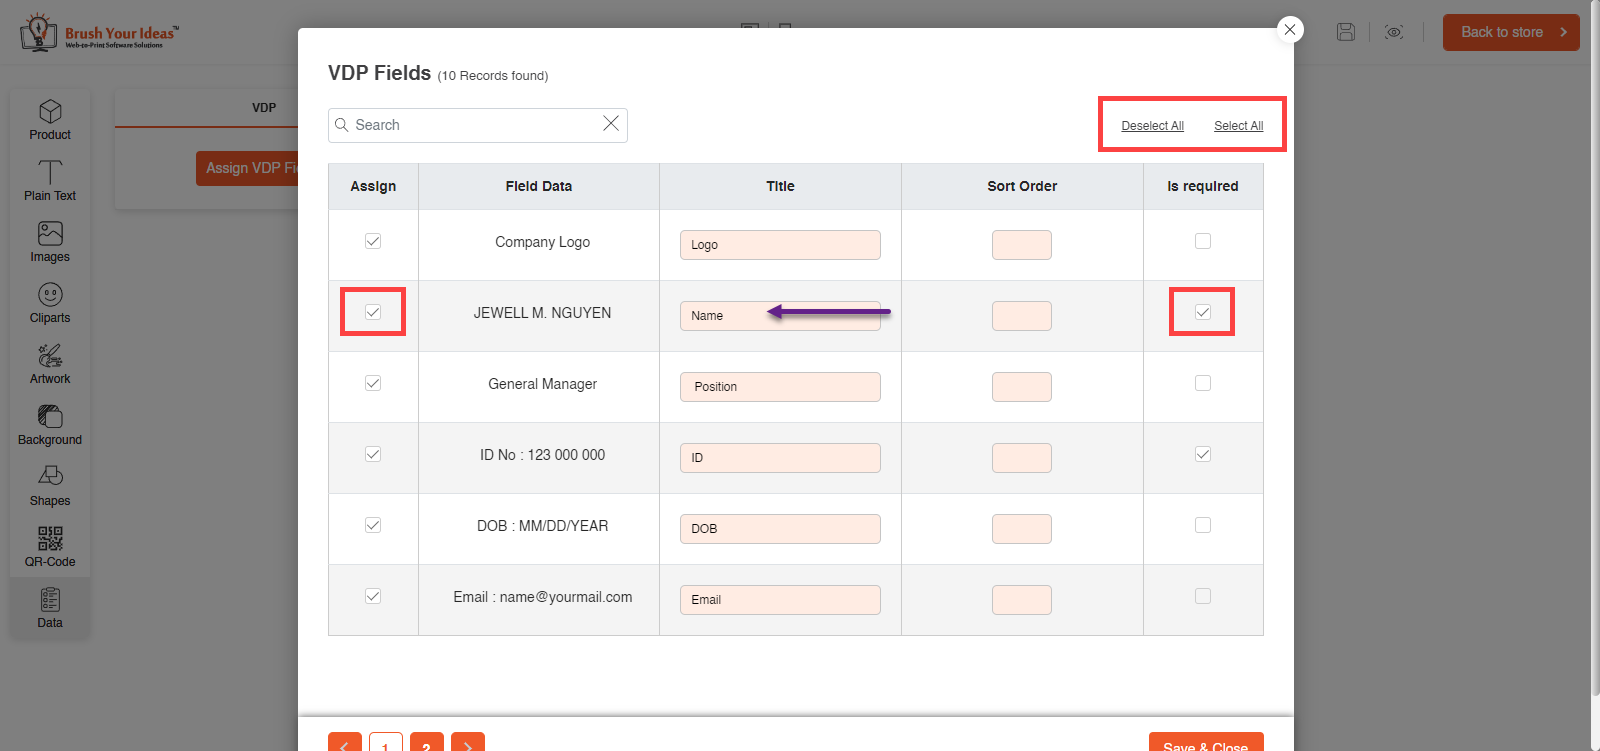
You will get the Assign VDP fields button, by clicking on the Data tab.
 Once you click on the button, you will get the Assign, Field Data, Title fields.
Enter the Title for the Field Data and assign it if you want to keep it customizable for your customers.
For example, if the Name field data has been assigned as VDP fields, then your customers will be able to enter the respective name in the Name field.
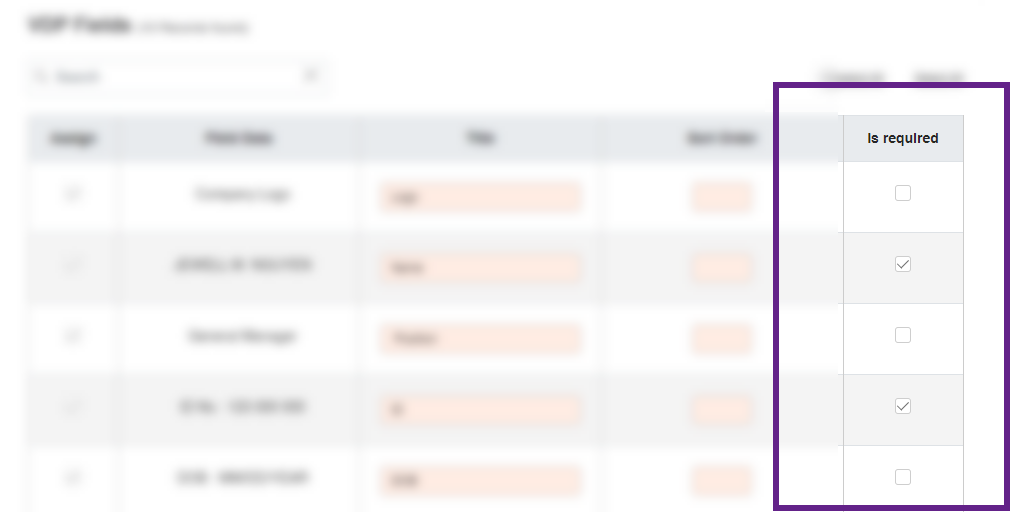
To make a specific field mandatory, your customer needs to select the checkbox of Is Required section. You can Select and Deselect all at once.
After assigning the VDP fields, click on the Save & Close button to save it.
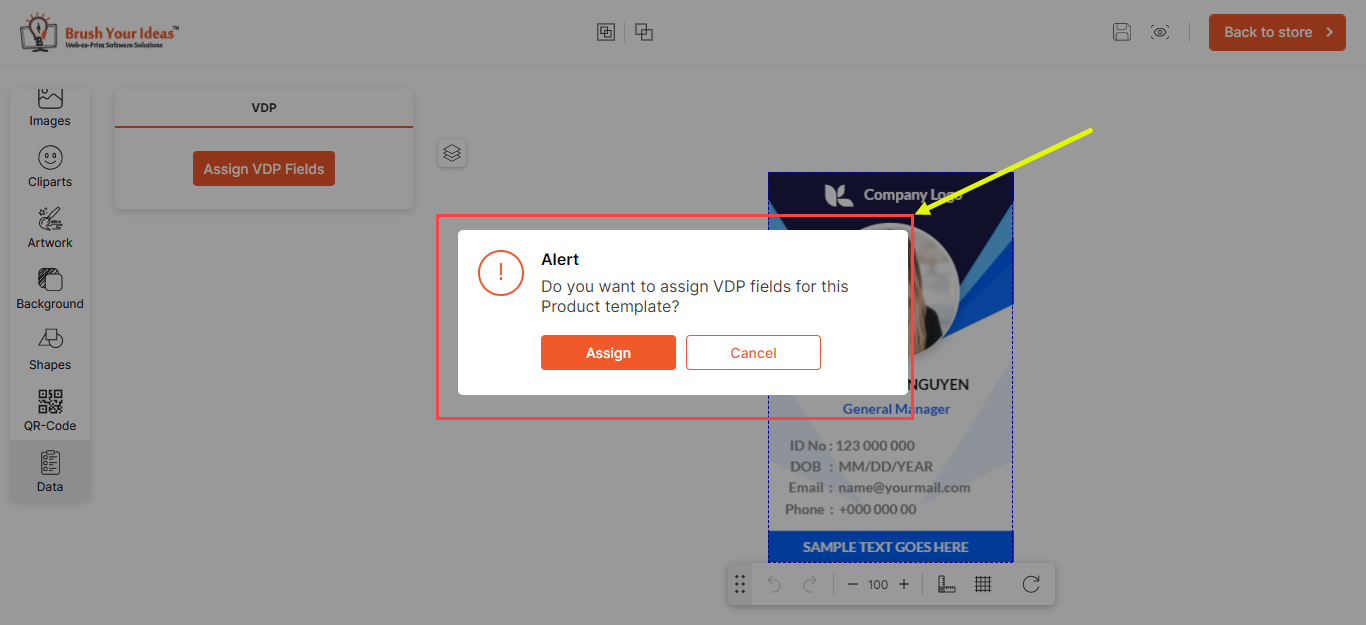
For all the new templates, if you haven’t assigned any VDP field to the template then it will show an Alert message. Click on Assign to redirect to the VDP fields panel to assign the VDP Fields like below or click on the Cancel button to save the template without VDP fields.