


With our PrintXpand tool, you can add the masking images for all your products. Here is how you can add the masking image in the product designer tool.
Login to Backend
Navigate to the Product Designer ➤ Manage Masking Image, you will land on the “Manage Masking Images” page. To add the masking image click on the “Upload” button to upload a masking file.
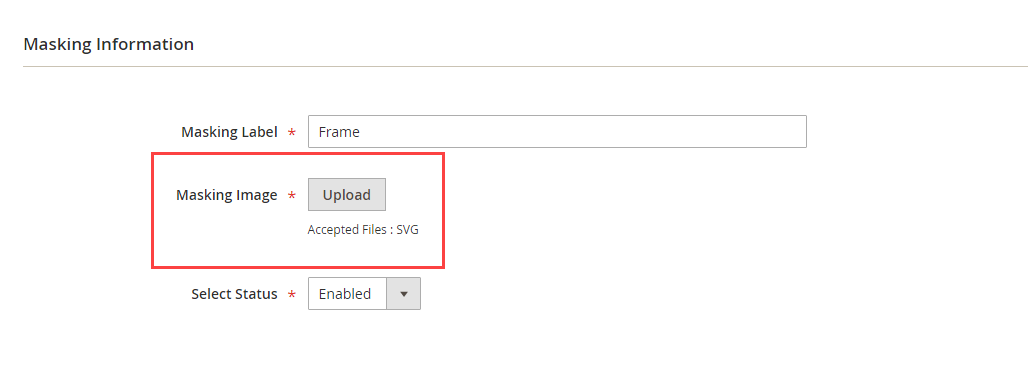 Note: The file should be in SVG format.
Once you upload the masking image, do the following configurations.
Masking Label: Enter the suitable label for the masking image.
Status: Set the status Enabled to enable the masking image.
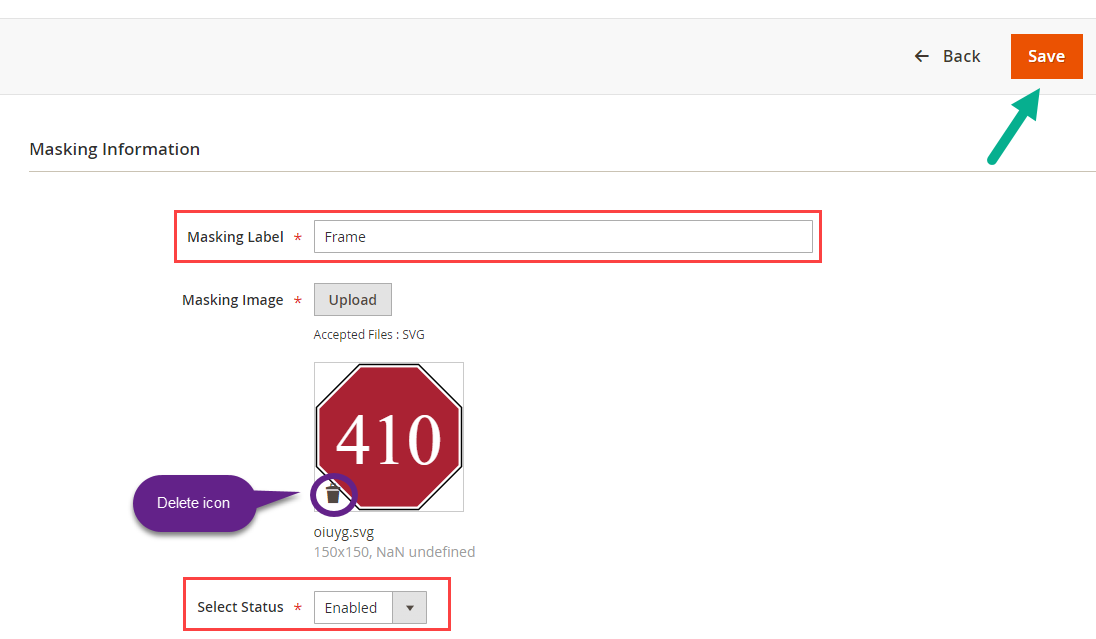
Masking Image : The image has to be uploaded through the Upload button.
Delete: Click on the Delete icon on the image to delete the image.
After configuring all the details, click on the “Save” button.
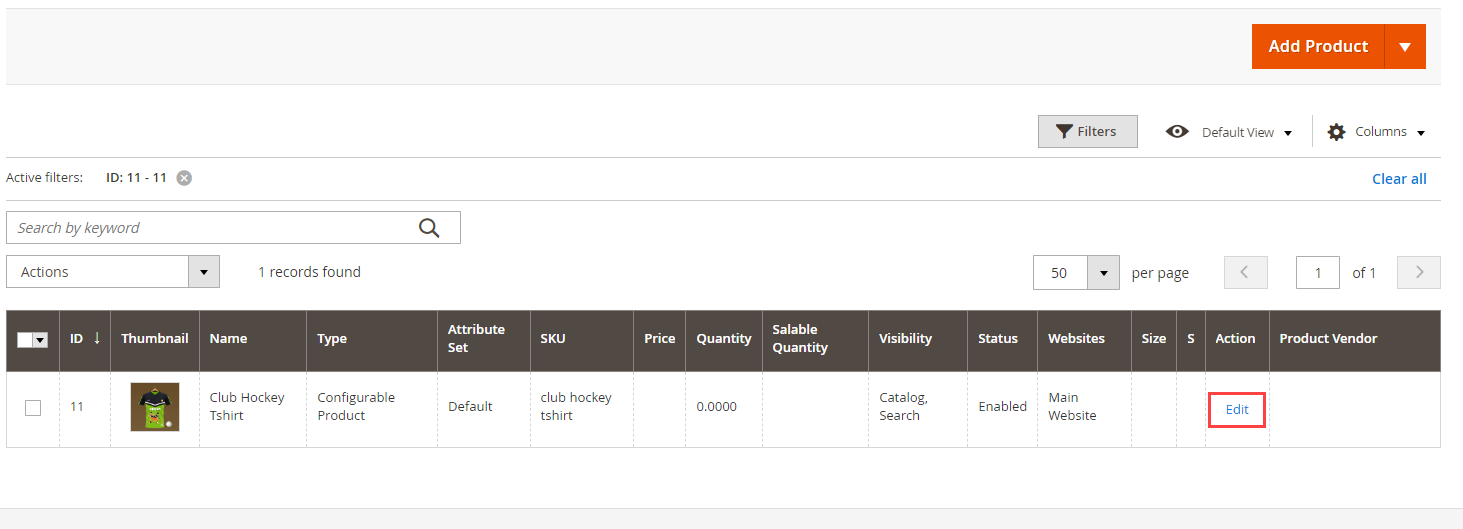
Now the masking image has been added to the product designer tool. To assign it to the product navigate to Catalog ➤ Products, you will land on the “Products” page. Now open the product in Edit mode.
Click on the “Design Areas” button to add the masking image.
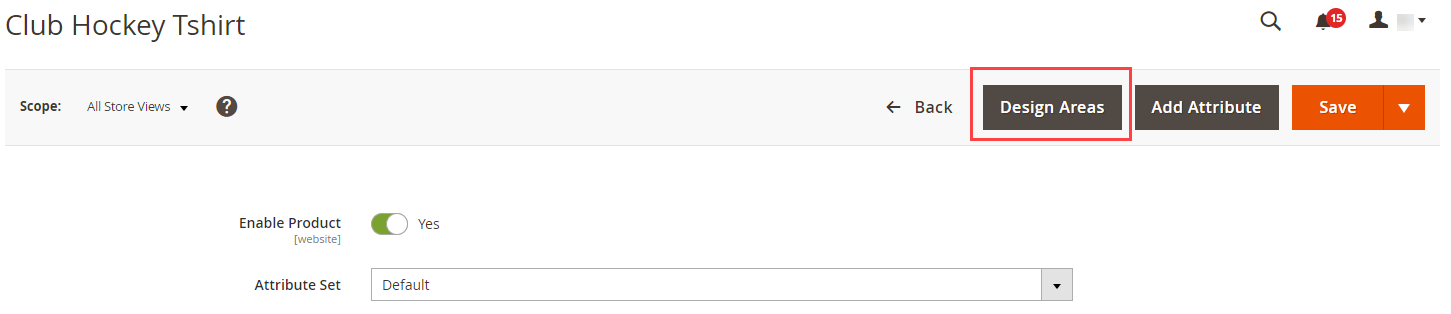
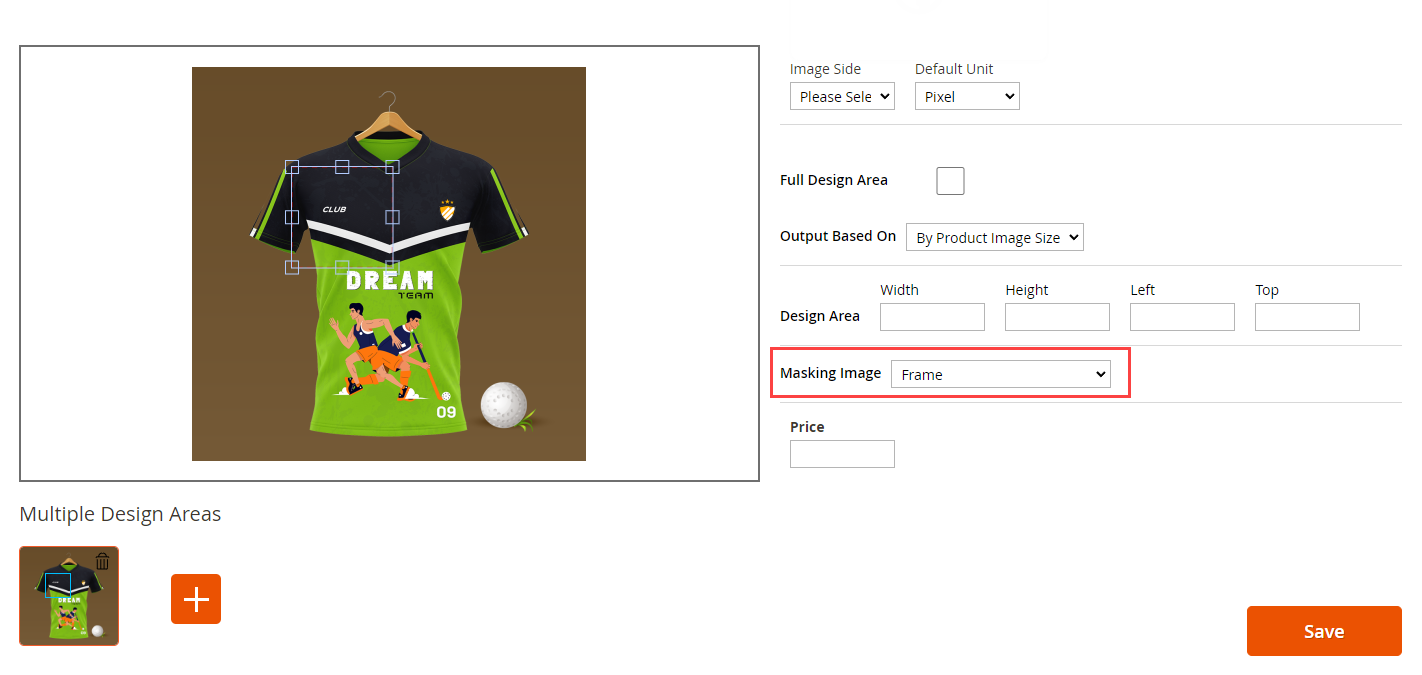
In the Masking image field, you will get all the masking images that are added with the help of above instructions. After adding the masking images, click on the Save button to save the configurations.
By following this process you can add the masking image to your products.


