


With the PrintXpand designer tool you can easily manage various printing methods for your products. Find the elaborated instructions to manage multiple printing methods below.
Backend
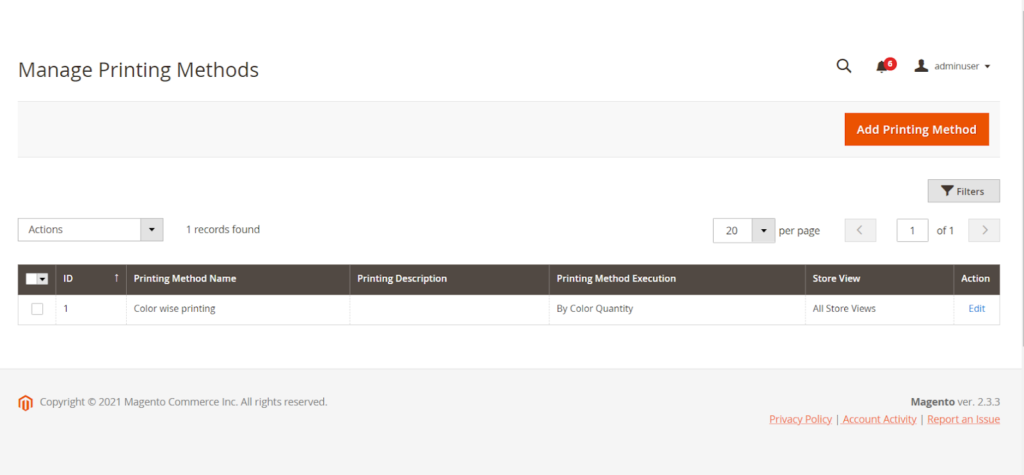
To add multiple printing methods go to Product Designer ➤ Printing Methods ➤ Manage Printing Methods, you will land on the “Manage Printing Methods” page. Here you can see all the added printing methods.
Now click on the “Add Printing Methods ” and fill in the following fields.

Name: Enter the Suitable name for the printing Method.
Description: Enter the description for the printing method
Minimum Printing Quantity: Enter the minimum printing quantity.
Store Views: Select the store view for which you want this printing method to be available.
Printing Method Execution: Select the Printing Method Execution from “By Color Quantity” or “By Area Range”.
Status: Select “Enable” to enable this printing method.
After filling all the fields click on the “Save Printing Method” button to save the printing method in your store.
Assign Printing Method To Your Product
To define the printing method, go to Catalog ➤ Products, you will land on the “Products” page. Now open the product in the “Edit” mode or click “Add Product” and scroll down to the “Product Designer” section.

Here you will get all the list of your printing method, you have created from the “Manage Printing Methods” tabs. Just click on the printing method to assign it to your product.
After assigning it to your product, click on the “Save” button to save it in your store.
Frontend
After configuring the printing colors and printing methods, your shopper can design the product from the available color and printing options.
Note: The printing method will be asked when the shoppers are adding their designed products in the cart.


