By enabling the Color Detection feature from the backend you will be able to customize the color of the image. Here is how you can remove background from the Designer tool.
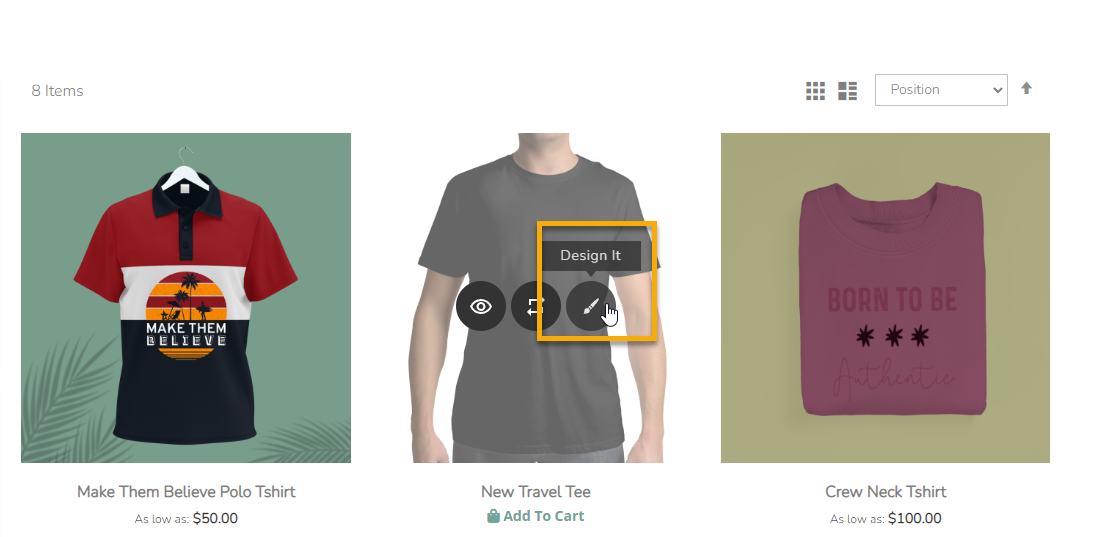
Click on the Designer Tool icon which is displayed on the product.
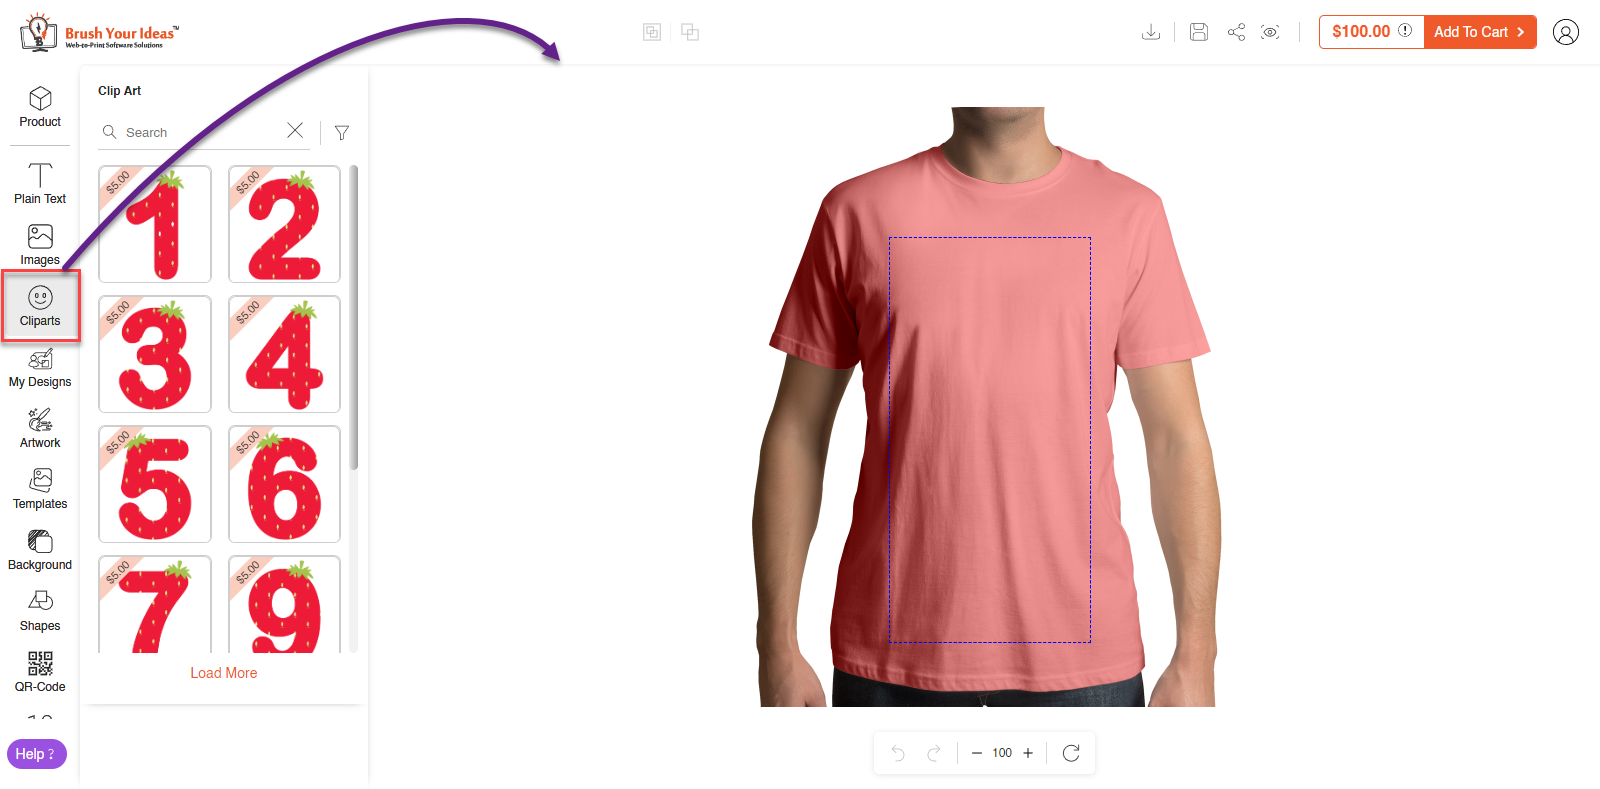
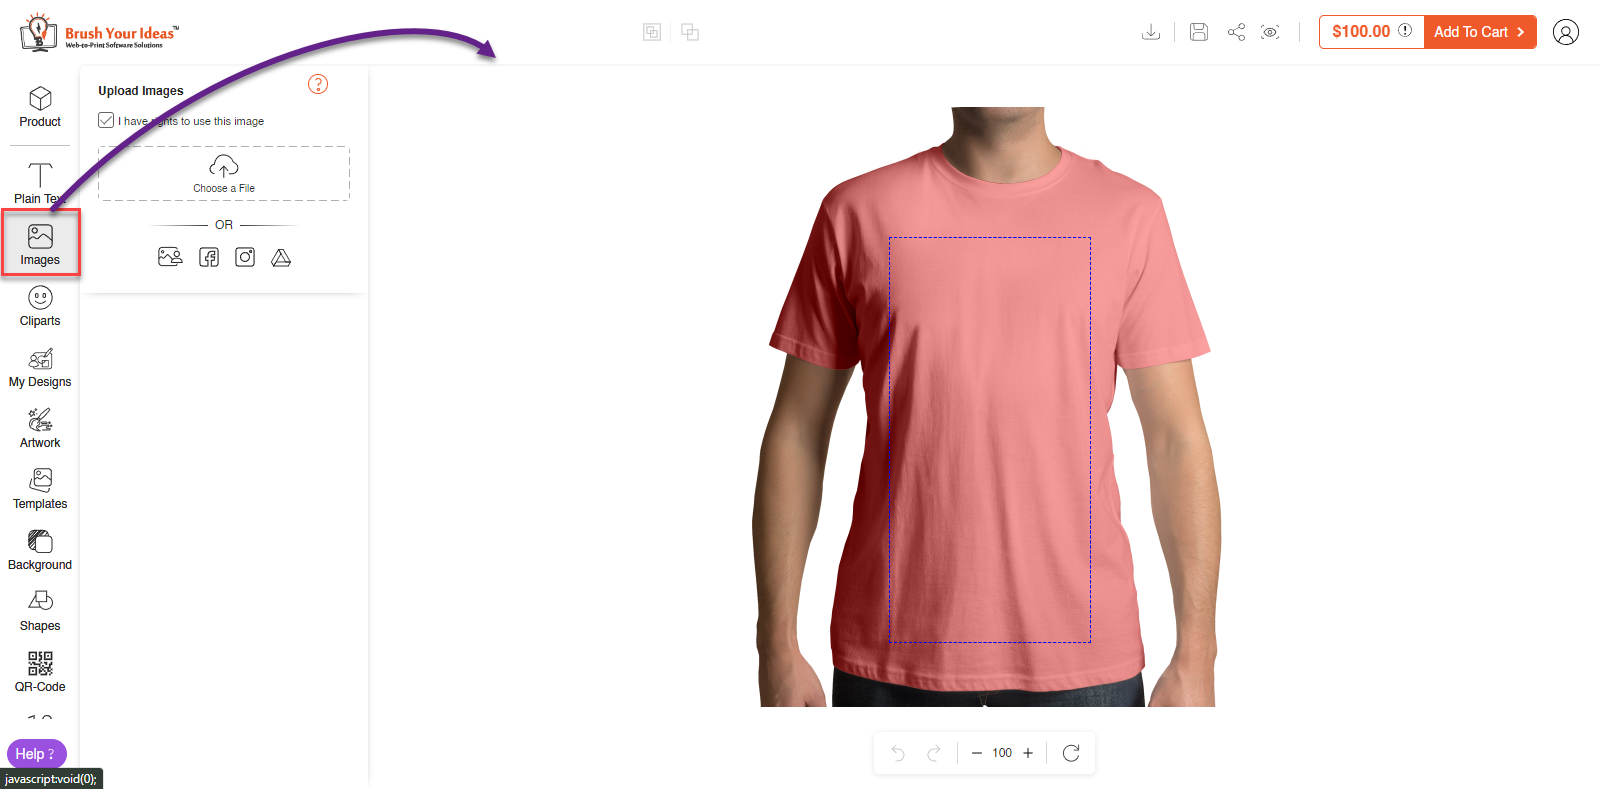
The designer section will be opened and to upload an image go to Image or to select a clipart, go to Clipart.
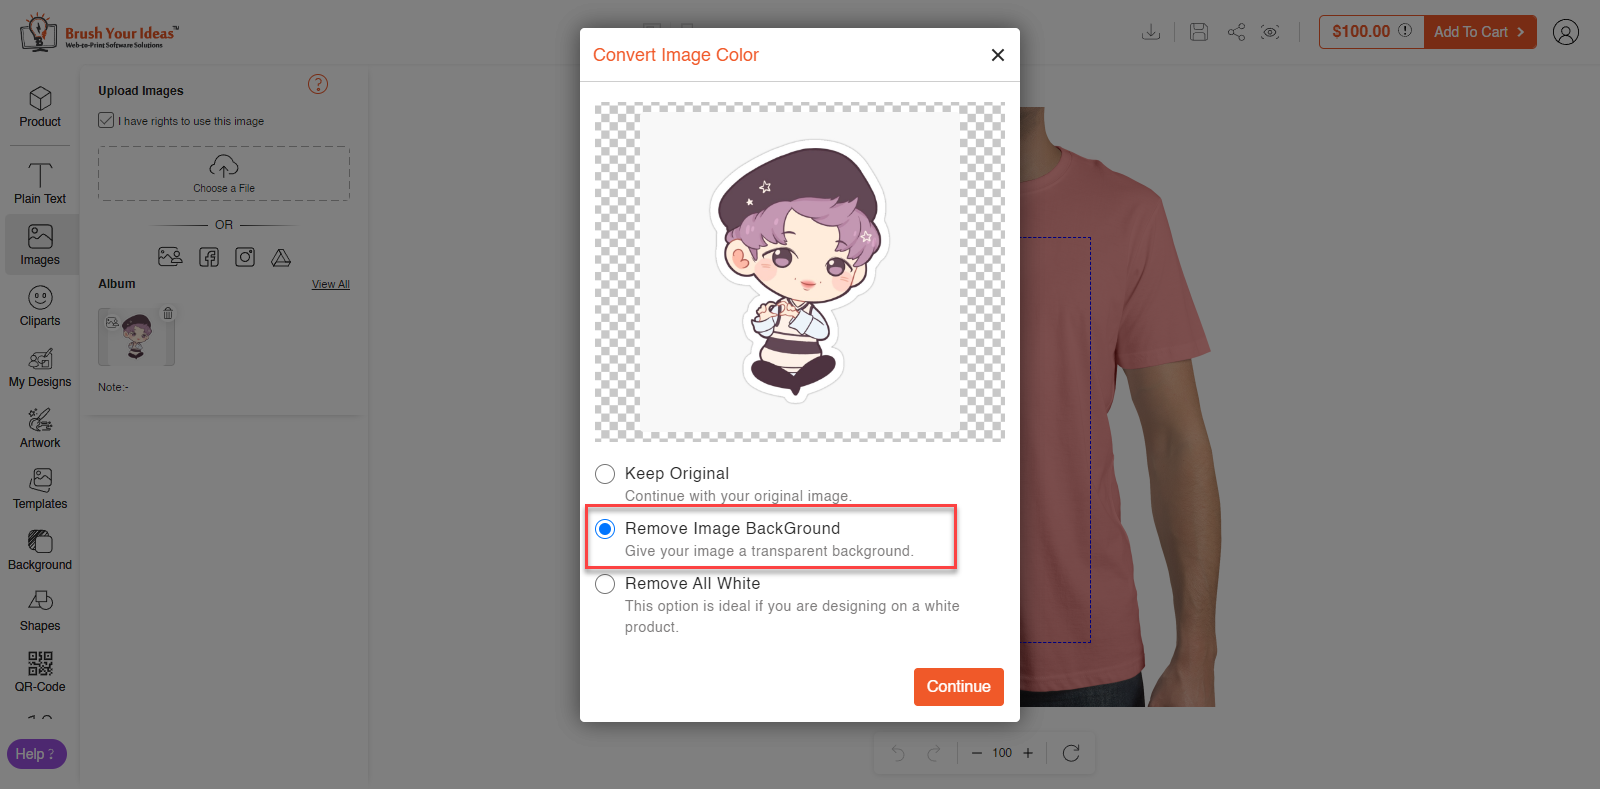
When you upload an image or select a clipart, a pop-up displays ‘Convert Image Color’ where you can customize the color of the image or the clipart. There are three options here : Keep Original, Remove Image Background and Remove All White.
Remove Image Background option removes the background of the image and the main element of the image is only uploaded to the product. Select the particular option and click on Continue.
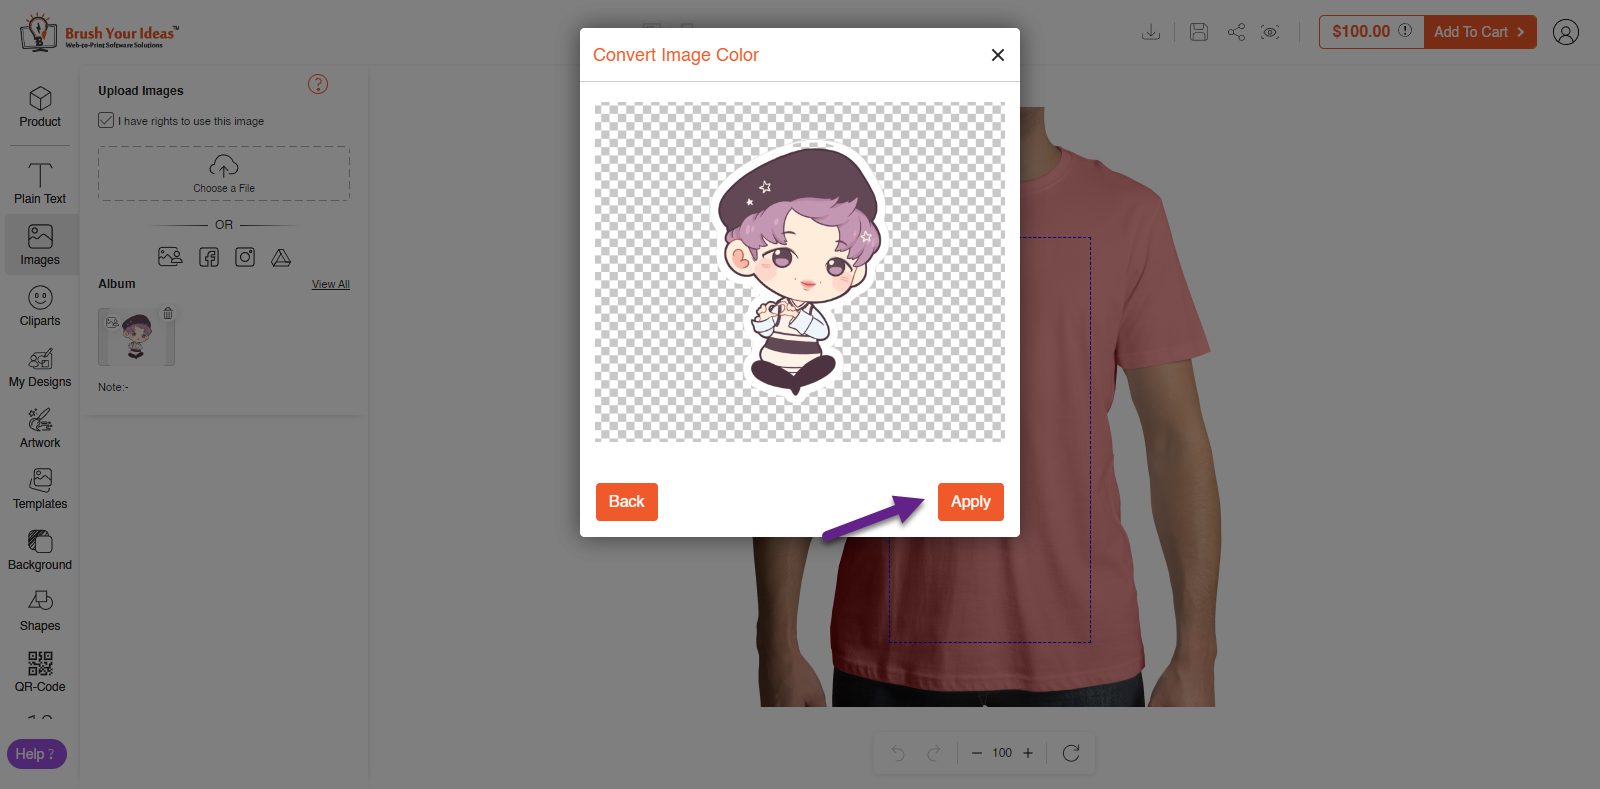
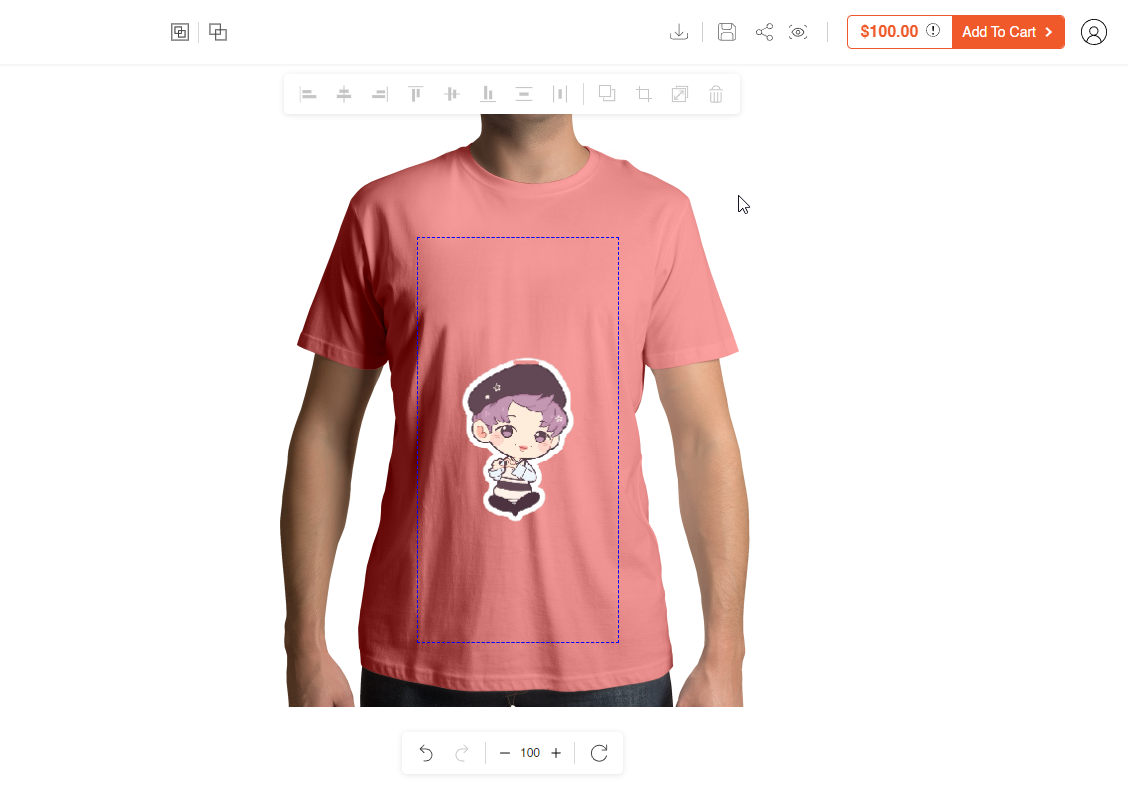
Further you have to click on Apply to apply the image onto the product.
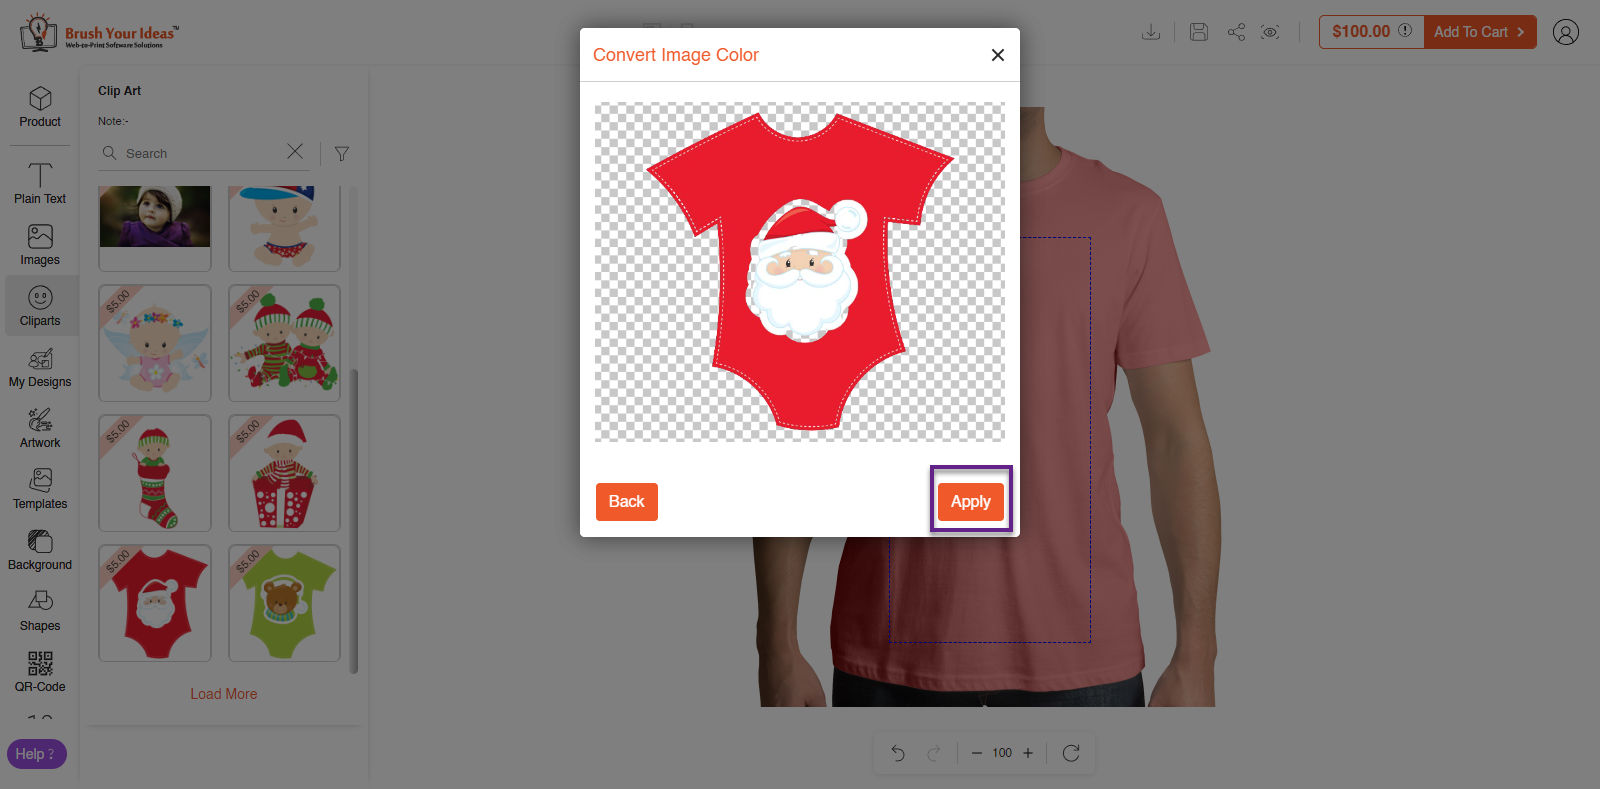
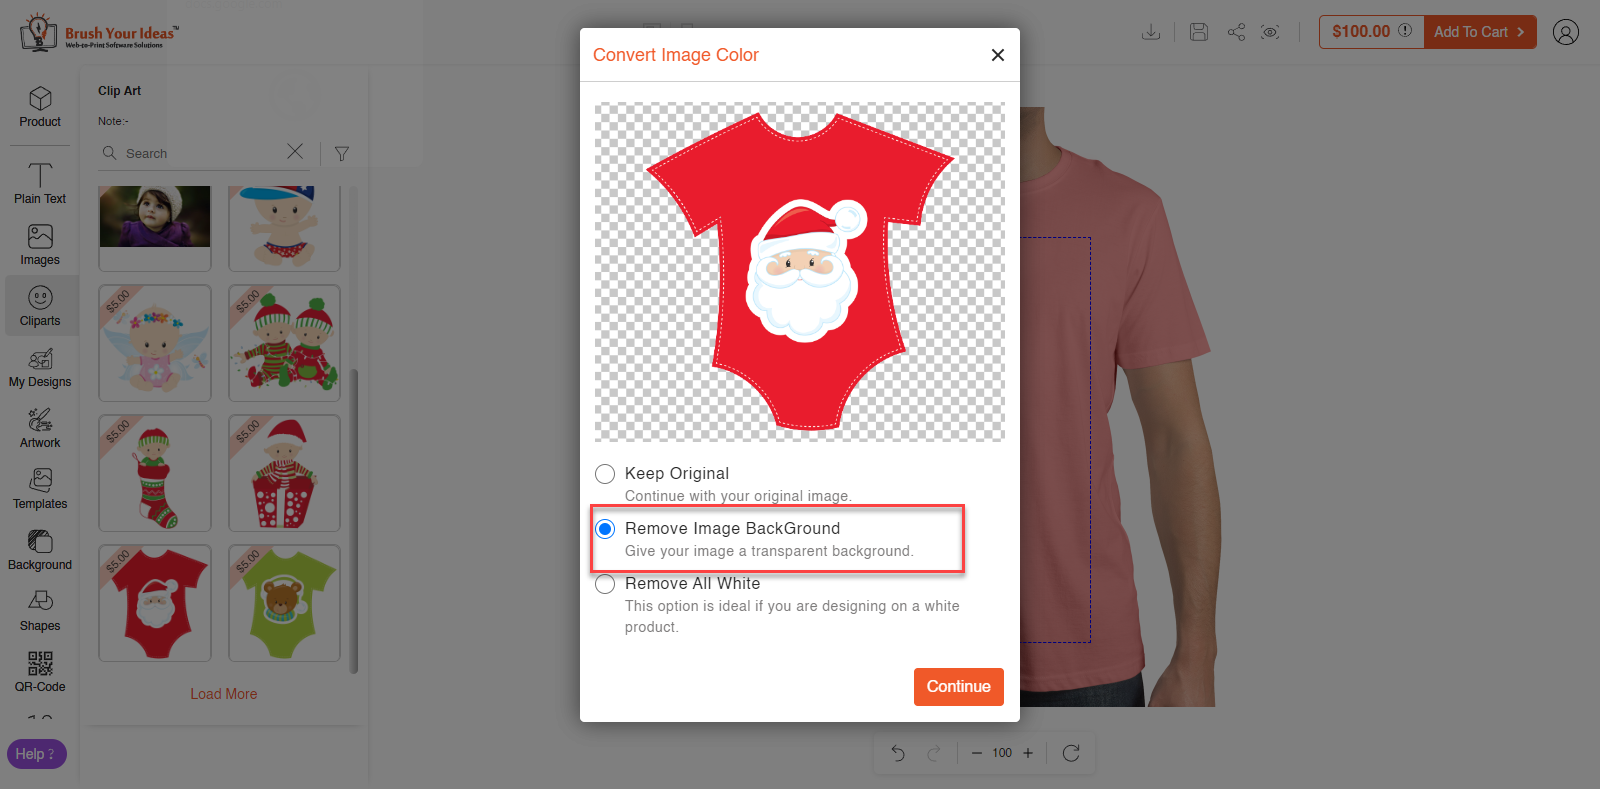
Even in the Clipart section, the Remove Image Background removes the background of the clipart. For that, you have to select a clipart and select Remove Image Background from the pop-up displayed while selecting the clipart. Click on Continue to proceed further.
Click on Apply to apply the clipart onto the product.