


With the template editor feature, you can create new templates and edit existing ones. You can offer the ready-made template to your customers. So that your shopper doesn’t have to create the designs from scratch. Here is how you can create the templates.
Login to Backend
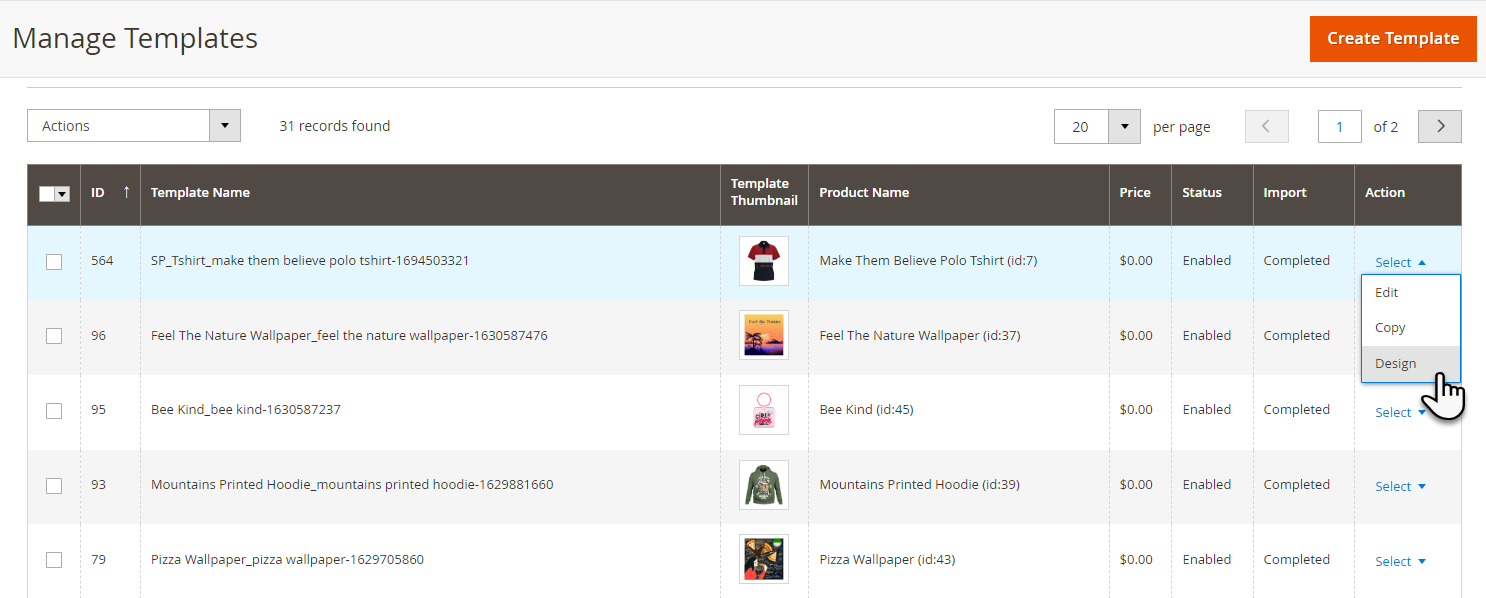
Navigate to the Product Designer ➤ Manage Templates, you will land on the “Manage Templates” page. Now click on the “Design” button under the “Action” tab on the right side. After clicking, you will navigate to the Product Designer Tool.

Left Panel Features
Text: With the text feature you can easily add the text to the products. You can customize the text as per:
- Font Section: You can select the font, font style, color, styling, and more.
- Arc : You can bend the text as per your requirement.
- Stroke: With the stroke, you can add the borders to your text.
- Drop Shadow: Drop shadow feature lets you add the shadow effect to the added text.
- Skew: Using this tab you can skew the layers in multiple directions.
- Opacity: With the opacity feature you can set the transparency or visibility of the visible design.
- Object Position: Change the object position, horizontally or vertically on the canvas.
Images: In the Images section, you can upload an image to apply on the product. You can upload through Facebook, Instagram, Google Photos and even from your system.
Clipart: The clipart tab lets you add the clipart of your choice among those that are given. We offer 10306 cliparts.
- You can apply various filters through the Image Filters section and also can apply various effects through Image Effects.
- Also, Opacity, Skew and Object Position can be set through the given segments.
My Designs: Here you can view the saved images under the My Designs section. You can apply among them onto the product.
Artworks : You can add the artworks of your choice onto the product.
Background : Background can be applied onto the product through here. You can either apply background images or you can apply plain background colors.
Shapes: With the shapes tab, you can add different shapes to the product.
QR Code : If you want to apply QR code to your product you can do it through here. All you need to do is enter the text and then the QR code is automatically generated and is applied to the product.
Name Number : Through the Name Number feature you can add Name and Number onto your product. This feature is mainly used for sports clothing products.
Data : With the help of Variable Data Printing, you will be able to customize the details of each employee.
Other Features

Alignment: You can align your design attributes using this feature. You can set the design attributes to the left, right, vertical, horizontal, to the top or to bottom.
Duplicate: You can duplicate any layer with this feature.
Best Fit: With the best-fit feature you can set as per the product size.
Delete : You can undo the changes by clicking on the Delete icon.
![]()
Save: By clicking on the Save button you can save the template.
Preview: From this feature you can preview the edited product.


