Canvas Resize comes under the Custom Size products. So it becomes crucial to assign the full design area to the Custom Size product. This lets customers design the product in the best possible way.
To let your customers do this, here is how you can assign a full design area to the custom-size product.
Login to Backend
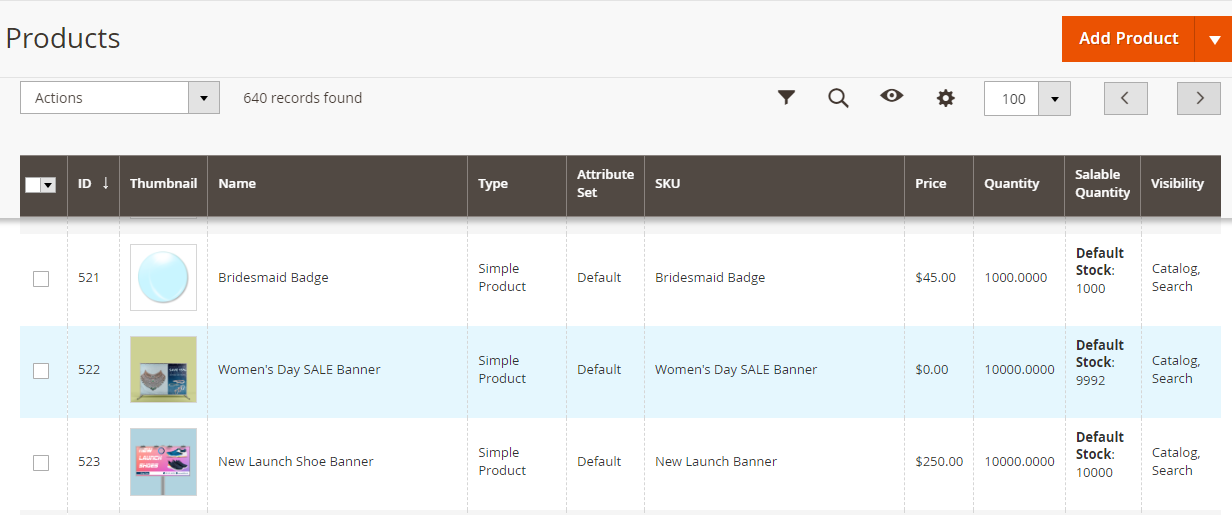
Navigate to the Catalogs ➤ Products, you will get the list of the products. Now open the Custom Size product in Edit mode or Add a New Product.

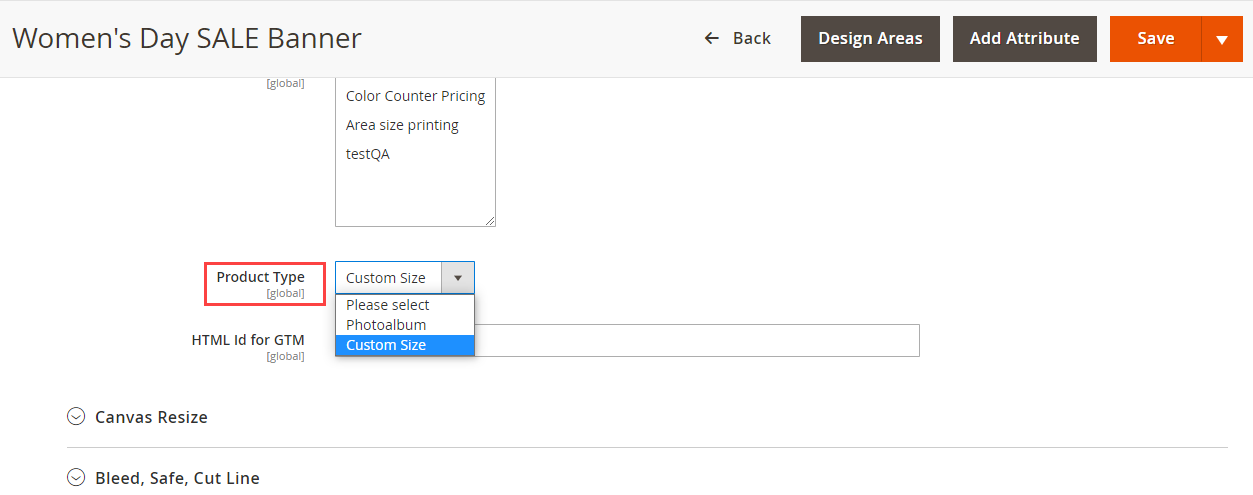
Firstly navigate to the “Product Designer” section and select “Custom Size” as the Product Type.

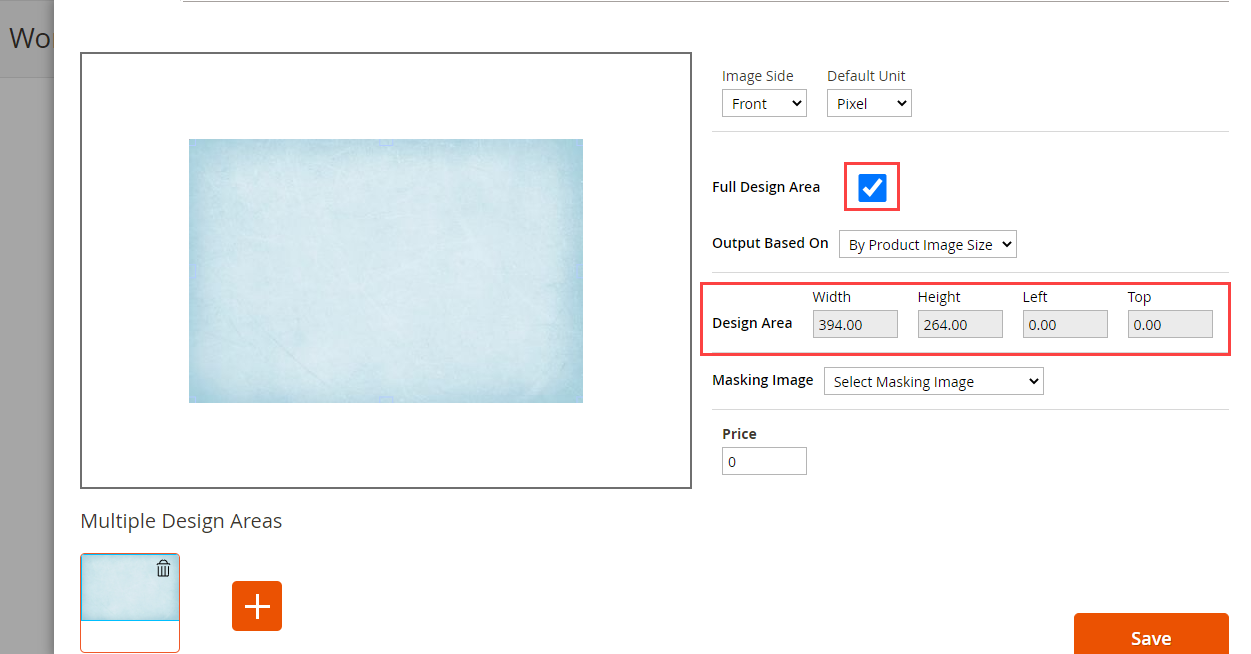
Now, click on the Design Area and checkmark the Full Design Area. This will automatically assign the design area to the full surface of the product, and you can’t change the dimensions of the design area.

Select the base of the output and masking image for the design area. After assigning the design area, Save the product.
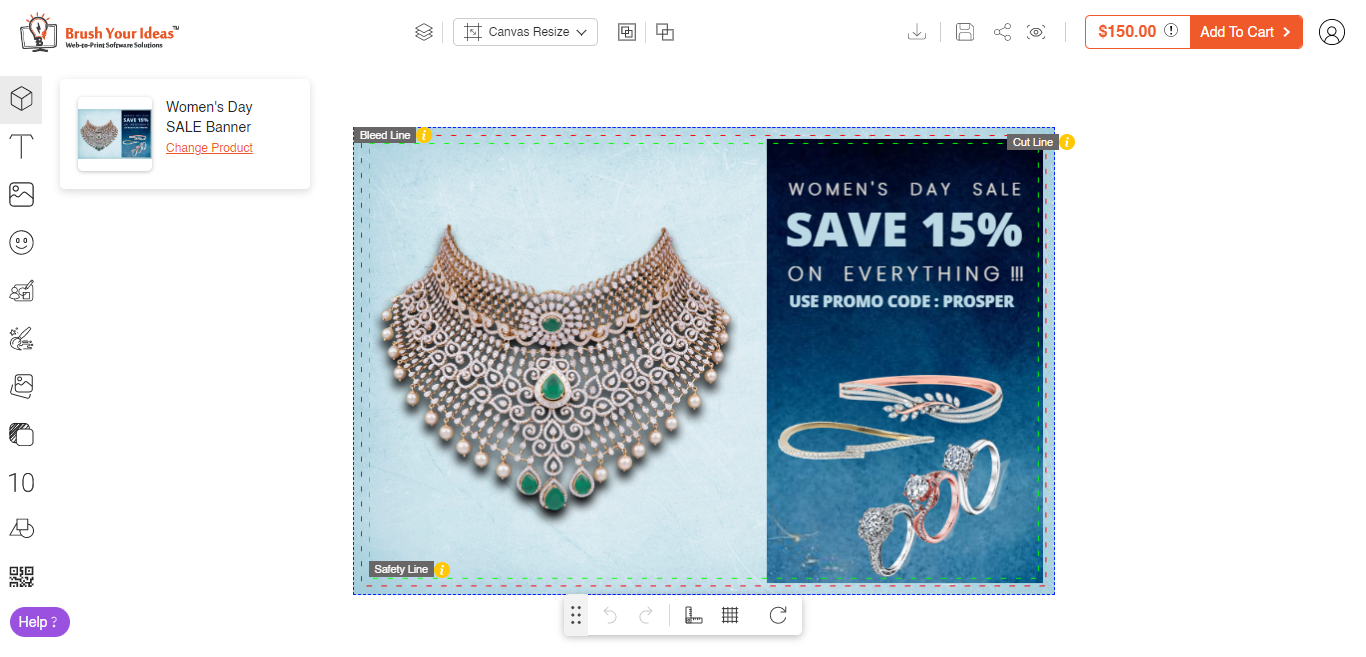
Frontend View


