


You can create multiple suppliers for your store and can assign them to your products as per your requirements. Let’s configure it.
Backend
Login to the backend of your store. To add/manage supplies in your store go to Magemob Inventory ➤ Manage Suppliers, you will land on the “Manage Suppliers” page. Now to add a new supplier click on the “Add Supplier” button and fill in the following information.
Note: Fill all the fields with the “*” mark
Supplier Information
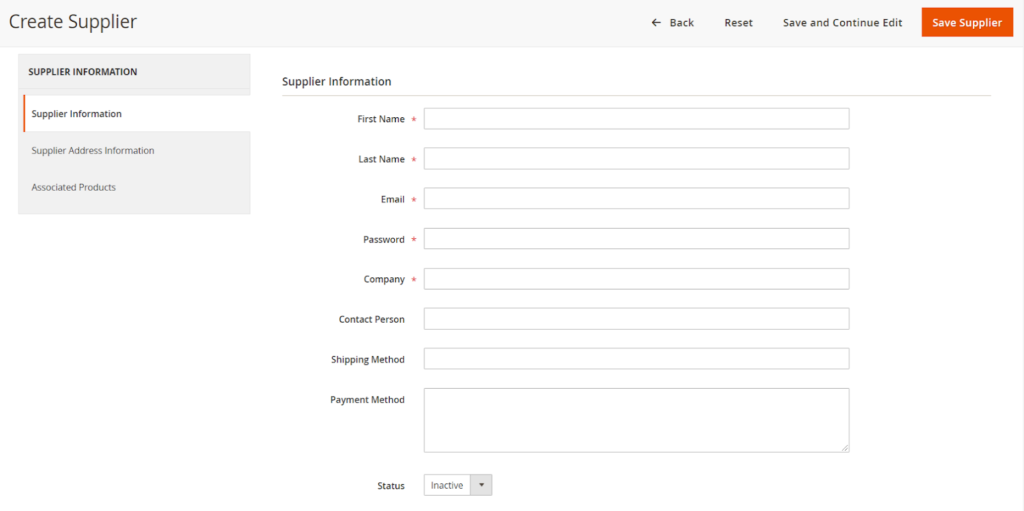
First Name: Enter the first name of the supplier.
Last Name: Enter the last name of the supplier.
Email: Enter the Email address of the supplier.
Password: Enter the password for the supplier’s account.
Company: Enter the name of the company.
Contact Person: Enter the name of the contact person.
Shipping Method: Enter the shipping method for this supplier.
Payment Method: Enter the payment method for this supplier’s account.
Status: Select the status of this supplier account from “Active” or “Inactive”
Supplier Address Information
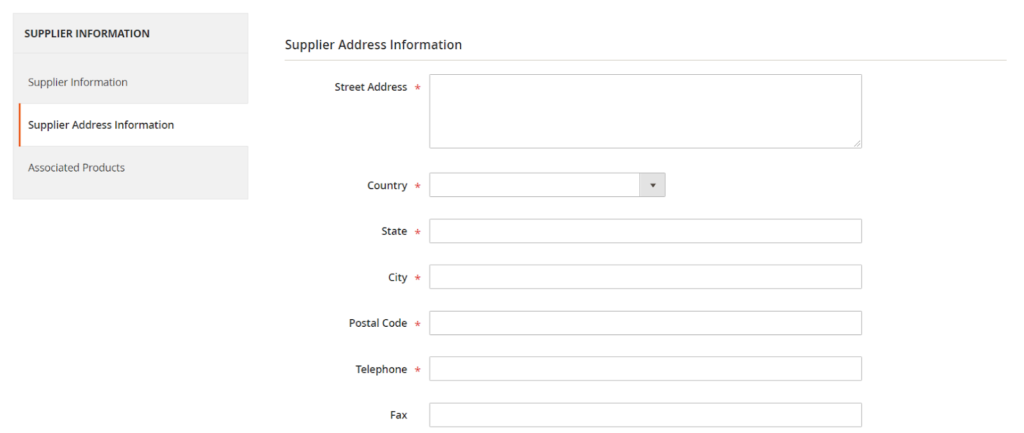
Street Address: Enter the street address of your supplier.
Country: Enter the country of your supplier.
State: Enter the State of your supplier.
City: Enter the City of your supplier.
Postal Code: Enter the postal code of your supplier.
Telephone: Enter the telephone number.
Fax: Enter the fax number of your supplier.
Associated Products
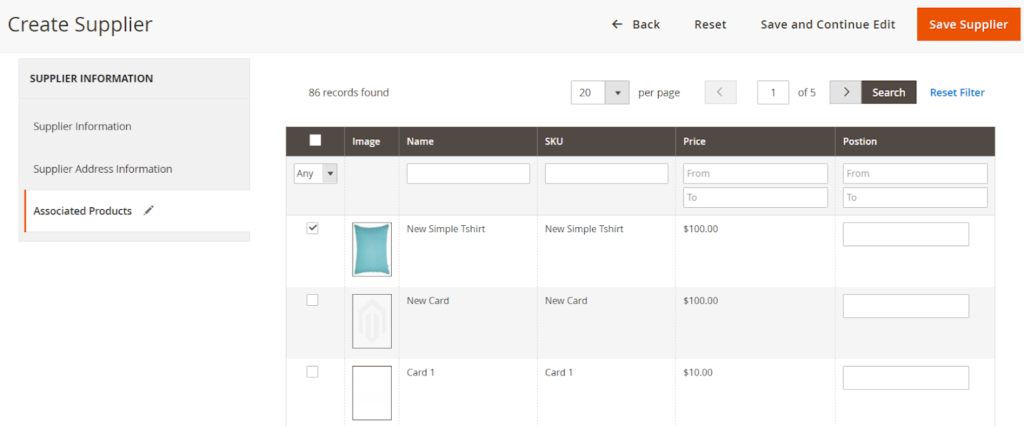
In this section, you can assign the associated product to the supplier.
After configuring all the information click on the “Save Supplier” button to your store. You can check the created supplier by going to the “Manage Supplier” page.
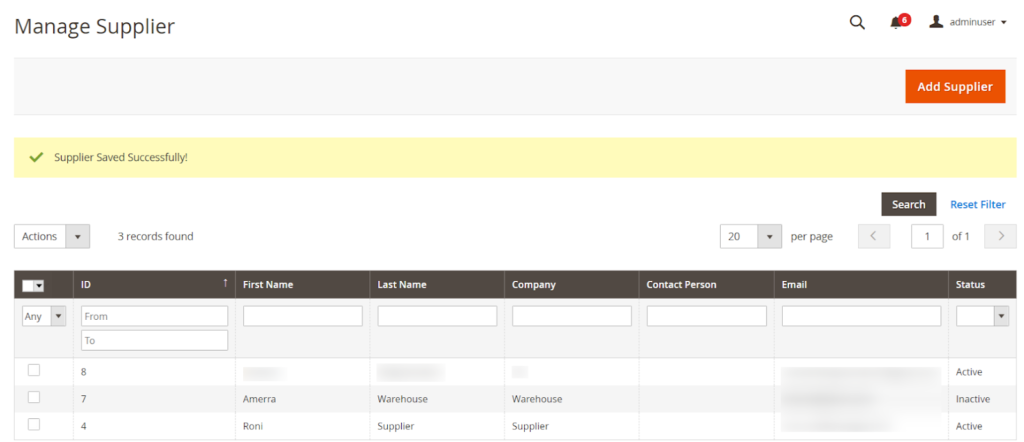
Note: Manage Supplier is a feature of the Print Inventory Manager addon and one needs to purchase it additionally.


