Sources are the locations from where the inventory is controlled or shipped for order fulfillment. These locations can be stores or warehouses or pickup locations. You can assign the sources to each product as per your convenience.
Backend
To assign the sources to the product, Firstly you need to create the source in your store. Here is how you can do it.
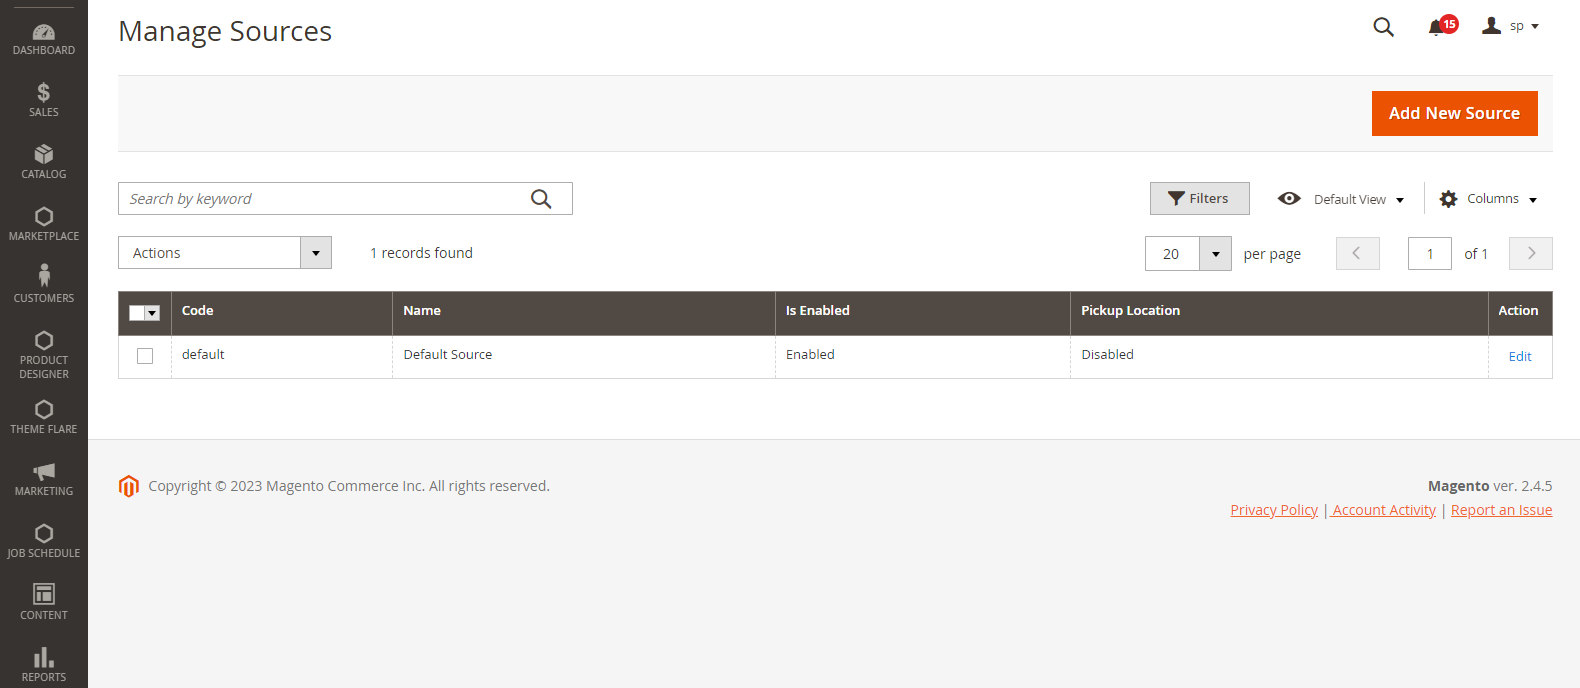
Go to Stores ➤ Inventory ➤ Sources, you will land on the “Manage Sources” page.

Now click on the “Add New Source” button and fill the following fields.
Note: The Field with the “*” marks are mandatory fields.
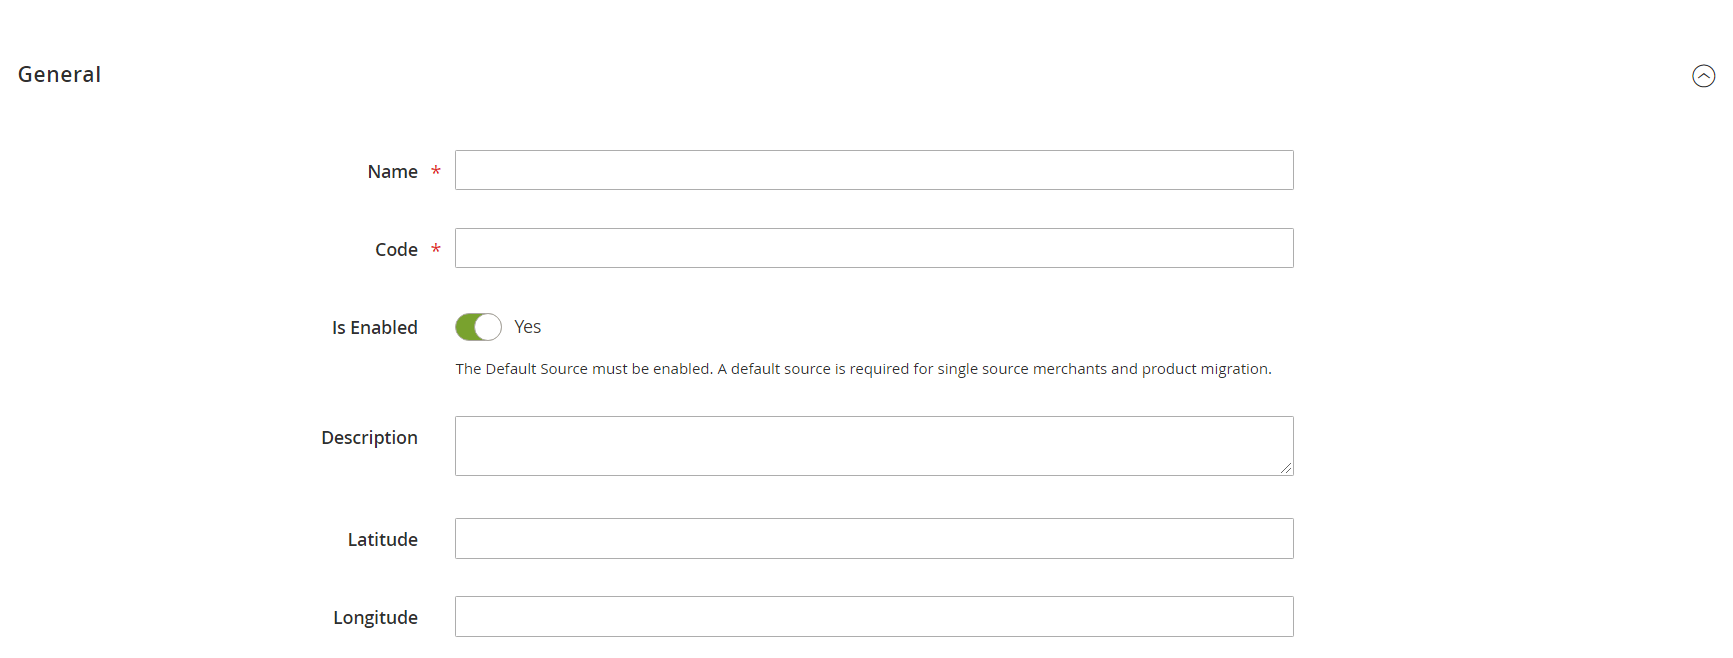
General Section

Name: Enter the name of the sources.
Code: Enter the suitable code for the source.
Is Enabled: Toggle “Yes” to enable the store.
Description: Enter a suitable description for the source.
Latitude and Longitude: Enter the latitude and longitude of the source.
Use as Pickup Location : Click the toggle button as YES in order to use it as a pickup location.
Contact Information

Contact Name: Enter the contact name of the source
Email: Enter the Email address of the source.
Phone: Enter the phone number of the source.
Fax: Enter the fax number of the source.
Address Data

Country: Select the country of the source.
State/Province: Select the state/province of the source.
City: Select the city of the source.
Street: Enter the street address of the source.
Postcode: Enter the Postcode of the source.
After creating the source go to Catalogs ➤ Products, and open the product in the “Edit” mode.
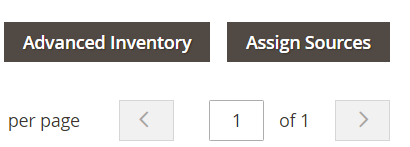
Now scroll down to the “Sources” section and click on the “Assign Sources” button.

Here you will get all the list of created sources from the backend.

Checkmark the source and click on the “Done” button.
Now the sources have been assigned to the product and you can manage the quantity as per your requirement.

To unassign the sources click on the “Unassign” button.
After configuring all the details click on the “Save” button in the top right corner. To save the sources of your product.


