


Blocks are used to show specific types of content to a section of the template. In PrintXpand web to print store you have the ability to manage the blocks by just drag and drop.
Backend
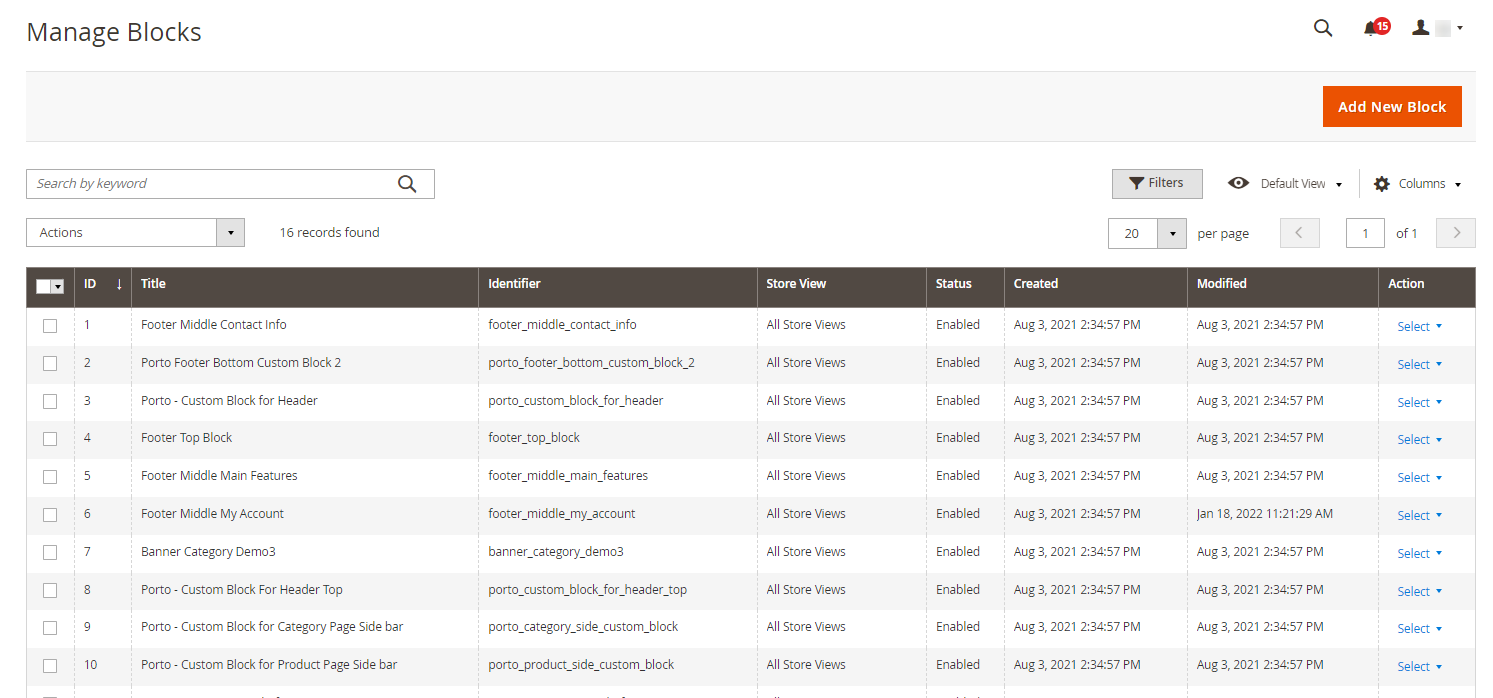
To add a block to your web to print store go to Theme Flare ➤ Theme Configuration ➤ Manage Blocks or Content ➤ Elements ➤ Blocks, you will navigate to the “Manage Block” page.
Now click on the “Add New Block” button, after clicking you will navigate to the “New Block” page.
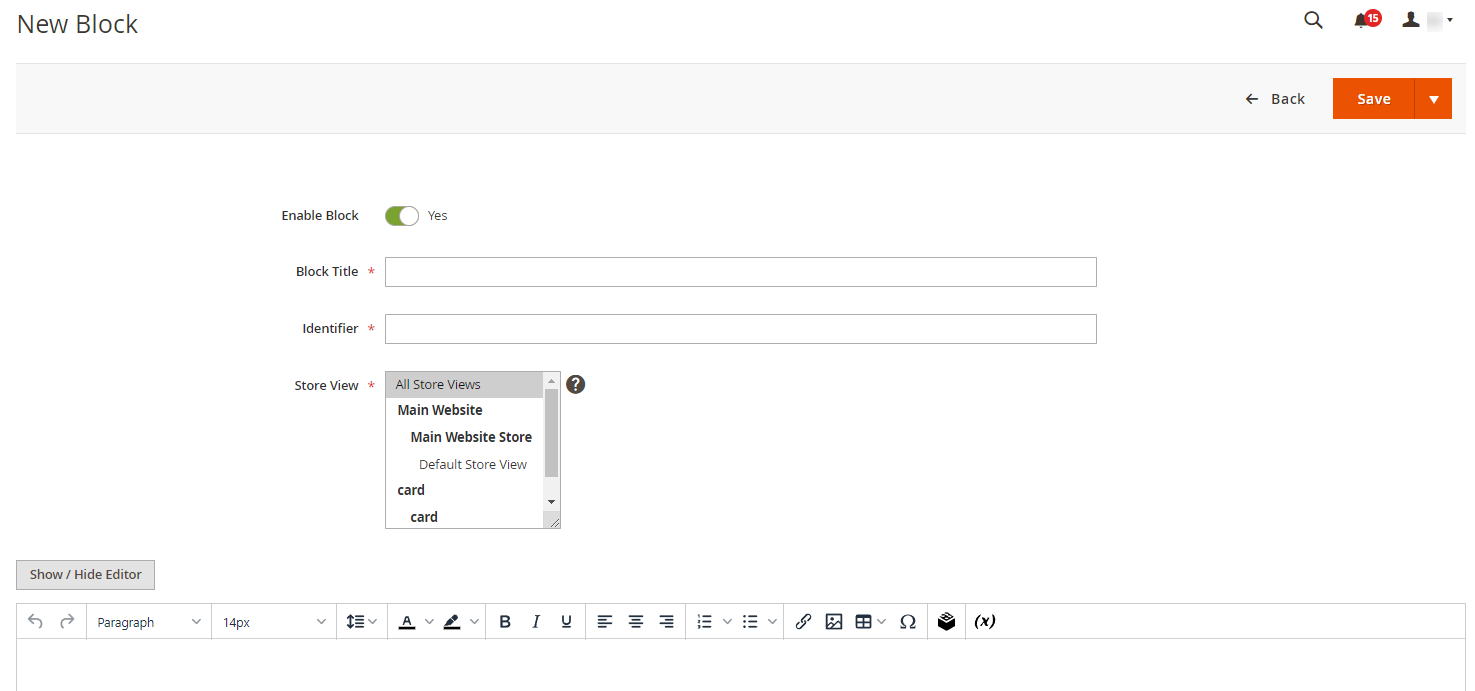
Fill the following details:
Enable Block: Toggle “Yes” to enable the button to your store.
Block Title: Enter the suitable block title.
Identifier: Enter the suitable title as an identifier.
Store Views: Select the store view in which you want this block to be displayed.
Description: Enter the short description for the block that will be displayed on the frontend.
After filling all the details click on the “Save” button, to successfully save it in your store.
Delete
To delete a block, click on the ‘Delete’ button from the “Action” drop-down menu. Now a confirmation message will pop up, press “OK” to perform delete action.


