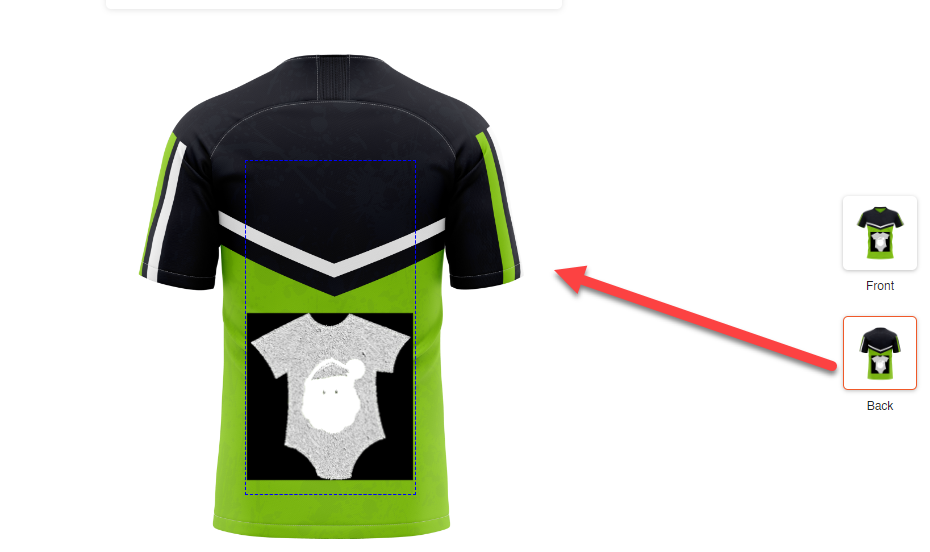
Yes, Color Conversion feature is used to customize the cliparts and the images that have been uploaded onto the product. It can only be accessed when you enable its configuration from the backend. Here is how it works for clipart.
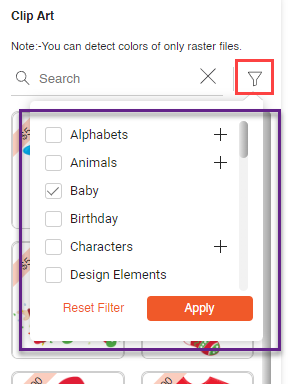
Click on the Clipart section and then you can choose the category from the Filter icon present beside the search bar. Select your preferred category and then click on Apply and by clicking on Reset Filter the default filter will be selected.
Note : Only colors of raster files can be detected.
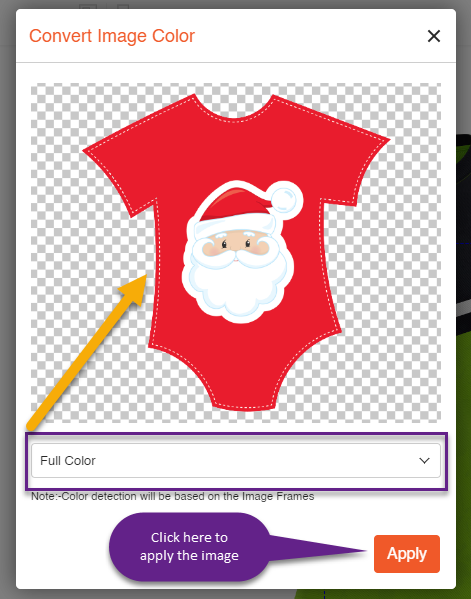
When you select a clipart that is a raster file, a Convert Image Color pop-up is displayed.
There are three sections here : Keep Original, Remove Image Background and Remove All White. Select any one among them according to your preference and click on Continue to move to the next step.
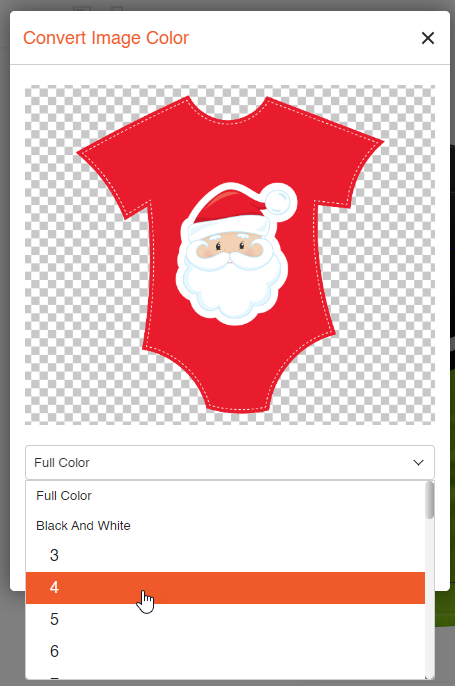
Further there are three options to select from :
Full Color – This is a default option where the color of the image remains as it is and no changes are made to the image. After selecting this option, click on Apply in order to upload the image onto the product.
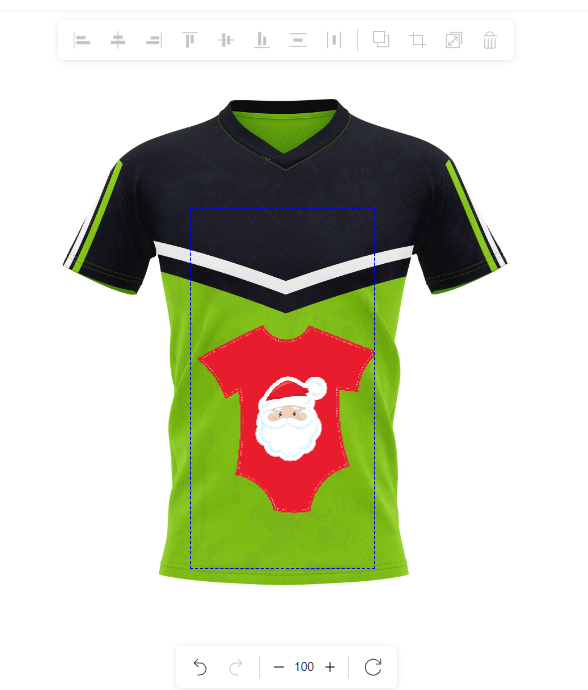
The image will be displayed on the product in such a way :
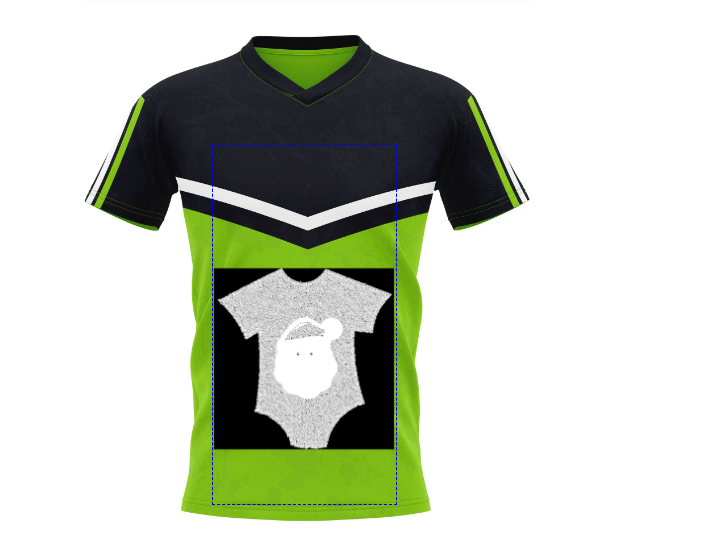
Black and White – The color detection is based on the Image Frames. The color of the image will be Black and White if this option is selected. Click on Apply to upload the image to the product.
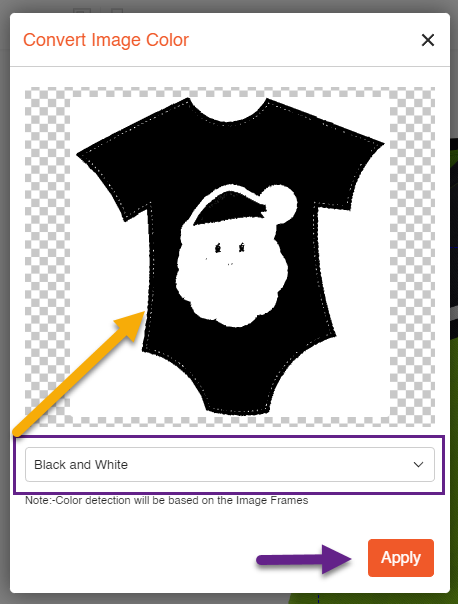
The image will be displayed on the product in such a way :
Color Counter – Select the color counter of colors you want to replace. The closest color will be fetched and will be showcased. Incase of higher counter selection, the image does not contain that much color then the lesser color will be fetched and displayed
From the Change Color icon choose the color you want to change.
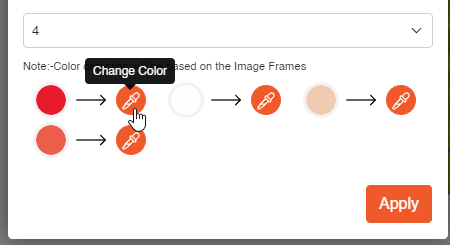
Choose the color you want to replace with the former color. There is also an option to pick your own color instead of selecting among the ones that are given.
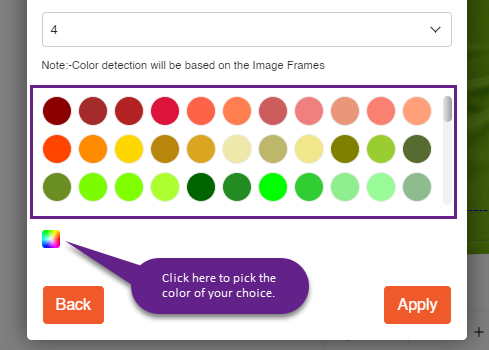
After selecting the color, click on Apply to upload the image on the product.
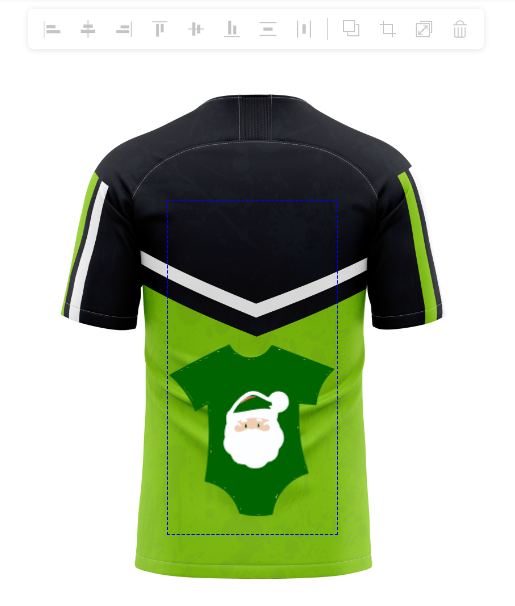
We can also view the product from various sides :
