
This video showcases how you can add a Card product to your store with the template and sync it with a product designer tool for your customers to let them customize the products.

This video showcases how you can add a T-shirt product to your store with the product template and sync it with a product designer tool for your customers to let them customize their favorite product.

The ruler and grid line help to align the object on the product designer tool. Your shoppers can use this ruler and gridline feature to properly design the product.
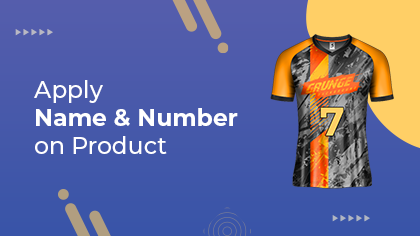
You can allow the customers to design the product using the “Name Number” option. You can enable the Name Number option for both types of products: Simple and Configurable. Watch this video for more information.
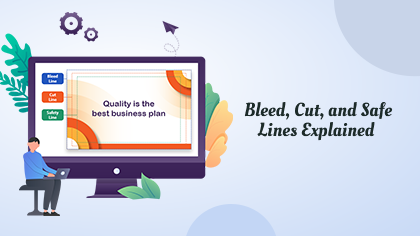
Our PrintXpand-Cut, Safe, Bleed Manager add-on provides advanced options to help your customers design business cards or visiting cards by managing the Bleed, Cut & Safety lines. Watch this video for more information.
Canvas resize feature lets your user set the size of the postcard or cover letter from the product designer tool. The admin has to create the custom templates from the backend so that shoppers can apply them on the front.
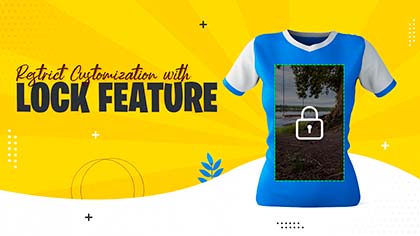
Locking objects prevents the customers from selecting and editing them. You can restrict the customers to edit some of the objects from the product template. You can also fix the position of the objects and allow customers to edit it as per their requirements.
Putting products on display with an eye-catching design attracts customers when they visit your store. Here is how to use pre-loaded templates and display them in your store!
You can create the masking image with the help of photoshop to hide some portion or reveal some portion. Here is how you can create the masking image for the photobook products.