This feature lets you add an umpteenth number of clipart for your customer to customize. Give your customer a free hand to add a personal touch to a product and spice it up with customizable cliparts.
How to Enable Cliparts on Your Store
To enable clipart in your store is very simple. Go to Stores ➤ Configurations scroll down to Layouts, here you will get the list of tabs you see on the frontend (left side).
Now, select the tabs including the clipart to enable it in your store. This configuration is for the overall store.
After configuring, click on “Save Config” to save it in your store.
Another way to enable/disable the clipart feature is from Catalogs ➤ Products, select the product and click on the “Edit” button. It redirects you to the “Edit Product” page.

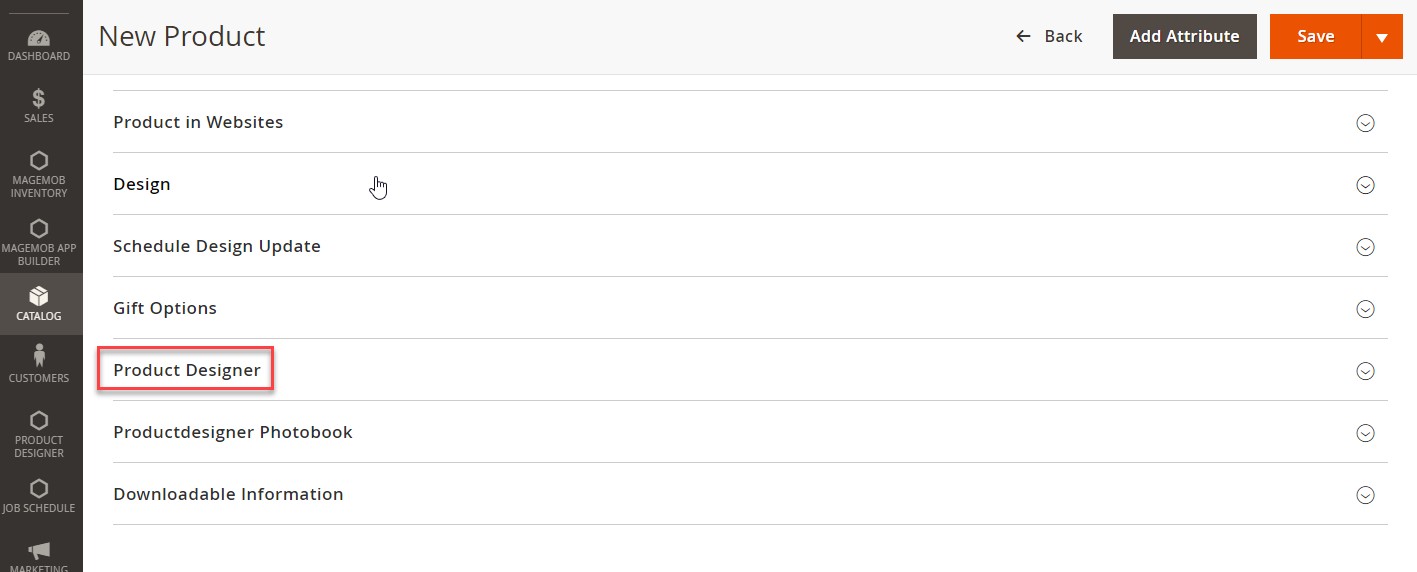
Now, scroll down to the Product Designer option. Here you will see the main tabs, select the tabs you want to make available for your customer. But this configuration is only for an individual product.
Front End View
The clipart tab will appear on the “Designer Explorer” (left side). From this tab, your customer can apply cliparts to the products. They can apply their favorite clipart from the “Designer Tools” (right side). They can align the clipart front/back positions, rotate and flip horizontally and vertically.
Note: This feature is an add-on, one has to additionally purchase it with an Essential or Premium package.


