Admin
Manage Artwork
To Manage or create new Artwork navigate to Product Designer > Manage Artwork.
Import Artwork
To import artworks, navigate to the Manage Artworks page and click the Import button. This action will redirect you to the Import Artwork page. Configure the following fields:
- Set Path for Artworks: Enter the path where the artwork files are stored.
- Upload File: Upload the CSV file containing artwork data.
- Upload Image: Upload the image files associated with the artworks only SVG files are accepted.
Once all required fields are completed, proceed to save and import the artwork records.

Create New Artwork
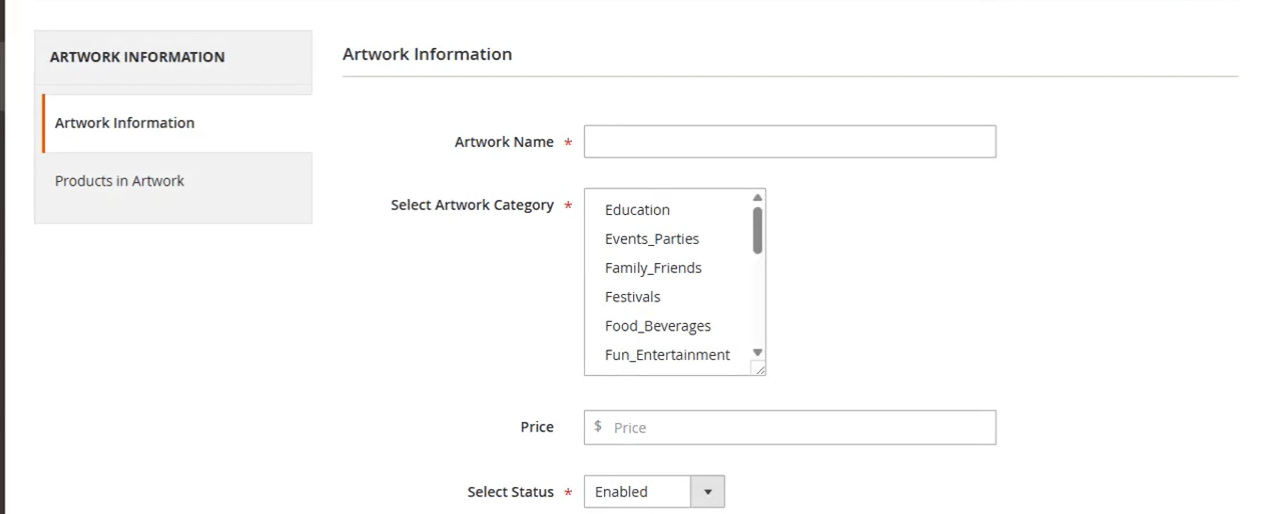
To create new artwork, click on the Create Artwork button. You will be redirected to the Add Artwork page, where you can configure the following fields:
- Artwork Name: Enter the name of the artwork in this field.
- Select Artwork Category: Choose the category under which the artwork will be listed.
- Price: Specify the price of the artwork.
- Select Status: Select the status of the artwork from the dropdown menu.
- Methods: You have two options available in this field:
- Upload: Choose this option to upload an existing artwork file. Only SVG file format is supported.
- Design It: Select this option to manually design the artwork using the built-in design tool.
- Upload Thumbnail: Upload a thumbnail image for the artwork that will be displayed in the storefront. Supported file formats are PNG, JPG, and JPEG.
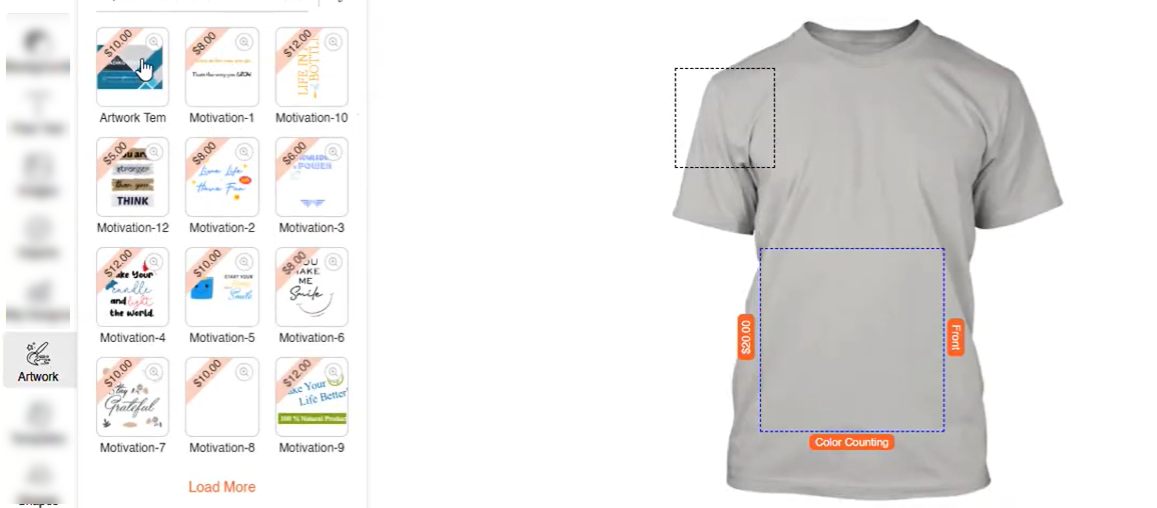
Front Store
In the Designer Tool to add artwork to the design, click on the Artwork feature under the Designer Tool tab. This will open the artwork section. Click on the desired artwork, and it will be automatically added to the design area.