


Admin
Product Designer Settings
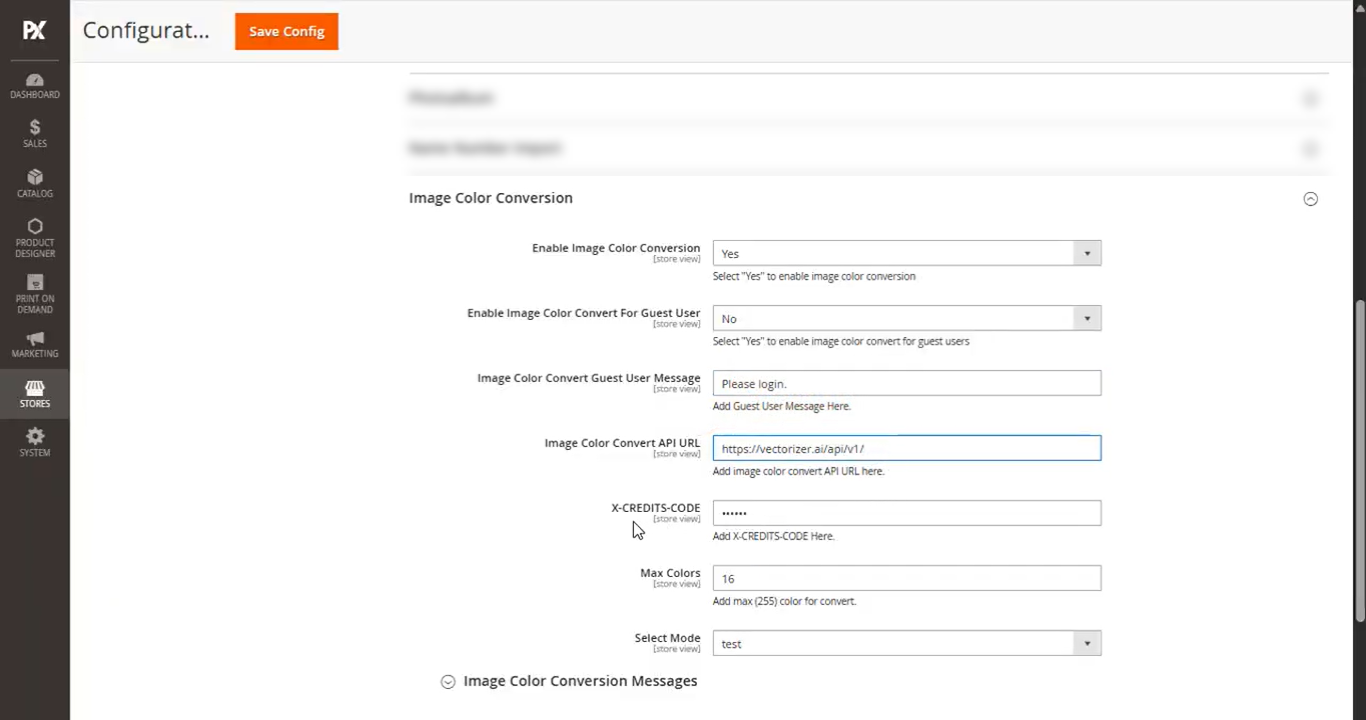
To enable the Color Detection feature, navigate to Stores > Configuration > Product Designer Settings.
Then, scroll down to the Image Color Conversion section and configure the following settings:
- Enable Image Color Conversion: Select Yes from the dropdown to activate image color conversion.
- Enable Image Color Conversion for Guest Users: To allow guest users to access this feature, select Yes in the dropdown menu.
- Image Color Conversion Guest User Message: Enter the message that will be displayed to guest users on the storefront.
- Image Color Convert API URL: Provide the API URL used for color conversion.
- X-CREDITS-CODE: Enter your valid X-CREDITS-CODE for authentication.
- Max Color: Specify the maximum number of colors to be used in the conversion process.
- Select Mode: Choose the desired mode for color conversion.
After completing all the configurations, click the Save button to apply the changes.
Enable for Product
Navigate to the product’s Designer Settings, enable the Color Detection toggle, and click Save to apply the changes.
Front Store
To use the Color Detection feature on the storefront, navigate to the Image section under the Designer tab.
Upload an image, and a Convert Image Color pop-up will appear with three options:
- Keep Original: Uploads the image without any changes.
- Remove Image Background: Removes the background from the uploaded image.
- Remove All White: Initiates the image color conversion process.
Select the Remove All White option and click the Continue button.
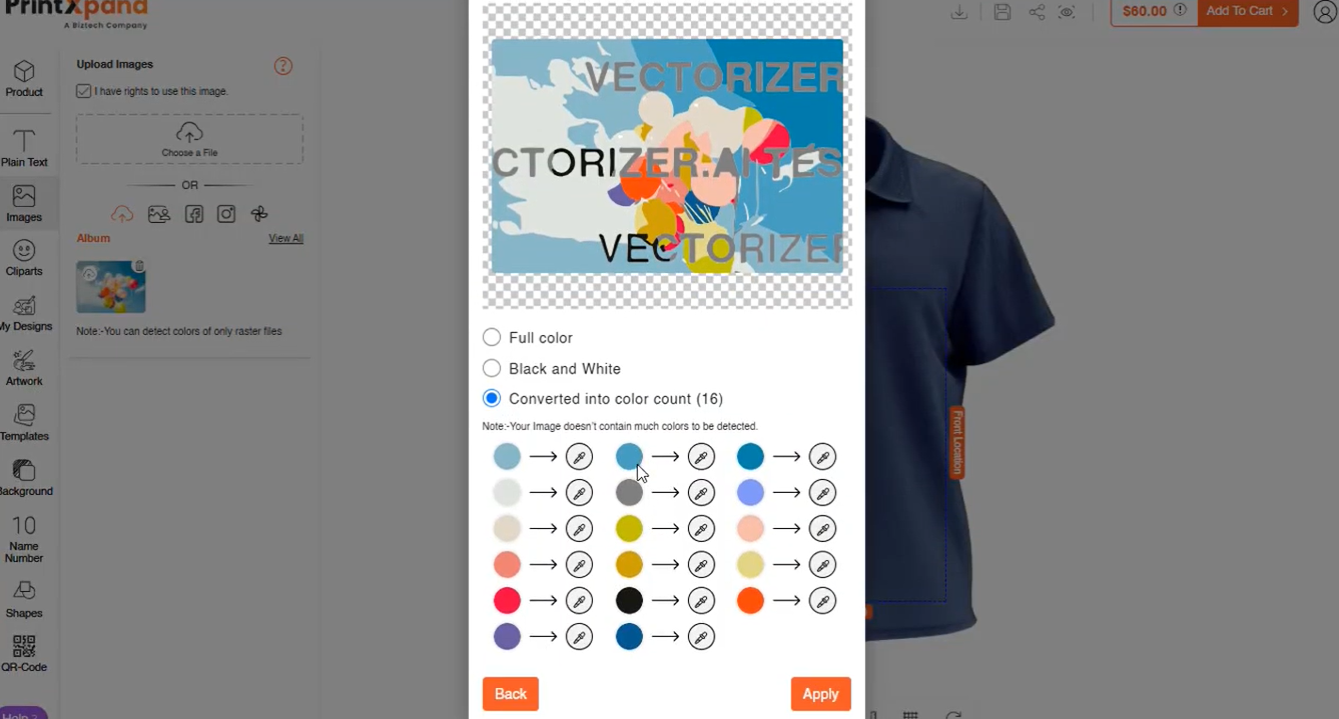
Next, you’ll see three conversion modes:
- Full Color
- Black and White
- Converted into Color Count (16)
Choose the Converted into Color Count (16) option. This will display all the detected colors from the image.
Click Apply to use the converted colors.
Refer to this video for more information:


