


Add product details
To add a simple product, navigate to Catalog > Products. On the product listing page, click the Add Product button. You will be redirected to the new product creation page. Fill in the following details:
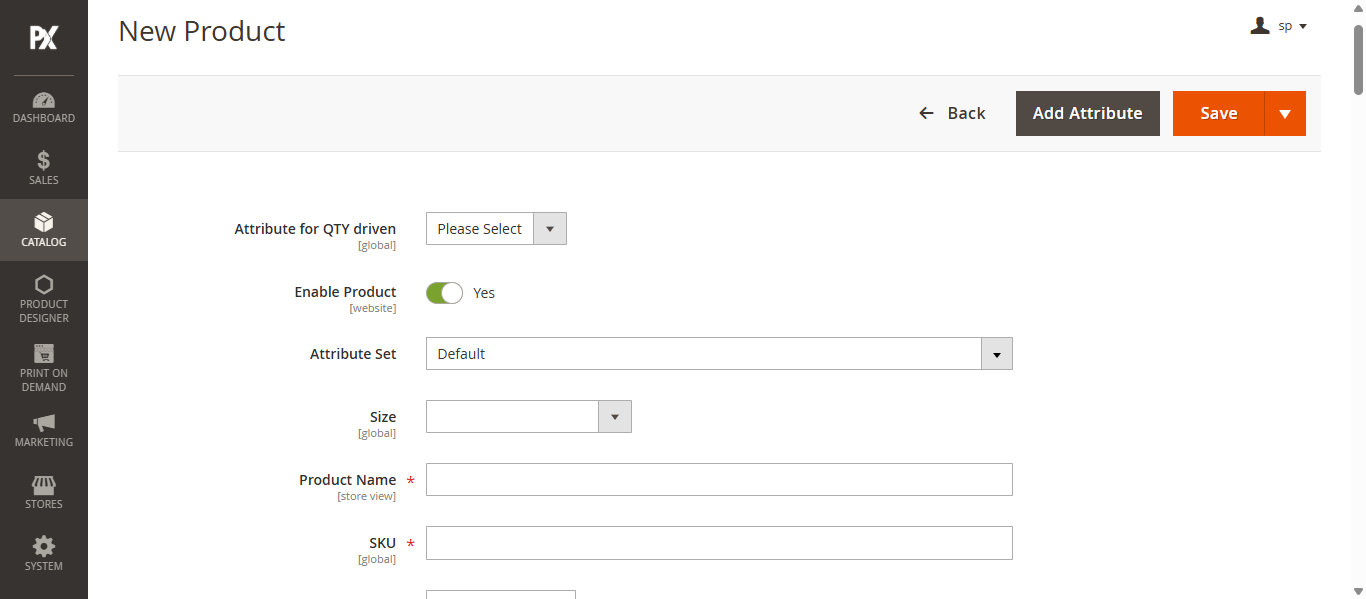
- Product Name: Enter the name of the product.
- SKU: This will default to the product name or can be set manually.
- Price: Set the selling price of the product.
- Quantity: Define the available stock quantity.
- Weight: Enter the weight of the product.
- Visibility: Choose the visibility setting for the storefront.
- Categories: Assign one or more categories from the dropdown menu.
Content
Now, scroll down to the Content section and enter the Description and Short Description. These details will appear on the Product Details Page (PDP) in the front store.
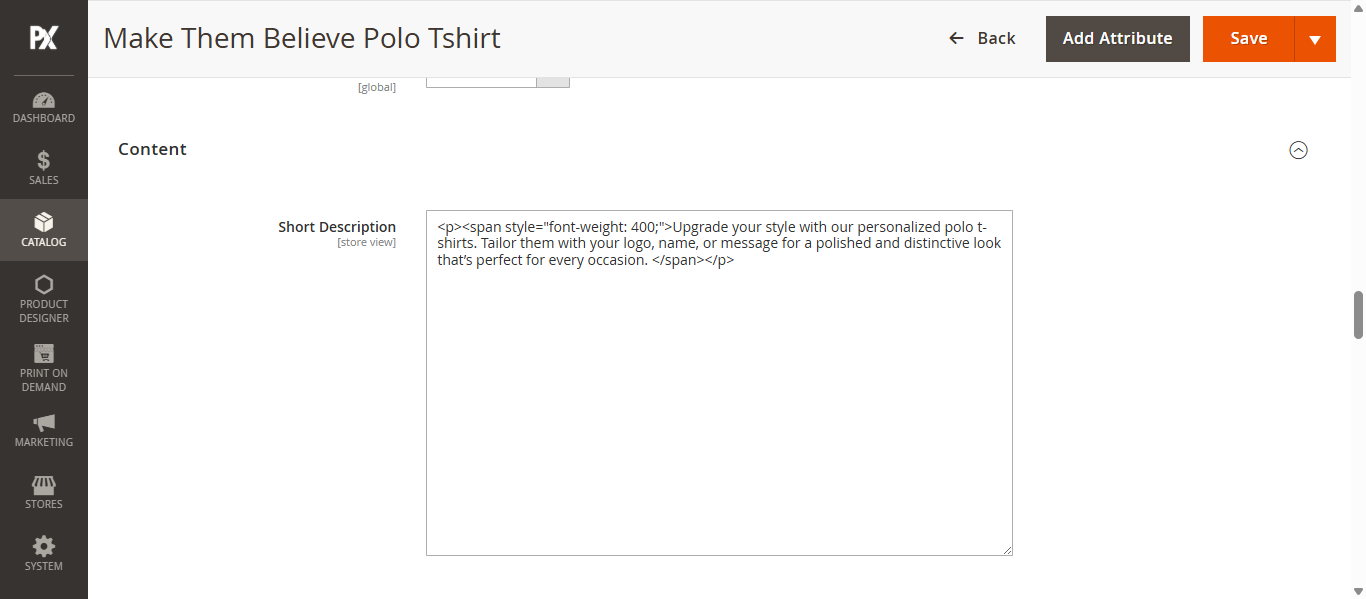
Image and Video
In the Images and Videos section, add product images and videos. These media files will be displayed on the Product Details Page (PDP) in the front store. To add a video, click the Add Video button.
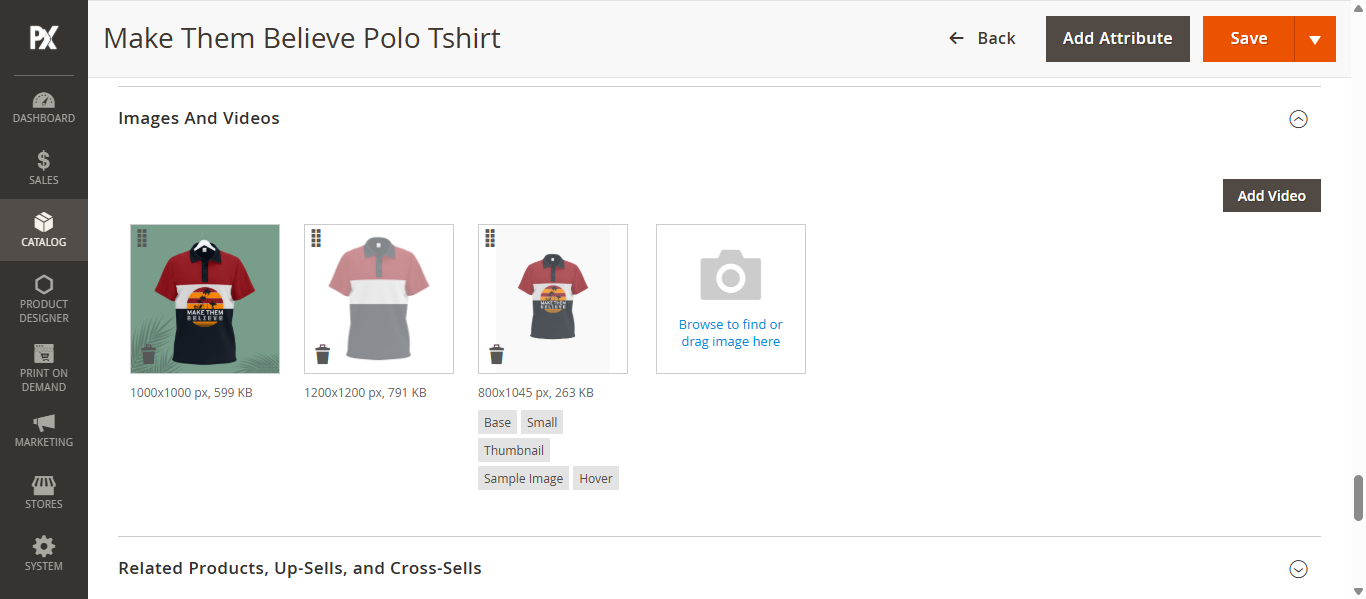
The Thumbnail image will be visible on the PDP page and the Decorate image will be visible in Designer Tool
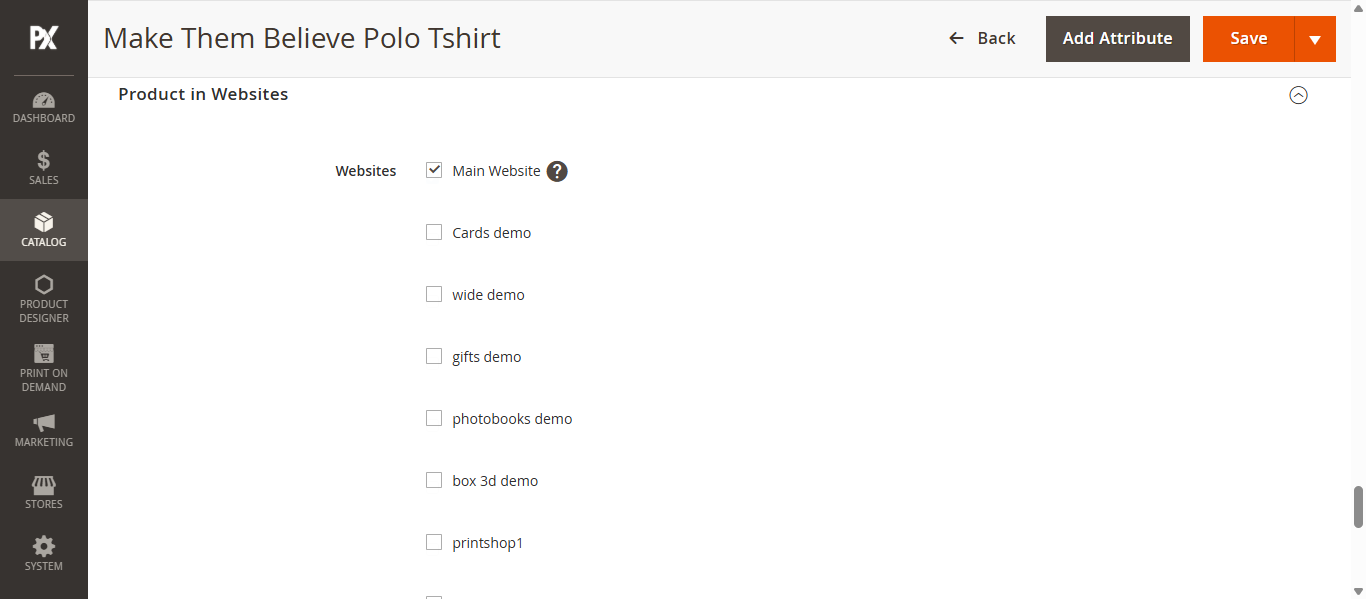
Product in Websites
Now scroll down to Product in Websites sections and select the preferred website in which the product will be visible. You can select multiple websites.
After all configurations Click on Save button to add the simple product.
Configurations
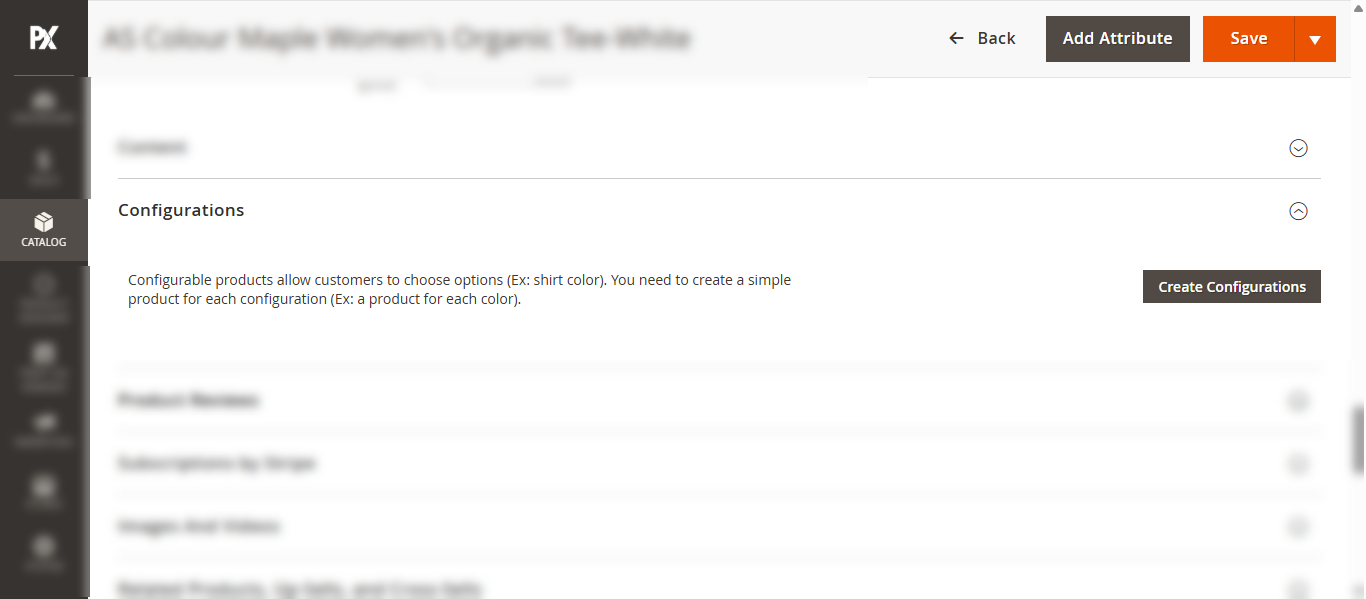
Now in the Configurations section click on the Create Configurations button. This action will open the Create Product configurations slider. In this you have to follow these following steps:
- Select Attributes: Choose the attributes (e.g., color, size) that define product variations.
- Attribute Values: Select the values for each chosen attribute.
- Bulk Images, Price, and Quantity: Upload images, and set pricing and inventory for each variation in bulk.
- Summary: Review and confirm the configuration details before finalizing.
1. Select Attribute
In this step, select the attributes for the configurable product. You can assign one or more attributes (e.g., color, size) based on how you want to offer product variations. After selecting the desired attributes, click the Next button to proceed.
2. Attribute values
In this step, assign values to the selected attributes. You can choose multiple values for each attribute (e.g., Red, Blue for Color; S, M, L for Size). Once the desired values are selected, click the Next button to continue.
3. Bulk Images, Price, and Quantity
In this step, customize your product variations based on the selected attributes and values. You will configure Images, Price, and Quantity for each SKU. The following options are available under each section:
Images
- Apply a single set of images to all SKUs
- Apply unique images by attribute to each SKU
- Skip image uploading at this time
Price
- Apply a single set of prices to all SKUs
- Apply unique prices by attribute to each SKU
- Skip price uploading at this time
If you choose the first option, enter the price in the provided field.
Quantity
- Apply a single set of quantities to all SKUs
- Apply unique quantities by attribute to each SKU
- Skip quantity uploading at this time
If you choose the first option, enter the quantity in the provided field.Once all values are configured, click the Next button to proceed.
4. Summary
In this section, review the summary of the configurable product you’ve set up, including all selected attributes, values, and configurations. To proceed click the Generate button to create the product variations. Then, click the Save button to finalize and create the configurable product.


