Hot Folder is an add-on application that makes the work easier for you by downloading the orders you require directly to your system. This video provides a detailed explanation of HotFolder Addon.

Color Detection feature helps your customers with detecting the colors on the uploaded image or clipart and customizing those colors as per their requirement. The video showcases you to change the background with color detection.

Product Detail Page consists of all the details regarding Product such as its Variants (if any), Images, Thumbnail and all such. You will get a glimpse on the product detail page through this video.

Tier Pricing is a pricing strategy that presents customers with several product options with corresponding pricing levels. This video provides you with a detailed explanation on the way to add tier pricing by applying discounts.
There are various templates that are offered to you by PrintXpand Designer Tool. Template provides you a ready-made view on how a page can look like. This video showcases the way to create a new template.
The 3D preview offers your clients a comprehensive 360° perspective of the products. There are various configurations that are needed to be made for 3D products. This video provides you a brief overview on all those configurations.
The 3D preview offers your clients a comprehensive 360° perspective of the products. 3D preview gives your customers a 360° view of the products. The product displayed in the 2D preview can be viewed in the 3D preview mode. Let’s explore through this video the way to do it.
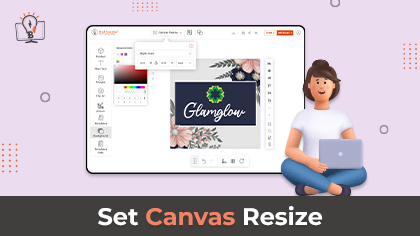
Canvas resize feature lets your user set the size of the postcard or cover letter from the product designer tool. In this video, you will get to know about the way you can set the canvas resize on the product.

3D preview gives your customers a 360° view of the products. Once you customize your mug using the 2D preview mode, you'll have the option to see it in a 3D preview. This video demonstrates the process for achieving that.
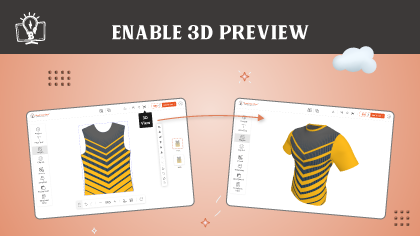
3D preview provides your customers to view the products they have designed in a three dimensional view. Let’s explore in this video the way to enable 3D preview for the product.
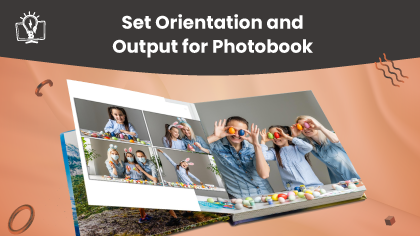
Orientation and Output type helps your customers customize their products accordingly. This video will help you to understand the way to set the Orientation and Output type for each photobook product.

Canvas Resize lets your customers decide the height and the width of the product as per their requirements. Let’s explore the way to set the maximum/minimum height and width for the canvas resize.
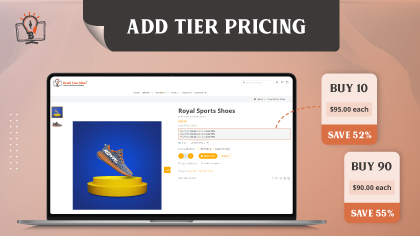
With the help of Tier Pricing your customers will be able to buy bulk products at a discount or lesser price than it would actually cost. From this video you will get to know the way to add tier pricing.

Your customers will be able to add images from their system as well as from their social media like Facebook, Instagram and Google Photos in order to customize their product. This video gives a detailed explanation of the way to upload the images from Instagram.

Your customers will be able to add images from their system as well as from their social media like Facebook, Instagram and Google Photos in order to customize their product. This video gives a detailed explanation of the way to upload the images from Facebook.
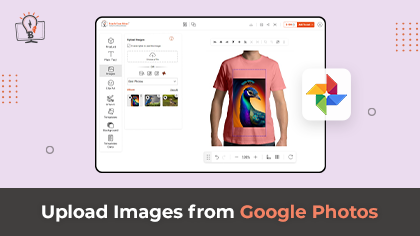
Your customers will be able to add images from their system as well as from their social media like Facebook, Instagram and Google Photos in order to customize their product. This video gives a detailed explanation of the way to upload the images from Google Photos.
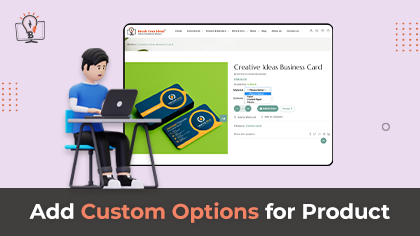
With the Customizable Option you let your customers design the product as per their requirements. Through this video you can explore the way to add customizable options for products.

Often we want to redo the changes we have made and so, the designer tool provides a reset functionality through which your customers can reset the customizations. This video explains how reset functionality on image will work on the frontend.
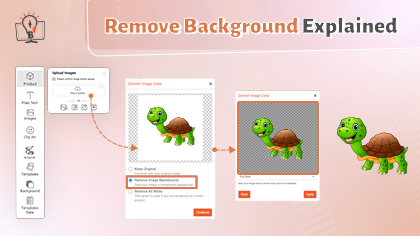
With the help of remove background feature, your customers will be able to remove the background of the image and customize it as per their requirement. Let’s explore in this video the working of remove background on designer tool.
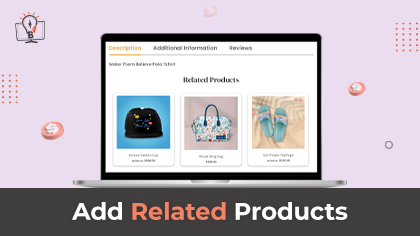
Related Products are shown to the customers in addition to the products the customers are looking at. This article showcases the way to add related products.
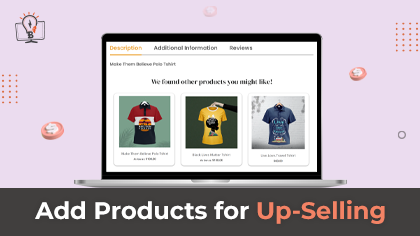
When you encourage your customer to purchase a product or service more expensive is known as upselling. This article showcases the way to add products for up-selling.
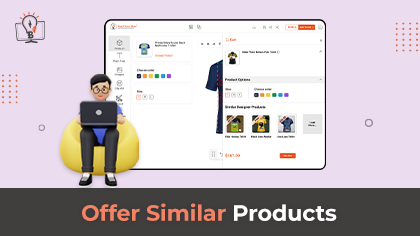
When your customers add the products to their cart, products that are similar to that of the purchased product will be displayed. In this article, you will get to know the way to add similar products on cart page.

Cross-selling is an incredible opportunity to increase the sales of your business. When your customer purchases any particular product you can suggest other products they can buy along. This video showcases the way to add products for cross-selling.
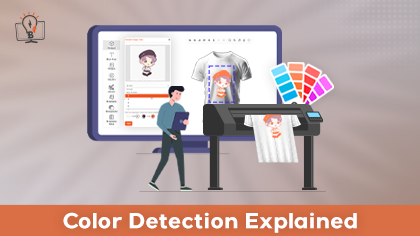
With the help of color detection your customers can change the colors of the image that they upload onto the product as per their requirements. Let’s explore through this video the working of color detection on designer tool.

Background Removal feature lets your customers remove the background of the image that they upload onto the product. This video explains the configurations of how you can enable the background removal feature.

With the help of color detection your customers can change the colors of the image that they upload onto the product as per their requirements. In this video you will get to know the configurations for color detection.
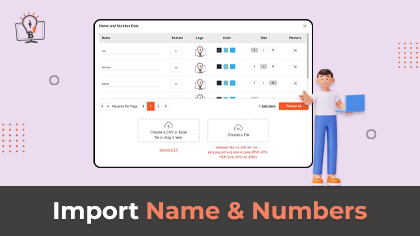
Your customers can add name and number to the product and can customize sports clothing accordingly. This article showcases the way the import functionality of Name and Number works.
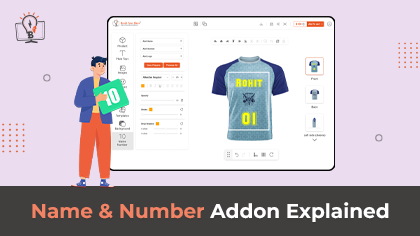
Your customers can add name and number to the product and can customize sports clothing accordingly. In this article, you will get to know the way in which the name and number add on work on designer tools.

In Masking Products are those products in which you will be able to customize as per your preferences and requirements. In this article you will get to know how to create a masking product.

Advanced Form Based Customization Addon offers each and every element to edit in a single place. Your customers don’t have to roll the cursor over each element for editing. They can edit each object easily with the help of this feature.
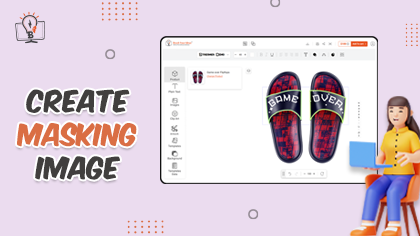
By adding masking images to the product allows you to design that particular product. This article showcases the way to create svg masking images and add to the product.

The photobook addon lets you offer a photo album customization service to your customer. Check out this article that showcases the way to add price for an additional page added to the photobook product.
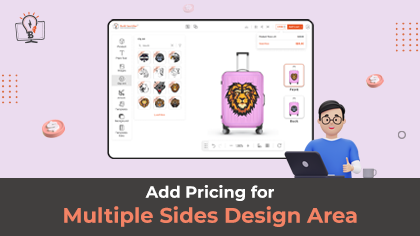
You can provide your customers with various sides of the product to design and also you can charge them for those areas they are designing. Here, you will get to know how to add pricing for the image sides in the design area.
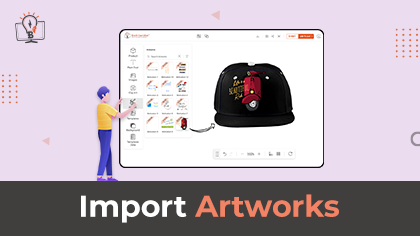
Artworks always come in the SVG format. You can add multiple texts and cliparts to it and they are editable. You will get to know about the way to import Artwork.

Printable Colors provides a wide range of colors for the customers to choose from for their products. You will get to know how you can import the printable colors here.

The design area is the space where you allow your customers to customize the product. You can add the design area individually or import it in bulk. Here, you will get to know how you can export and Import the Design areas.

Our PrintXpand 3.0 Designer tool provides you a free hand to ‘Manage Printable Colors’ and different ‘Printing Methods’. You can enable/disable some printing options for your customers as per your convenience and printer compatibility.
This video showcases how you can add configurable products (Products with different colors, sizes, and brands) to your Shopify store and sync it with a product designer tool for your customers to customize.

This video showcases how you can add simple products (Products with a single color, size, and brand) to your Shopify store and sync it with a product designer tool for your customers to customize.
This video showcases how you can add configurable products (Products with different colors, sizes, and brands) to your WooCommerce store and sync it with a product designer tool for your customers to customize.
This video showcases how you can add simple products (Products with a single color, size, and brand) to your WooCommerce store and sync it with a product designer tool for your customers to customize.
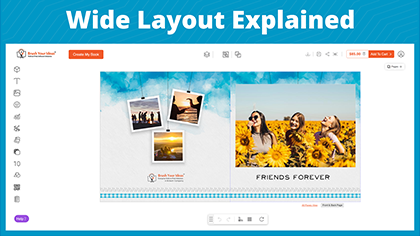
Now personalize the layout for the wide products like banners, posters, and photo albums. You can enable/disable any designer feature as per your requirement. Additionally, it gives a huge canvas area for your product to be designed by your customers.

Form-Based Customization Addon offers each and every element to edit in a single place. Your customers don’t have to roll the cursor over each element for editing. They can edit each object easily with the help of this feature.
Business cards are one of the best tools for networking and expanding a contact list. But you can’t show many details on just a business card. To bring a solution to this problem, the QR code feature is here to help you out.
Our PrintXpand 3.0 Designer tool provides you a free hand to Manage Printing Methods. You can enable/disable some printing options for your customers as per your convenience and printer compatibility.

Personalized digital photo albums are the perfect way to not let your memory fade away. With the PrintXpand-Photo Album addon, your customers can add cliparts, texts, backgrounds, fonts, and much more. Watch this video to customize the photobook product with multiple pages.
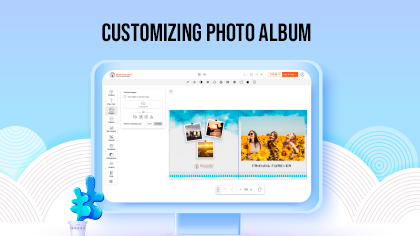
Relive your favorite memories with PrintXpand-Photo Album (Photo Book) with the help of template designs, inbuilt designing material like backgrounds, clip arts, text captions with font design & formats.

This video showcases how you can add a banner product to your store with the template and sync it with a product designer tool for your customers to customize.

This video showcases how you can add a mug product to your store with the template and sync it with a product designer tool for your customers to customize.

This video showcases how you can add a Card product to your store with the template and sync it with a product designer tool for your customers to let them customize the products.

This video showcases how you can add a T-shirt product to your store with the product template and sync it with a product designer tool for your customers to let them customize their favorite product.

The ruler and grid line help to align the object on the product designer tool. Your shoppers can use this ruler and gridline feature to properly design the product.
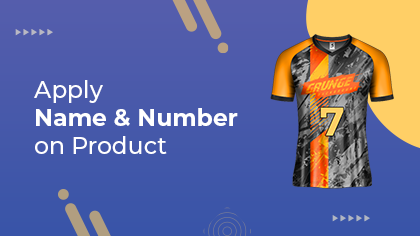
You can allow the customers to design the product using the “Name Number” option. You can enable the Name Number option for both types of products: Simple and Configurable. Watch this video for more information.
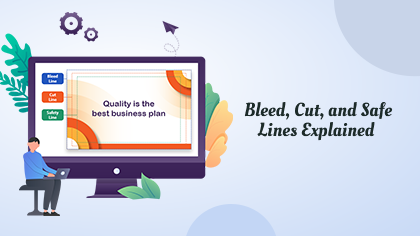
Our PrintXpand-Cut, Safe, Bleed Manager add-on provides advanced options to help your customers design business cards or visiting cards by managing the Bleed, Cut & Safety lines. Watch this video for more information.
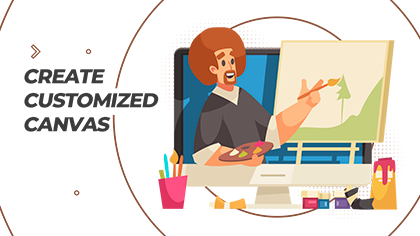
Canvas resize feature lets your user set the size of the postcard or cover letter from the product designer tool. The admin has to create the custom templates from the backend so that shoppers can apply them on the front.
Locking objects prevents the customers from selecting and editing them. You can restrict the customers to edit some of the objects from the product template. You can also fix the position of the objects and allow customers to edit it as per their requirements.
Putting products on display with an eye-catching design attracts customers when they visit your store. Here is how to use pre-loaded templates and display them in your store!
You can create the masking image with the help of photoshop to hide some portion or reveal some portion. Here is how you can create the masking image for the photobook products.
With the RTL (Right to Left) feature, your shopper can write from right to left while customizing the product. Here is a detailed overview of how it works and how you can enable it in your store.
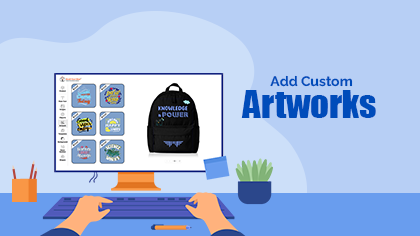
PrintXpand 3.0 Designer tool provides the ready-made artwork to design the products seamlessly. Artwork is purposefully provocative and gives ideas to the customers to design their products with uniqueness. Watch this video for more information.

Whenever your customer orders anything, you can download the print-ready files in various formats, like SVG, PNG, and PDF. Watch out the video for more information.
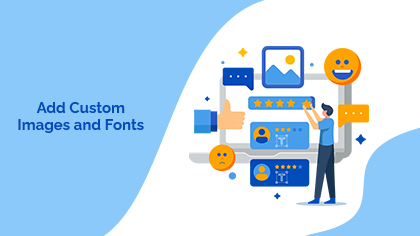
With the help of the social media import feature, your customers can easily import the images from the social media accounts to the products while customizing products. And a custom font manager lets you add and manage various fonts on the product designer tool.
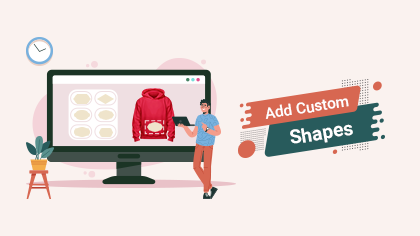
With the shapes feature, you can let your customers add the custom shapes to the product while customizing. They can even add custom images to the shapes. Watch this video for more information.

Using the layer management feature in the PrintXpand 3.0 product designer tool, the customer can View/Hide any object, Lock and Delete the objects. It is possible to manage the order of the objects with the ‘Back’ and ‘Front’ options with regard to other elements.
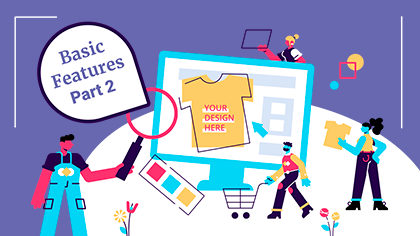
PrintXpand V3.0 comes with robust features that let your customers customize the product in their way. Right from editing the text to uploading the custom image, your customers can do everything. Watch this video for more information.
PrintXpand V3.0 comes with robust features that let your customers customize the product in their way. Right from editing the text to uploading the custom image, your customers can do everything. Watch out this video for more information.

Layout Manager lets you create a layout for the product designer tool with pre-defined features based on the category of your product. You can enable or disable any feature based on the industry you are selling your products.

This video showcases how you can add configurable products (Products with different colors, sizes, and brands) to your Magento store and sync it with a product designer tool for your customers to customize.
This video showcases how you can add simple products (products with a single color, size, and brand) to your Magento store and sync it with a product designer tool for your customers to customize.


