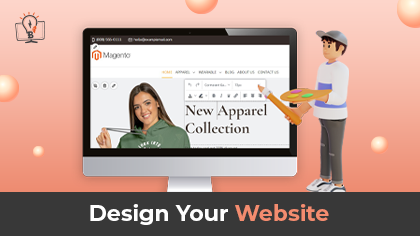
There are various features offered by the PrintXpand tool that will help you in making your website much more exciting and intuitive. This video provides you a brief overview of the way to design the website from the backend.
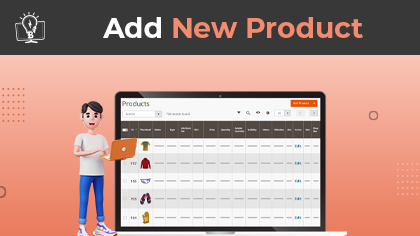
Adding products to your backend helps you set the necessary configurations. You will be able to create a design area on the product which will provide your customers with a space to customize. Watch this video to know how to add products to the backend with product design.
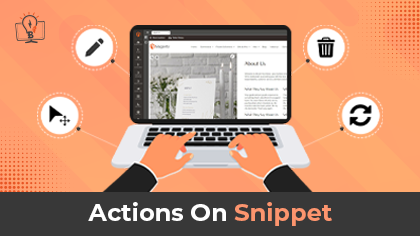
Once you add the snippets from the Blocks section, you will be able to perform various actions such as edit, delete and much more. You will get to know all such actions that are performed on the snippets through this video.
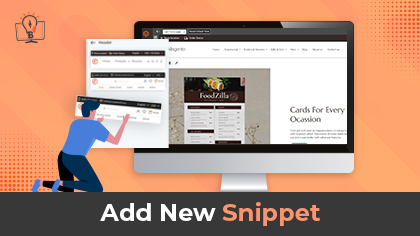
Various snippets are provided for each block which helps you to choose among those that seems preferable to you. Also, you can perform actions on these snippets as per your requirements. This video delivers instructions on the process of adding new snippets to your website.

The texts you enter on the snippets can be edited. With the inline editor it becomes possible to change the texts as per your requirements. This video provides you a brief overview on the way to access the inline editor on the snippets.

Team member section helps to exhibit the members of a particular organization or a team. You can add, edit as well as delete the members in this section. You will get to know the way to delete new team member block from this video.

‘OUR TEAM’ snippet lets you customize the section where you will be able to add the details of your team members. From this video you will get to know the way to add new team members for OUR TEAM section.

The whole About Us page is divided into blocks such as Header, Our Team, About Us and such. You can customize these blocks as per your requirements. This video gives a brief overview of the process of choosing blocks for about us page.

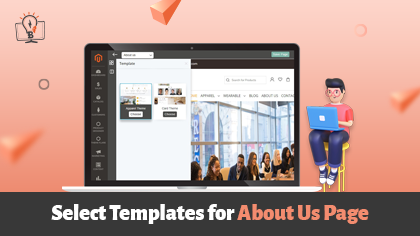
PrintXpand provides you with ready Templates which provides your customers an outlook on how an about us page should look like.Your customers can customize these templates as per their need. This video demonstrates the process of choosing a template for about us page
In this step-by-step tutorial, we'll show you how to enable the theme flare option in your website's settings or theme customization options.
PrintXpand provides you with a platform where you will be able to reorder on behalf of your customer. This video showcases the way to do so.
PrintXpand provides you with a platform where you will be able to view all the details related to the orders such as Shipments, Transactions, Invoices and much more. This video briefs about the way to view the order related modules.

Once you add the snippets from the Blocks section, you will be able to perform various actions such as edit, delete and much more. You will get to know regarding all such actions that are performed on the snippets through this video.

Various snippets are provided for each block which helps you to choose among those that seems preferable for you. Also you can perform actions on these snippets as per your requirement. This video delivers instructions on the process of adding new snippets for your website.
The texts you enter on the snippets can be edited. With the inline editor it becomes possible to change the texts as per your requirements. This video provides you a brief overview on the way to access the inline editor on the snippets.

Team member section helps to exhibit the members of a particular organization or a team. You can add, edit as well as delete the members in this section. You will get to know the way to delete new team member block from this video.

‘OUR TEAM’ snippet lets you customize the section where you will be able to add the details of your team members. From this video you will get to know the way to add new team members for OUR TEAM section.

The whole About Us page is divided into blocks such as Header, Our Team, About Us and such. You can customize these blocks as per your requirements. This video gives a brief overview of the process of choosing blocks for about us page.
PrintXpand provides you with ready Templates which provides your customers an outlook on how an about us page should look like.Your customers can customize these templates as per their need. This video demonstrates the process of choosing a template for about us page.

Email templates are one of the best ways to have fast communication in this business world. It will save your time by refraining you to create an email from scratch every time. Here is how you can add the email templates in your web to print store.

Ajax Cart provides a better shopping experience by allowing customers to add any product to the cart without navigating the product’s detail page.
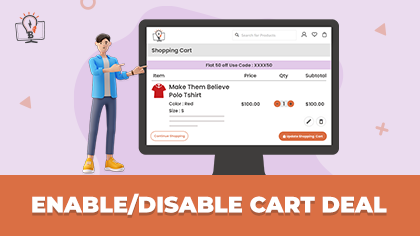
You can display more discount offers or coupon code offers on the cart page when the customers add the product(s) into the cart. You have to enable the cart slider functionality and that's it. Here is how you can do it.

Google Analytics is the best tool to track the performance and perform an in-depth analysis of the website. Here is how you can link Google Analytics to your website and analyze your website.
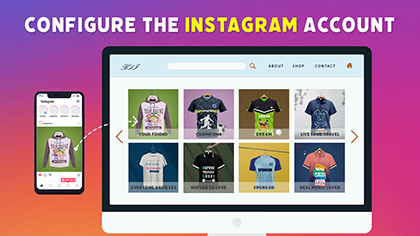
You can also add your Web Store’s Instagram profile on the Web page. You must get the Instagram access token key by registering the client ID. Here is how you can register your Instagram account on your website.
You need to Rebuild Css whenever you add any snippet from the page builder. Once you save the page, you will get a pop-up. Here is a brief explanation.
Keep an eye on your online customers and never miss a sales opportunity with this tutorial on viewing online customers. Learn how to easily monitor and track customer activity in real-time for a more efficient and effective business. Watch now to get started!

Get a complete overview of your customers with this tutorial on viewing a list of customers and customer details. Stay on top of your customer base and never miss a beat with the ability to access crucial information at a glance. Watch now to learn more.
Empower your customers by learning how to create orders on their behalf in this brief tutorial. Streamline the ordering process and provide exceptional customer service by being able to place orders quickly and efficiently. Watch now to get started!
Discover the easiest way to download customer’s order tickets in this informative video. Stay organized and never miss a crucial detail with the ability to access your tickets on the go. Watch now and learn how to download your order tickets with ease.
Take control of customer’s orders and access them anywhere, anytime with this simple tutorial on downloading Order. Get a step-by-step guide to downloading and never miss a beat. Stay on top of your game and watch now!
A credit memo is a document that states the sales return whenever the sold goods are returned by the customers. You can create a credit memo for any order by following these steps.
Invoices are one of the best ways to retain the records of years. Also, it reminds the client about the work completed or goods delivered as it is generated at the end of the process. Here is how you can generate an invoice for any order.
This video tutorial demonstrates how to easily view a list of orders and its details. You'll learn how to access and review information such as order date, items ordered, quantity, price, and delivery or pickup information. Watch out this video to know more.
Creation of a subcategory can lead to enhanced product management. This gives a hassle-free shopping experience to your customers in finding the products.
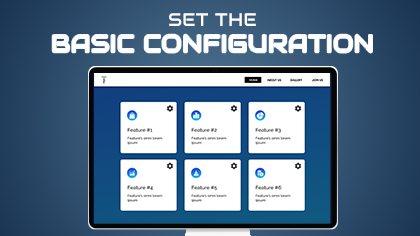
In the basic configuration you can configure the Frontend theme, add social media sharing options, Activate product designer tool and much more. Here is how you can configure the basic configurations.
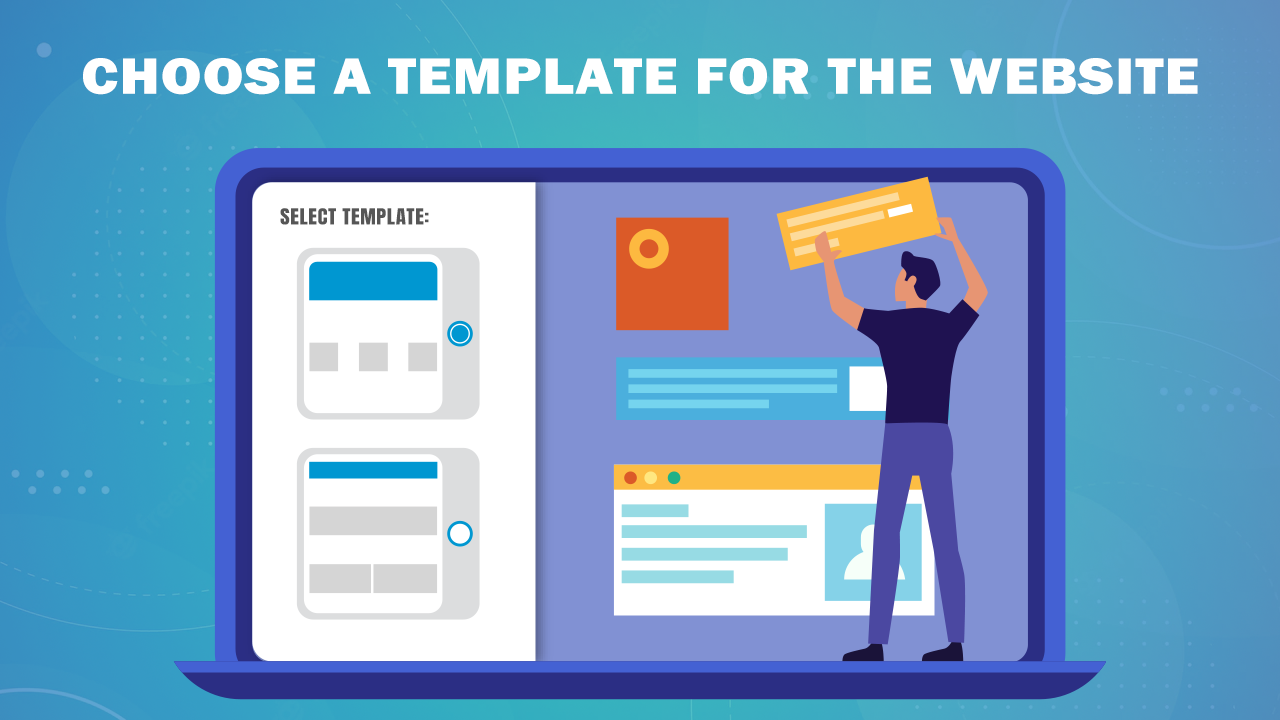
Building website from scratch can consume a lot of time & money. On the other side Ready made templates are comfy to apply as you don’t need to create it from scratch. You can also change the template as per the requirements. Here is how you can choose the templates to your website.

Blogs are very helpful when it comes to generating traffic to the website or to promote your products/services to your customers. It also helps you build the trust with your potential customers. Here is how you can add the blogs to your website.
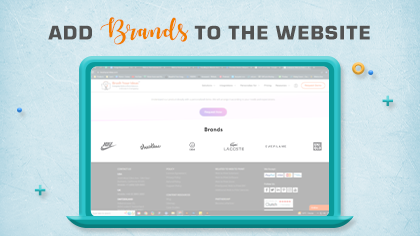
By adding a brand you can showcase what type of products you have for your customers. This will make the shopping experience of your customers very easy if they purchase the product based on the brand. Here is how you can add the brand to display on the website.
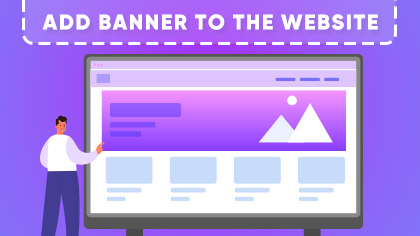
Banners are one of the best ways to advertise your products. Hoisting the banners can bring you views and clicks and can make your customers purchase the product. Watch out this video to know how you can add the banners to your website.
The category is an easier way to group the product on your website. This makes it easier for the User/Search Engine bots to easily find the content on your website. Watch out for this video to know how you can add a category for the product.
The CMS page lets you manage the content of the website. This allows you to Create, Edit, Duplicate and Delete the content. Watch out this video to know how you can Add New CMS page for your website.
Store and Store View is like a Parent-child where the store has the largest scope as compared to the store view. For example, stores can have the same information, but the store view can represent the website in multiple languages. Here is how you can set multiple store views within a single store.
Having a website means you are serving the audience at a global level. So it becomes necessary to have multiple stores for your business to reach your customers. Follow these steps to set up multiple stores within a single website.
Every customer has a different set of expectations for the product/services. This is where multiple websites come into play. This helps you cater to the different target groups of customers. Here is how you can set up multiple websites within the same backend.


