Customer Registration
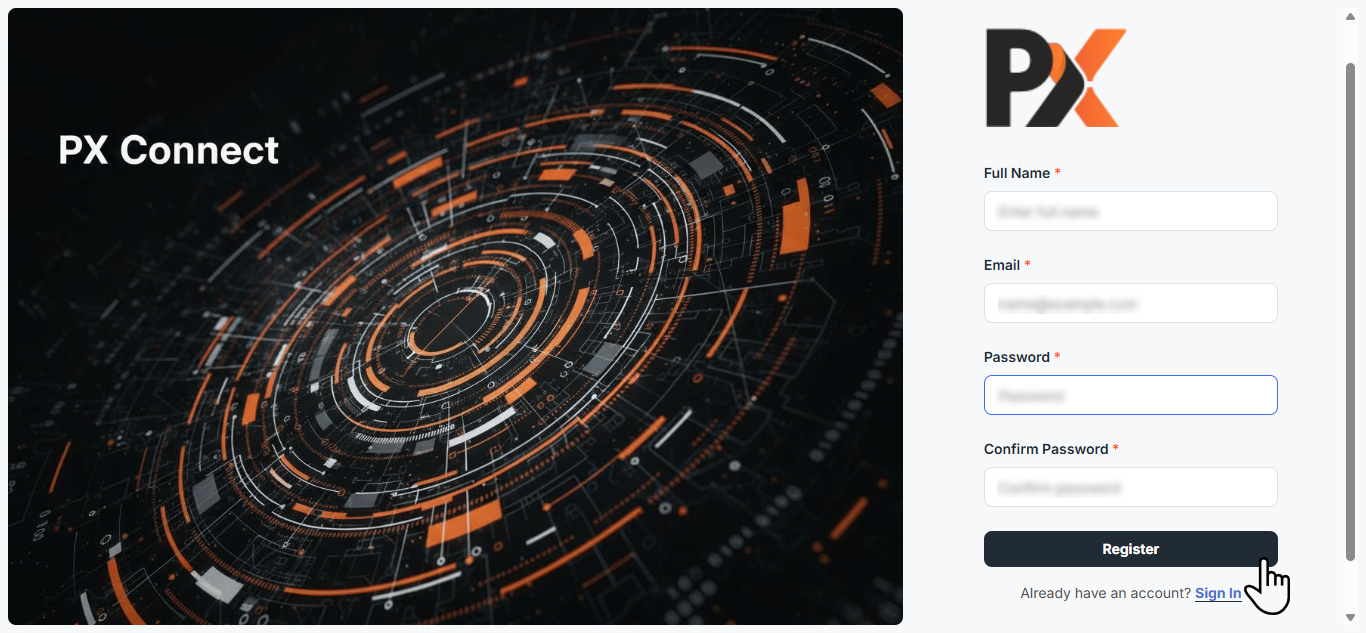
When a user accesses the Printxpand Connect Customer Portal, the user must complete the registration process before accessing the system. Toregister, the user is required to enter the following mandatory details:
After entering all required information, the user clicks the Register button. Once submitted, the system automatically creates the user account and sends an approval request to the Admin for verification. The user got an email confirmation on the registered email.
After receiving the request, the Admin reviews and approves the user account. As part of the onboarding process, the Admin configures the
following settings:
Set the number of days after which the user can sync once synced.
– This configuration determines the allowed interval for the user to perform data synchronization after the first successful sync.
Additionally, once these configurations are completed, the user will be able to access their dashboard.
Customer Dashboard
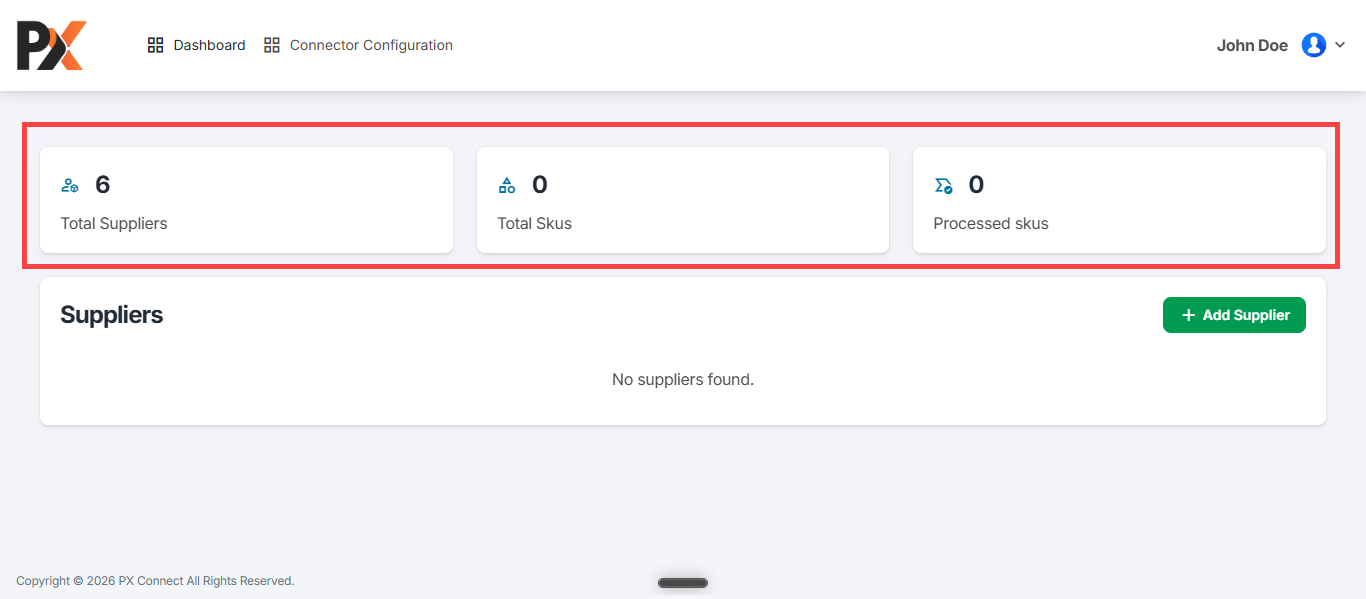
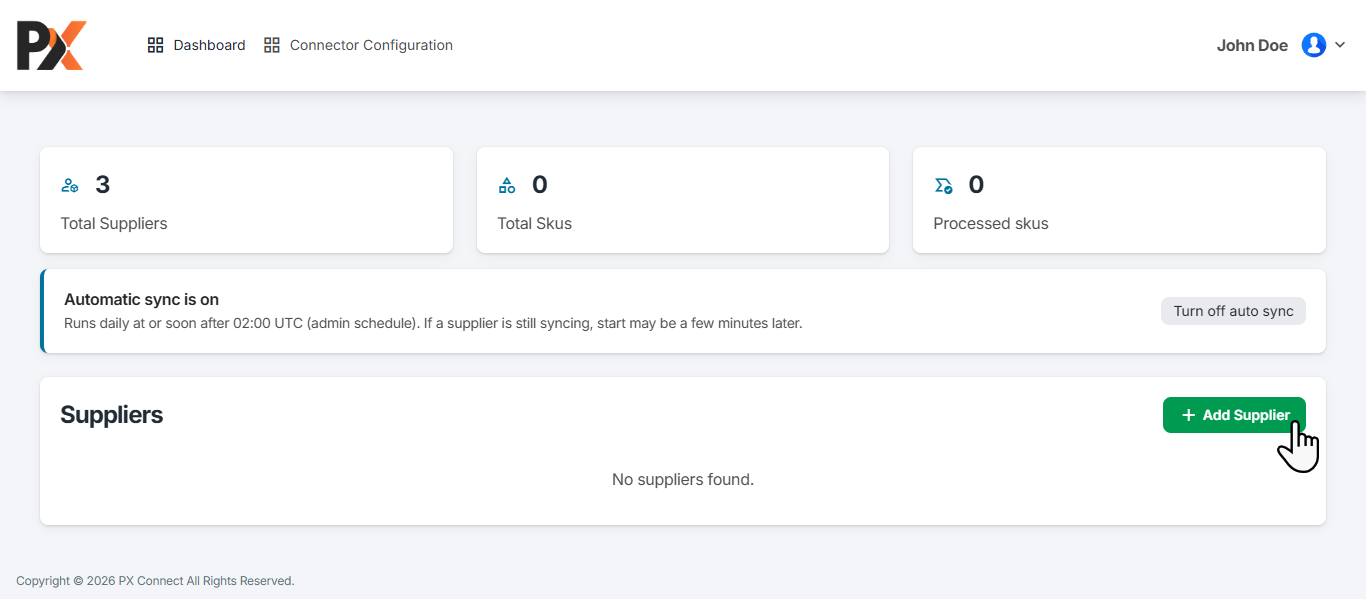
After logging in to the Customer Portal, the user lands on the Customer Dashboard. The Dashboard provides a summary of key operational metrics:
– Total SKUs: Shows the total number of SKUs that have been synced.
– Processed SKUs: Show the total number of SKUs that have been Processed.
Connector Configurator
Before syncing products between PX Connector and Odoo, you must configure the connector settings. This configuration allows the system to establish a secure connection with Odoo and ensures that product data can be synchronized without connection-related errors.
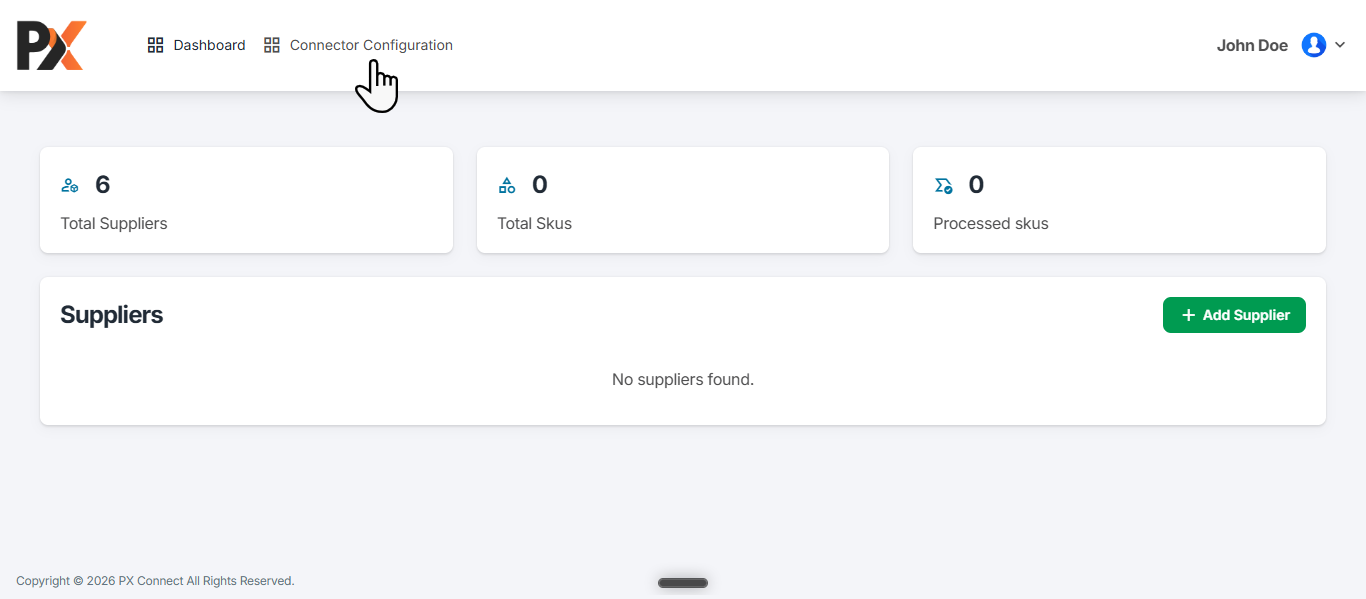
To begin, go to the Connector Configuration section from the top menu. This page is used to define the required connection credentials for linking PX Connector with your Odoo instance.
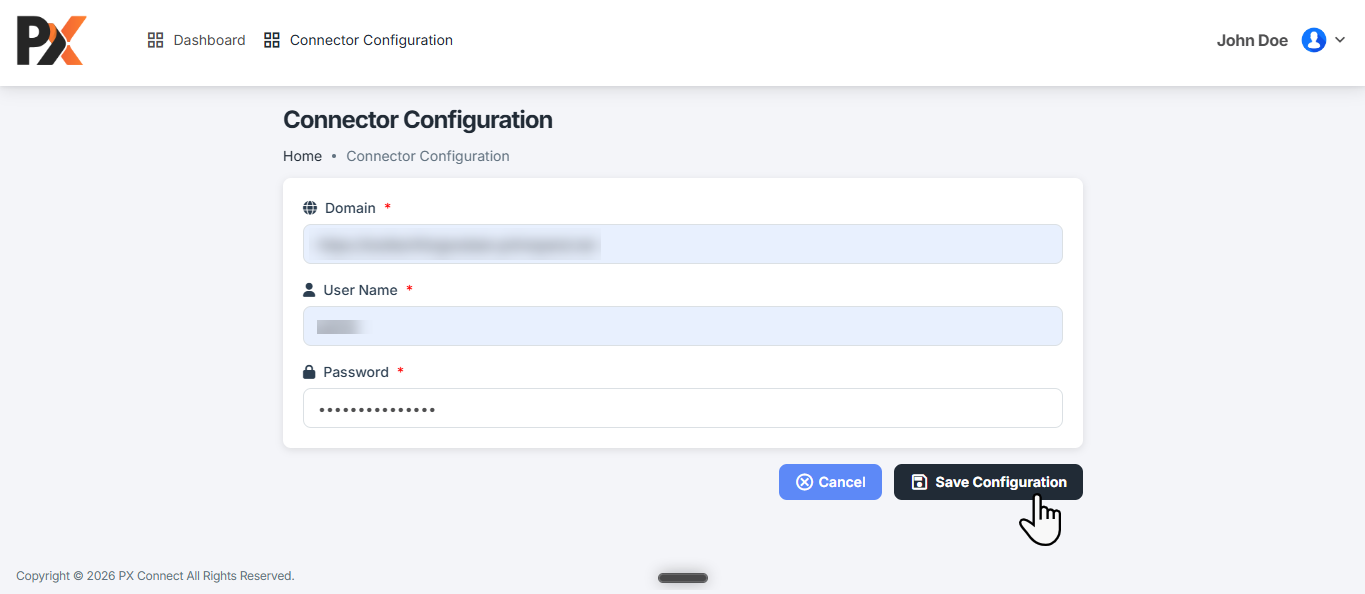
On the configuration page, enter the following details:
– Domain Name
– Username
– Password
After entering all required details, click Save Configuration. The system will securely save the connection details and use them to communicate with Odoo during product synchronization.
Important Note:
If the connector configuration is missing or incorrect, the system will not be able to connect with Odoo. In such cases, a connection error may appear while syncing products. To avoid sync failures, verify that the domain name, user name, and password are entered correctly before starting the product synchronization process.
Suppliers
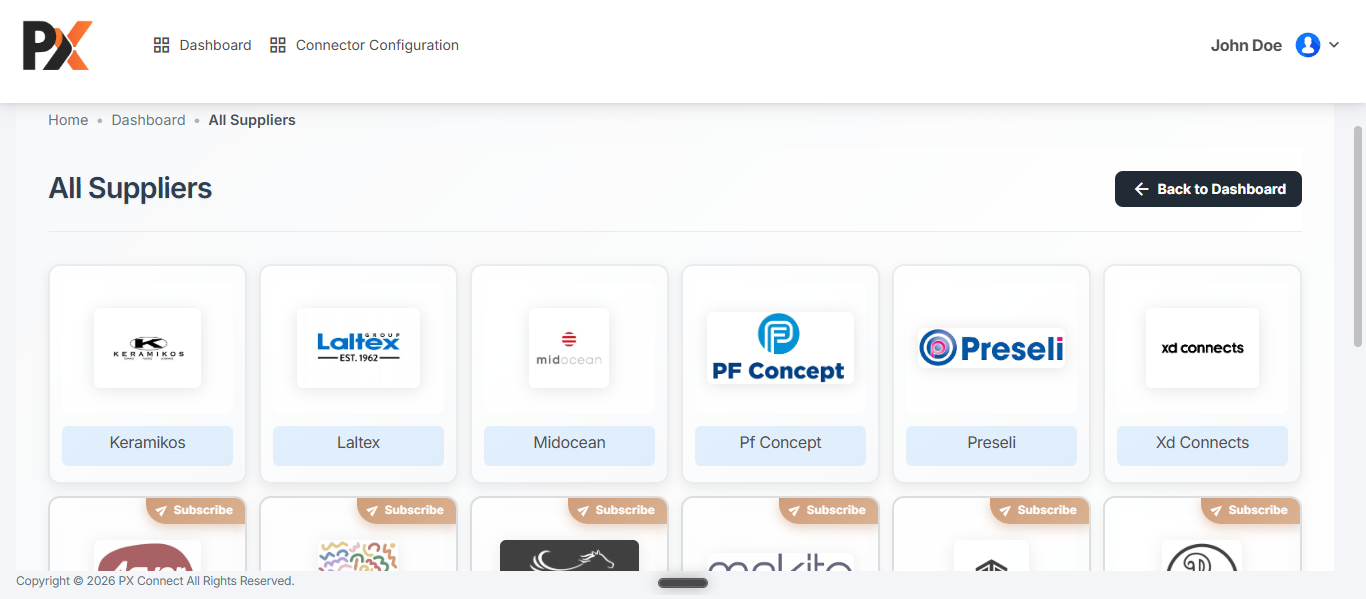
In the Supplier section,all the added suppliers will be listed, to add a new supplier click on the Add Supplier button. This action redirects the user to the All Suppliers page.
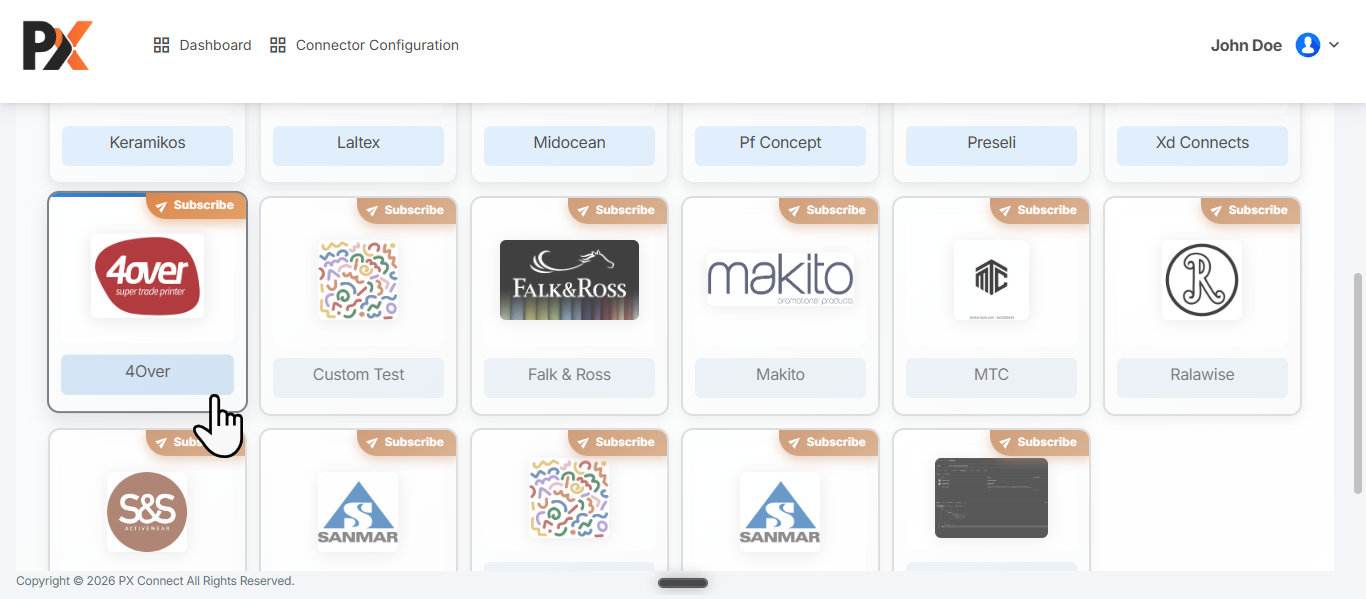
This page allows the user to view all suppliers assigned by the Admin and serves as the starting point for performing supplier-related operations. The User can view all the Assigned and Unassigned suppliers.
Request For Supplier
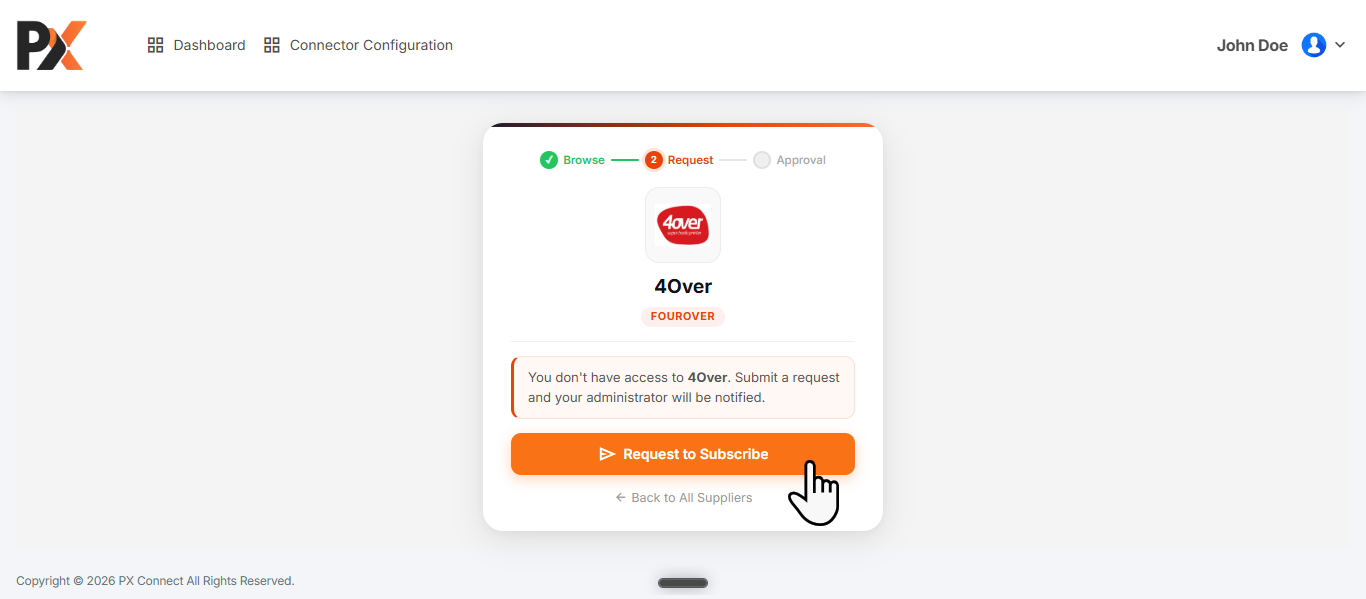
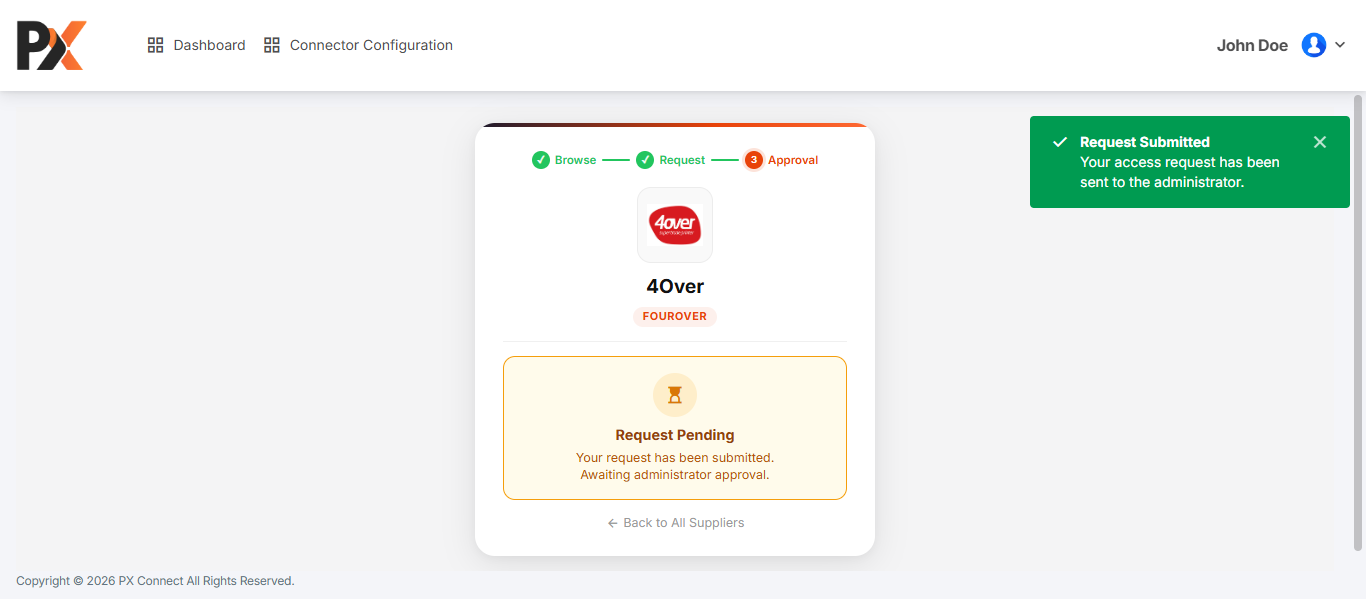
To subscribe to a supplier, click on any unassigned supplier. The system will redirect you to the supplier request page.
On this page, click the Request to Subscribe button. Once submitted, the request will be sent to the Admin for approval.
The Admin can review the request and approve it accordingly.
Supplier Configurations
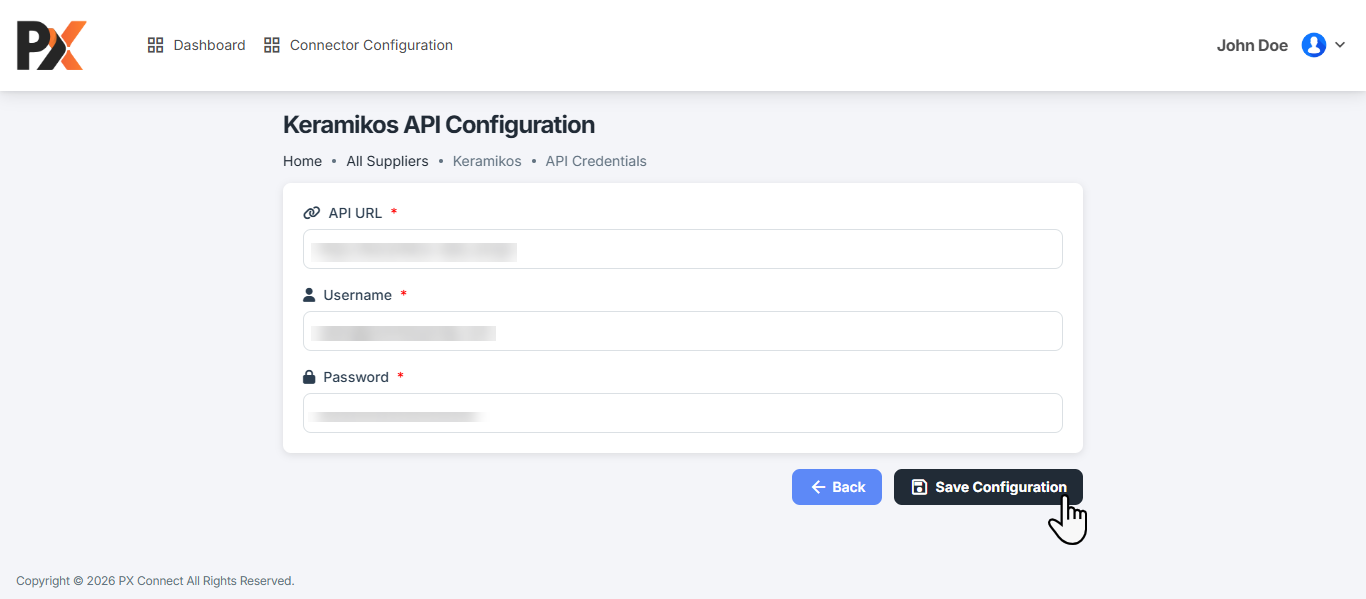
On the All Suppliers page, the user selects the preferred subscribed supplier and proceeds to configure the API settings. The following fields must be completed these fields are dependent upon the supplier :
– API URL
– API Key
– Region
– API Version
– Language
Note: Use a comma separator when entering multiple languages.
After all fields are configured, the user selects the Save Configuration button. This action redirects the user back to the Dashboard.
Once saved, the system stores the supplier-specific API credentials, enabling successful communication between the portal and the supplier’s data source.
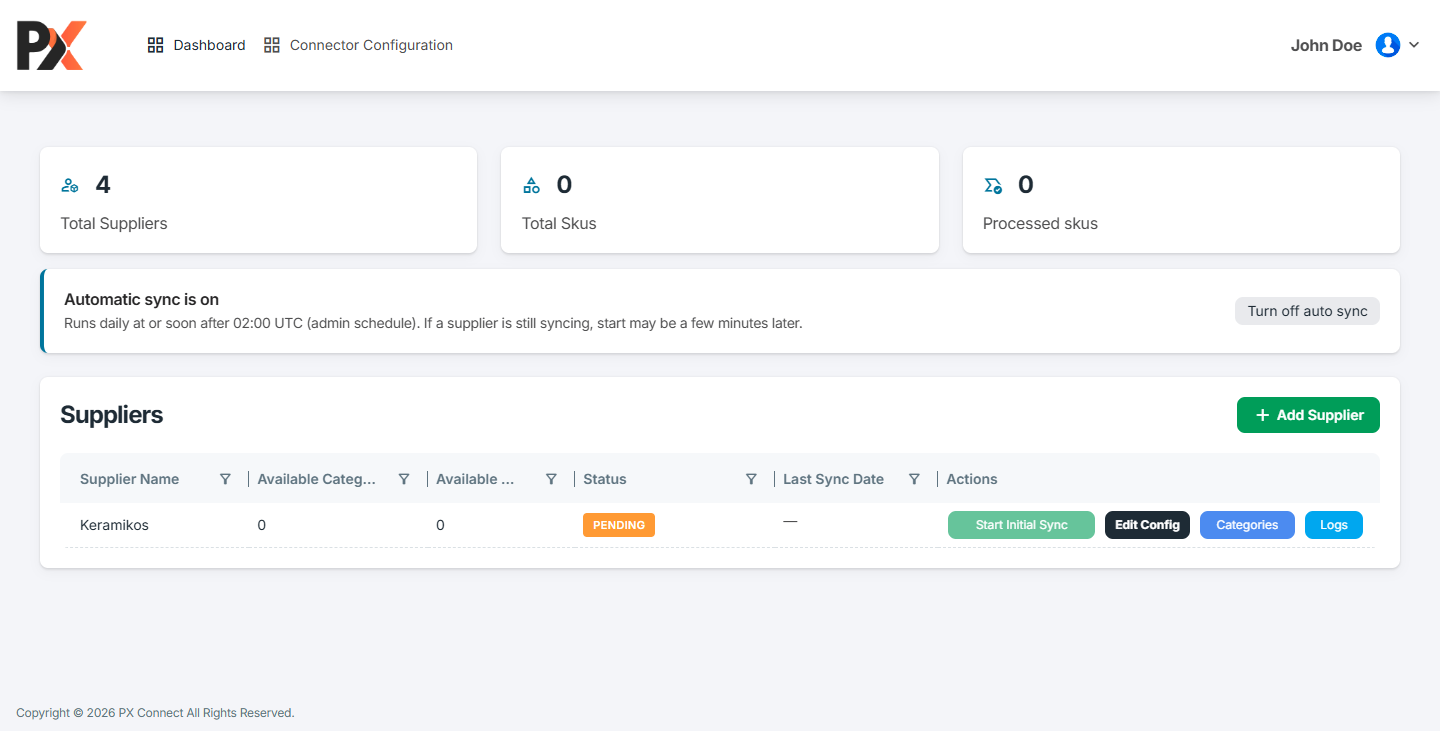
The added supplier is now displayed on the Dashboard. For each listed supplier, the user can perform the following actions by selecting the respective buttons:
– Edit Configuration: Update or modify the supplier’s API configuration details.
– Edit Category: Manage and map supplier categories as needed.
– Logs: Review past sync logs, status updates, and processing records.
To begin the synchronization process, the user selects the Start Initial Sync button. This action initiates the initial syncing process for the supplier’s data.
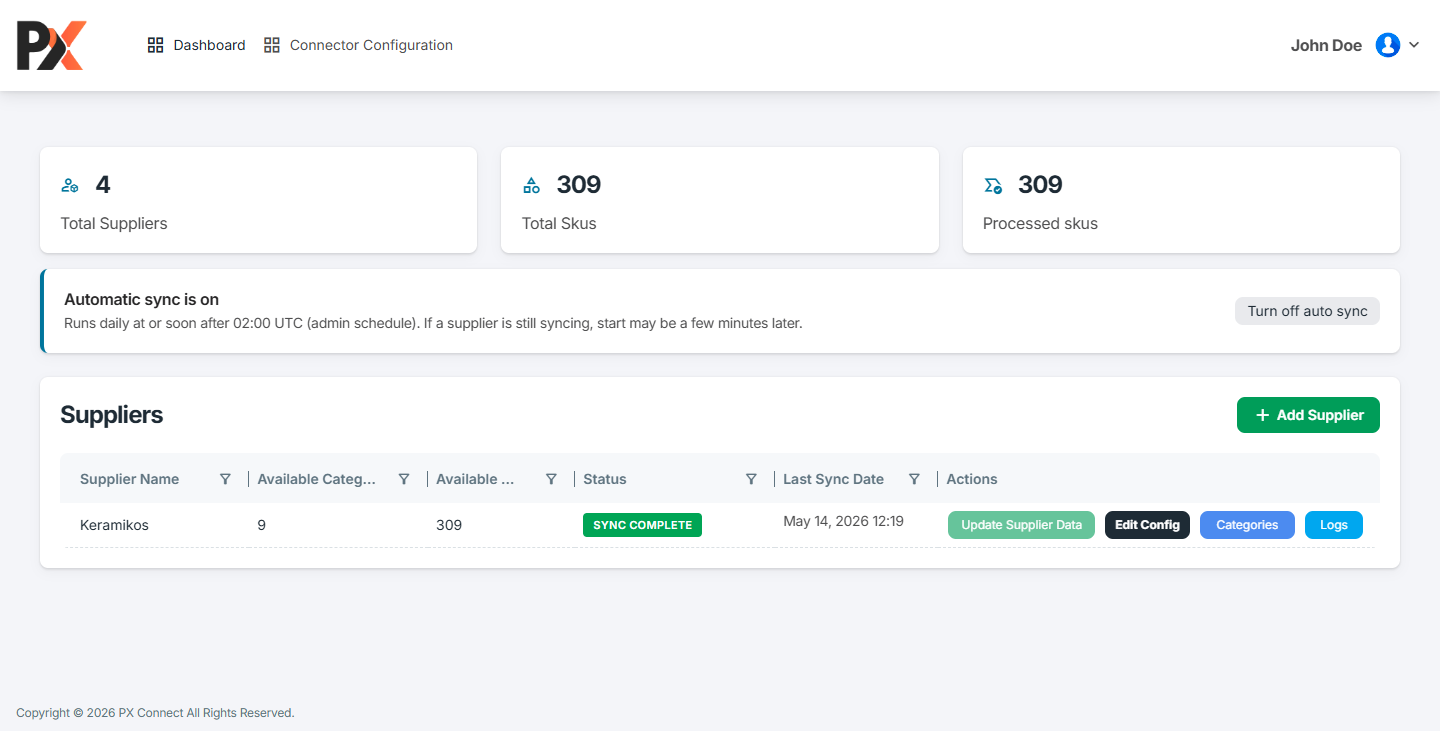
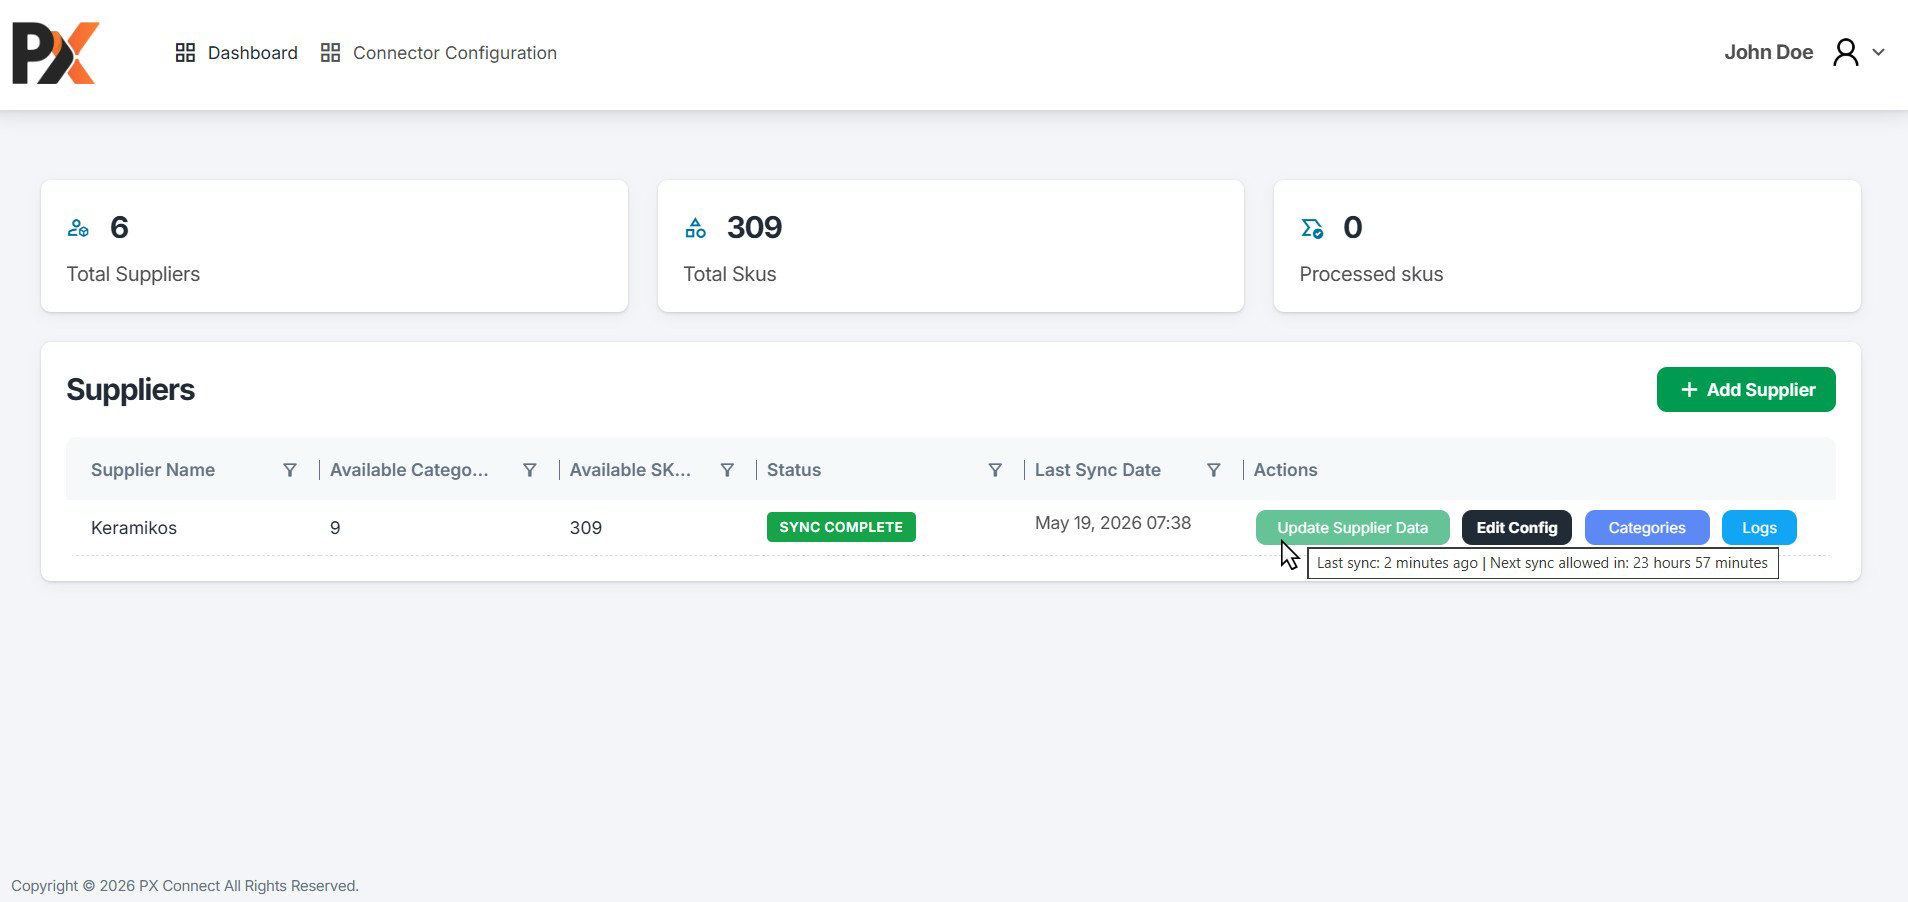
Once the sync is complete, the status changes to Sync Complete, and both the list column and the counters on the Dashboard are updated accordingly.
After the status changes to Sync Complete, hovering over the Update Supplier Data button displays the next available sync time based on the configuration set by the Admin. If auto sync is on the time will display accordingly.
The button remains disabled until the next sync time is reached.
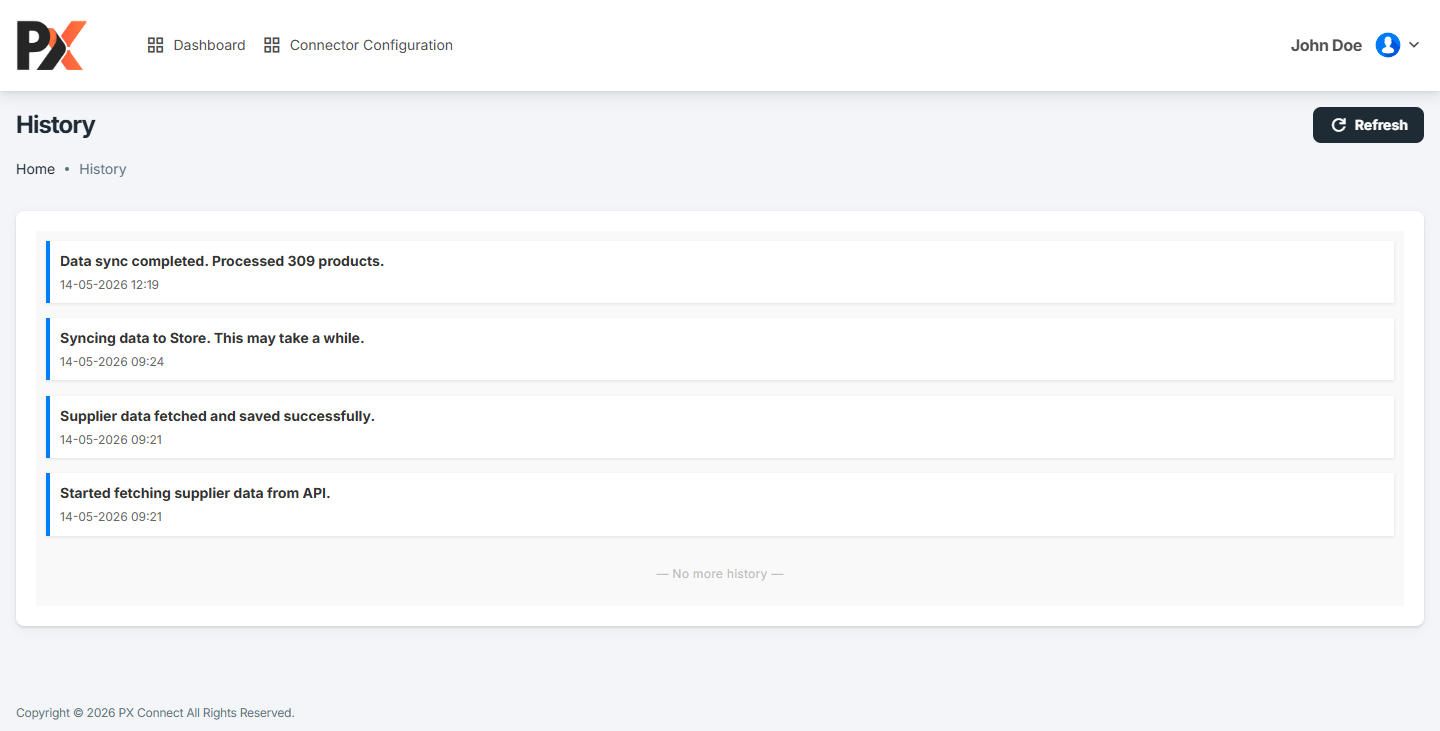
The user can view the sync history by clicking the Logs button. This action redirects the user to the Logs page, where all previous sync records and processing details are displayed. Click on the Refresh button to update the logs manually.
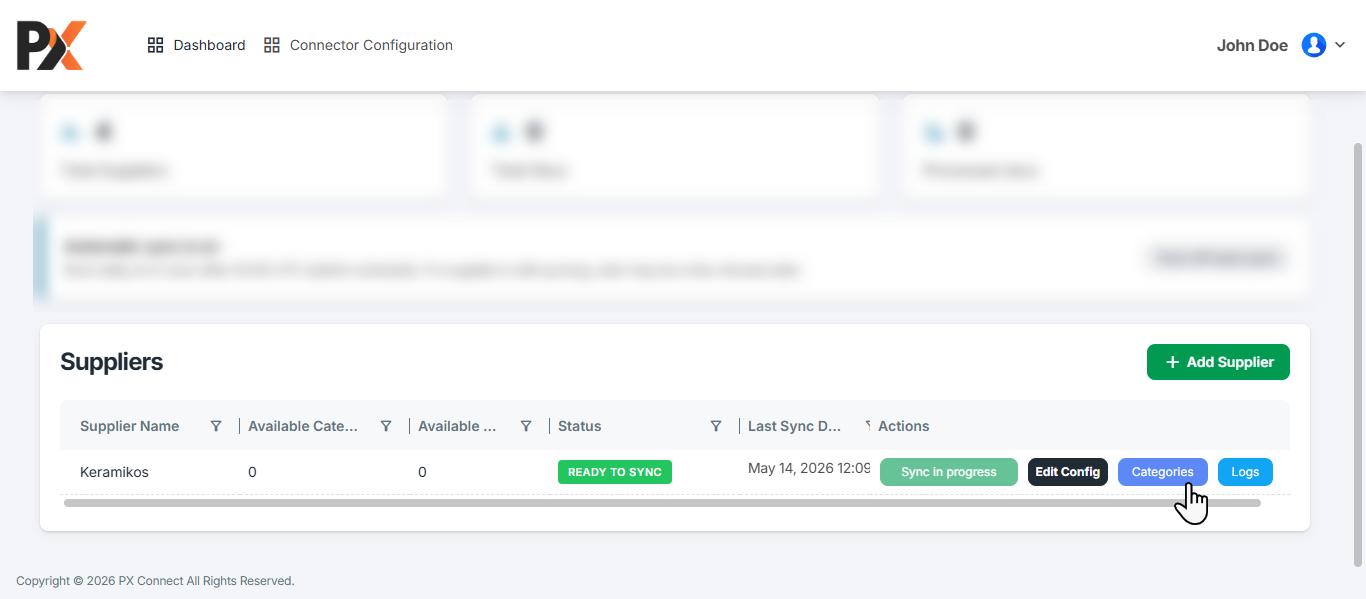
To configure categories, the user clicks the Category option. This action redirects the user to the Category Configuration page. All supplier categories are displayed in the Category Management.
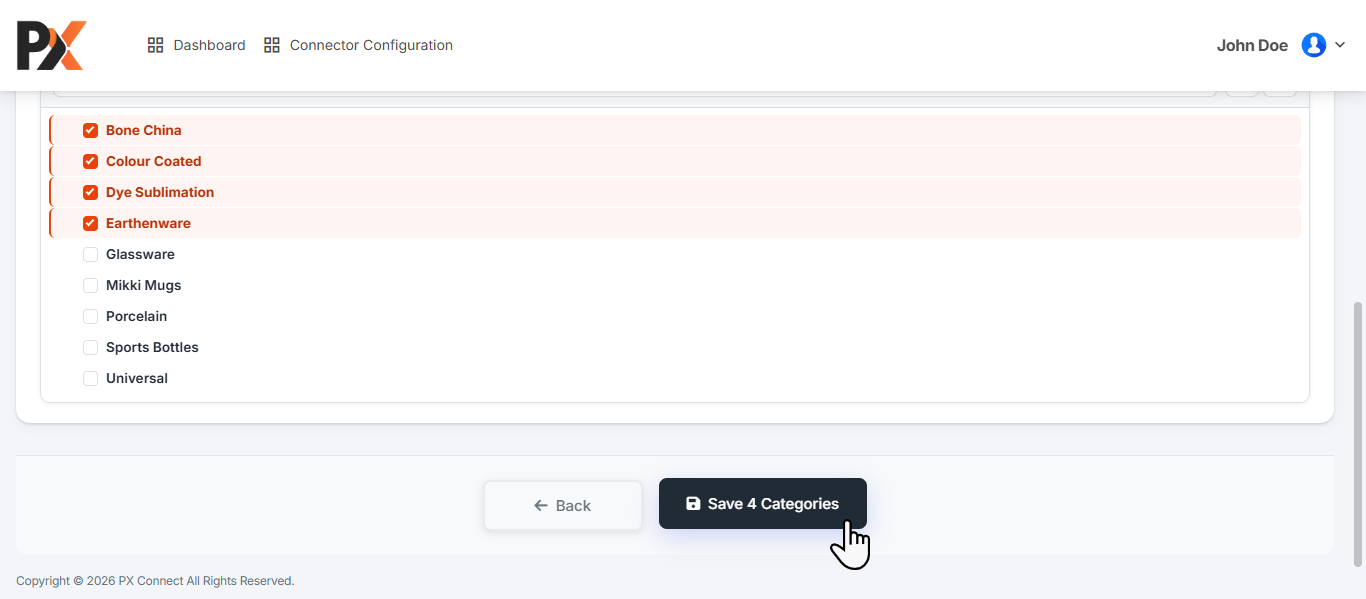
Select the categories to define which products will appear in the Product Store.
Products are displayed based on the selected category. For example, if the available category levels are L1, L2, and L3 and the user selects only an L3 category, then only products from that L3 category will be displayed.
Category selection also follows the hierarchy. If L1 is selected, products from L1, L2, and L3 will be considered. If L2 is selected, products from L2 and L3 will be considered.
If no categories are selected, all available products will be displayed in the Product Store.
After completing the configuration, click Save Categories to save the category mapping settings.
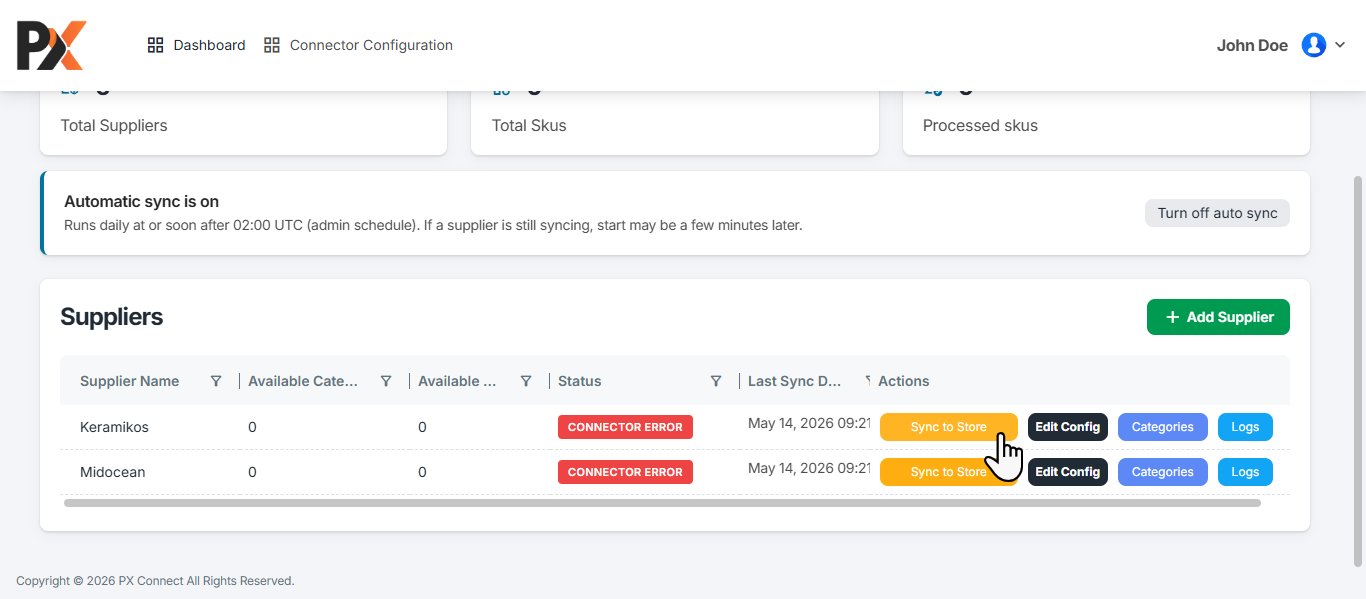
If an error occurs during sync, the status will change to Connector Error.
When this happens, the Sync to Store button will be displayed. Click Sync to Store to retry the process and start the sync.
Auto Sync
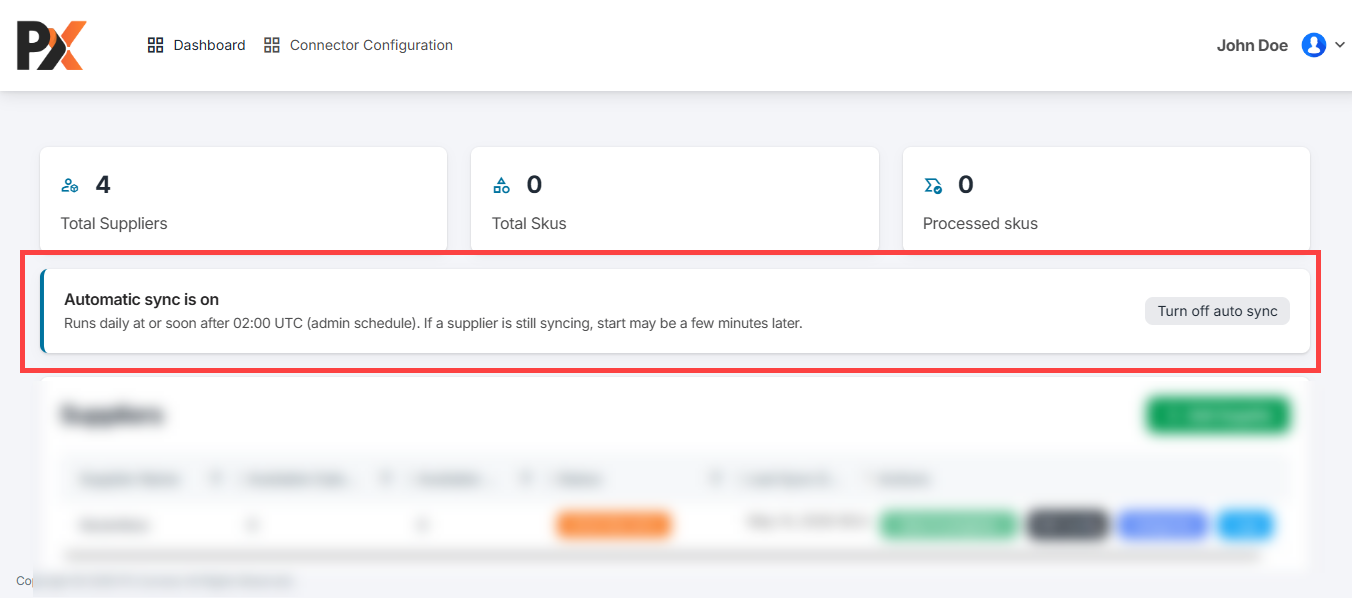
The Admin can configure Auto Sync for suppliers to help automate the synchronization process.
The User cannot set or modify the auto sync time. The sync schedule is configured only by the Admin.
The User can manage the auto sync status by using the available options. They can click Turn Off Auto Sync to stop automatic syncing or resume auto sync when required.
Authorization
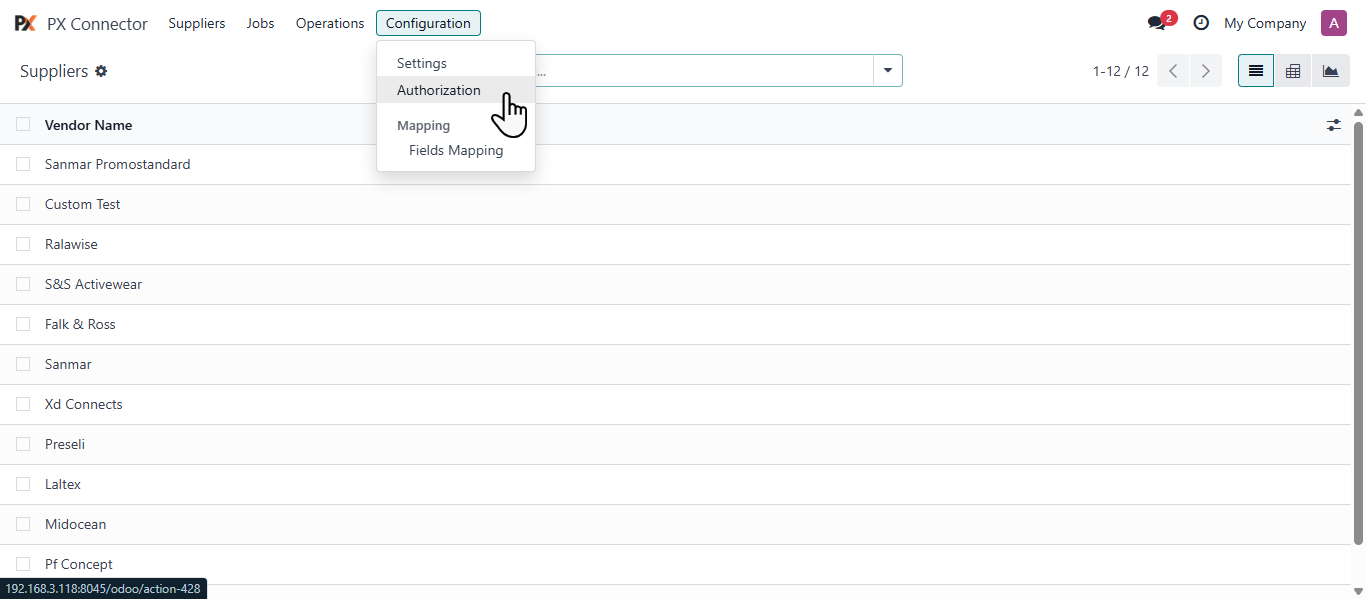
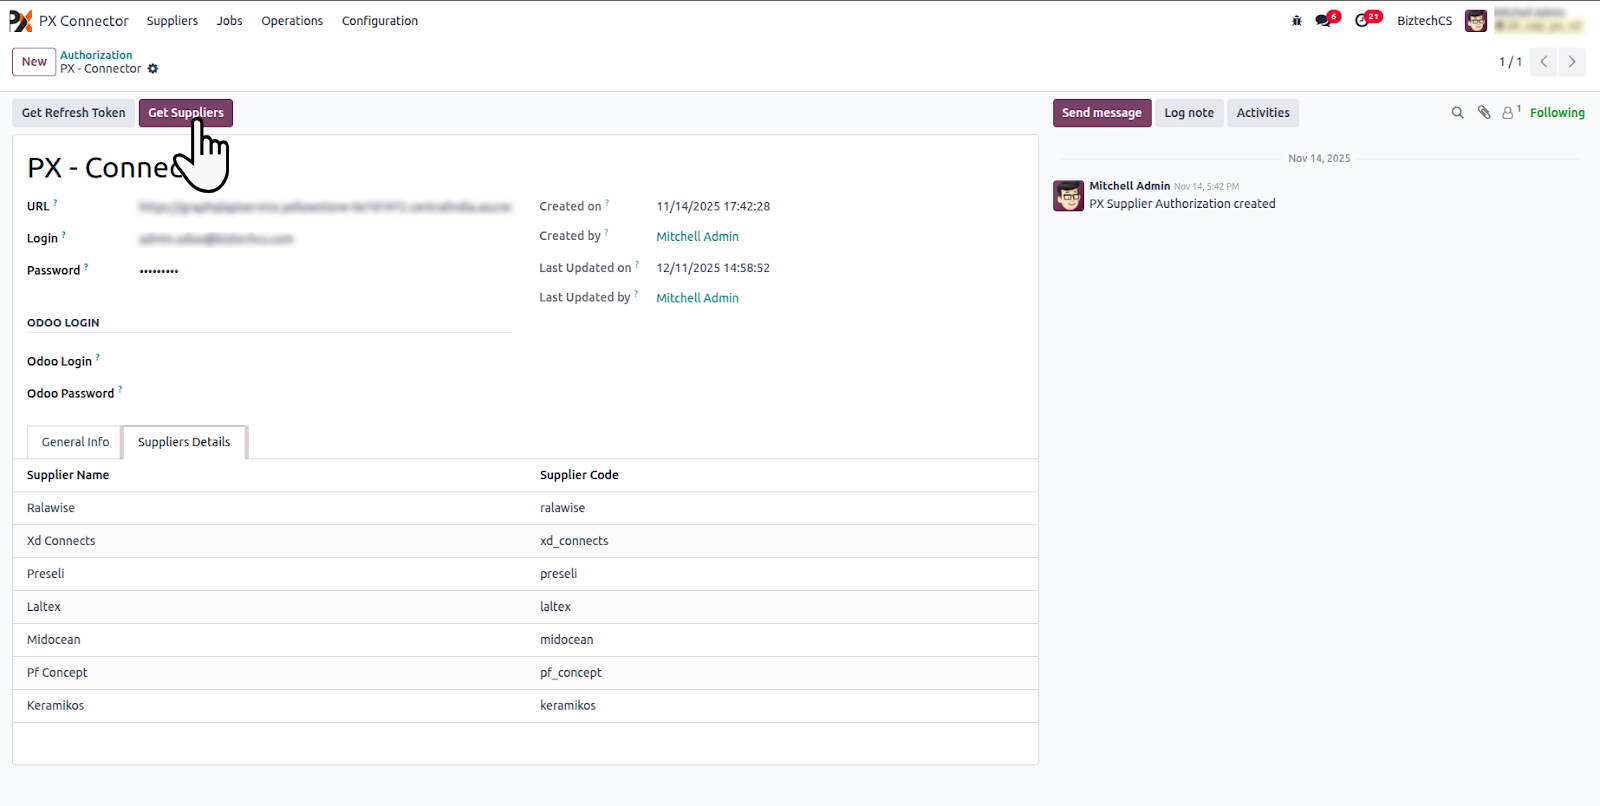
In the Odoo portal, the user navigates to the PX Connect module and first completes the authentication setup. To configure authentication, go to Configuration > Authorization .
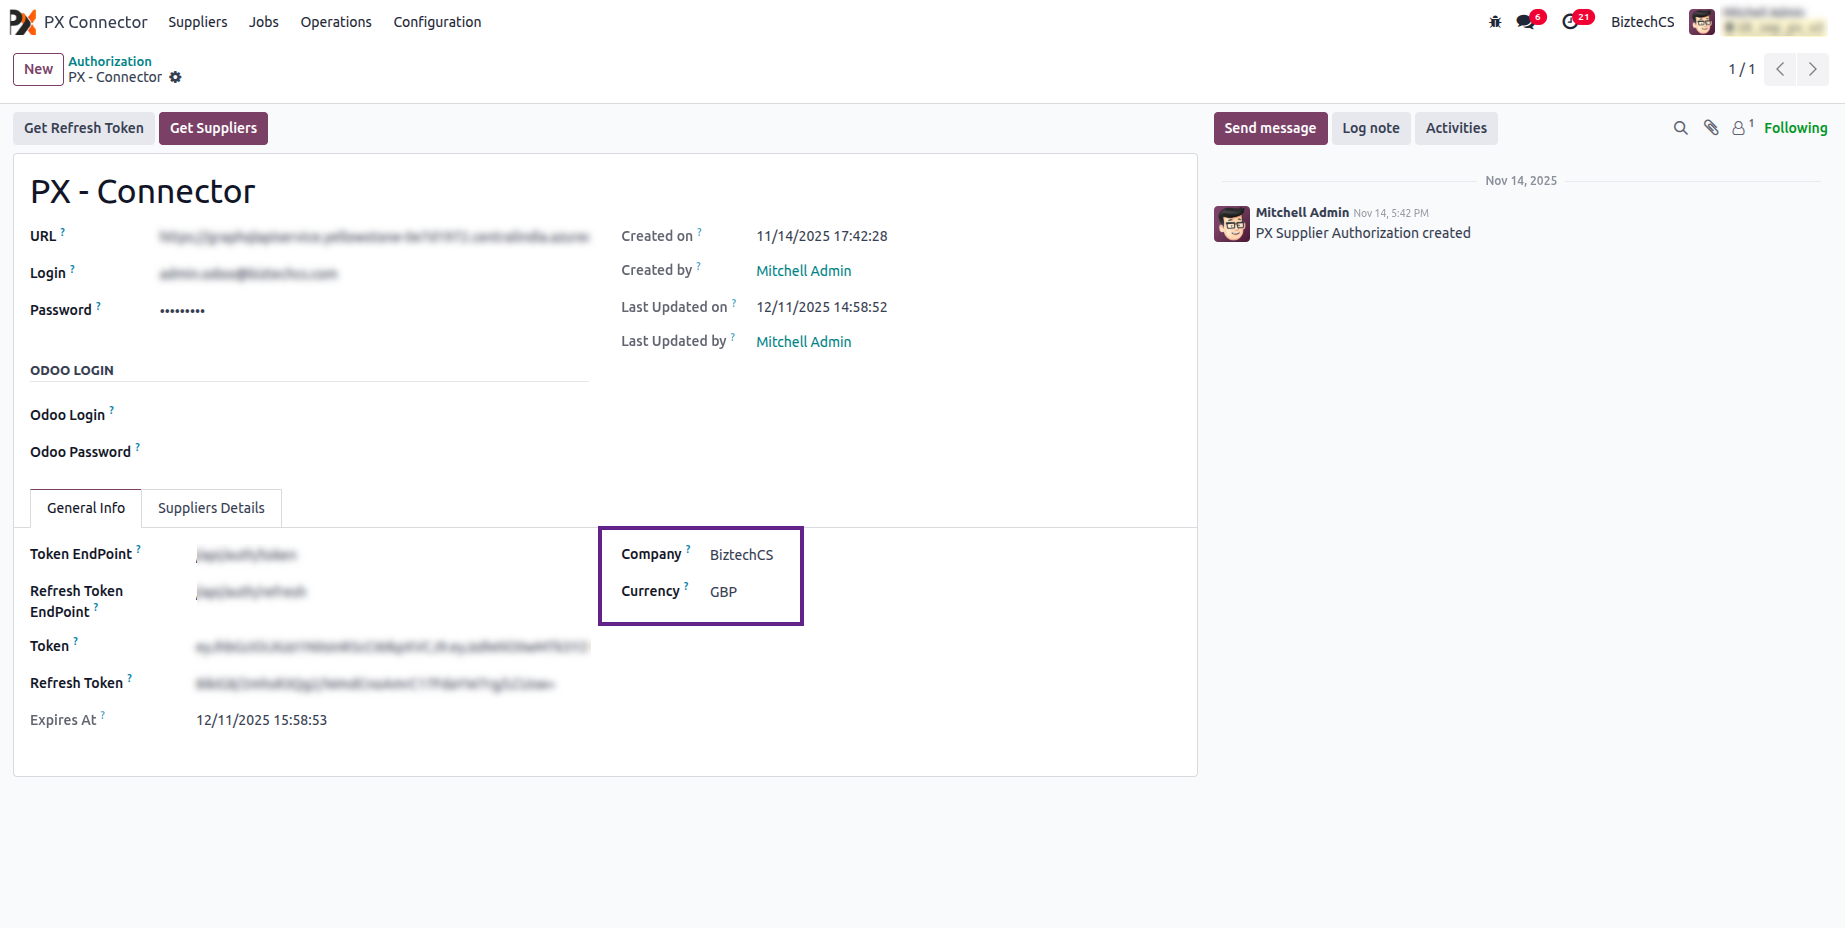
On the Authorization page, the user first sets the Company and Currency details in the General Info section.
The user clicks the Get Supplier button. All supplier details become available in the Supplier Details section. The list of suppliers is displayed here for the user to review.
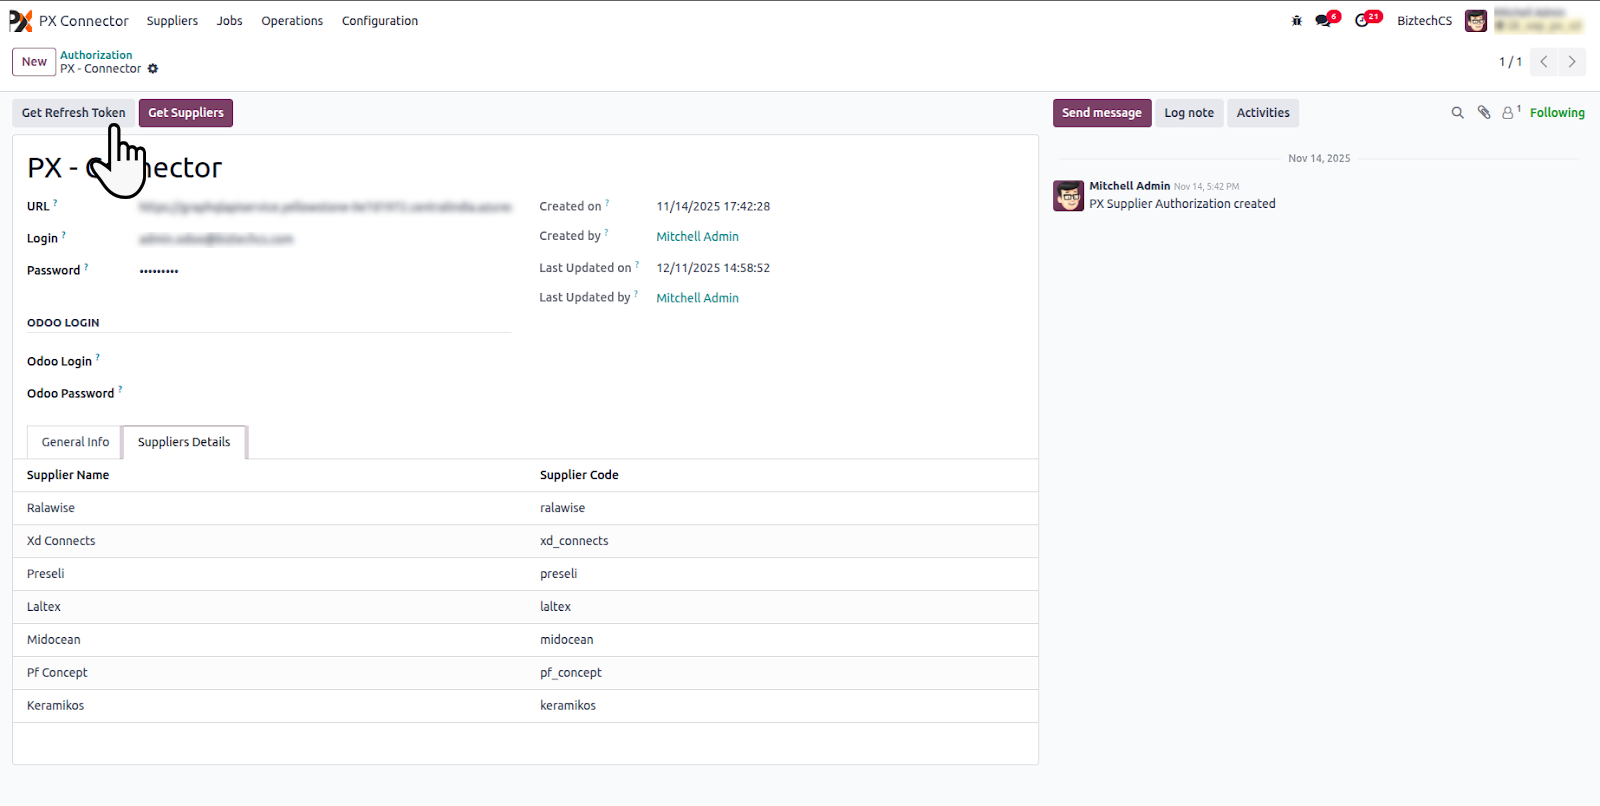
The user clicks the Get Refresh Token button. This action generates and get the authentication token required for secure communication between Odoo and the PX Connect system.
Px Admin
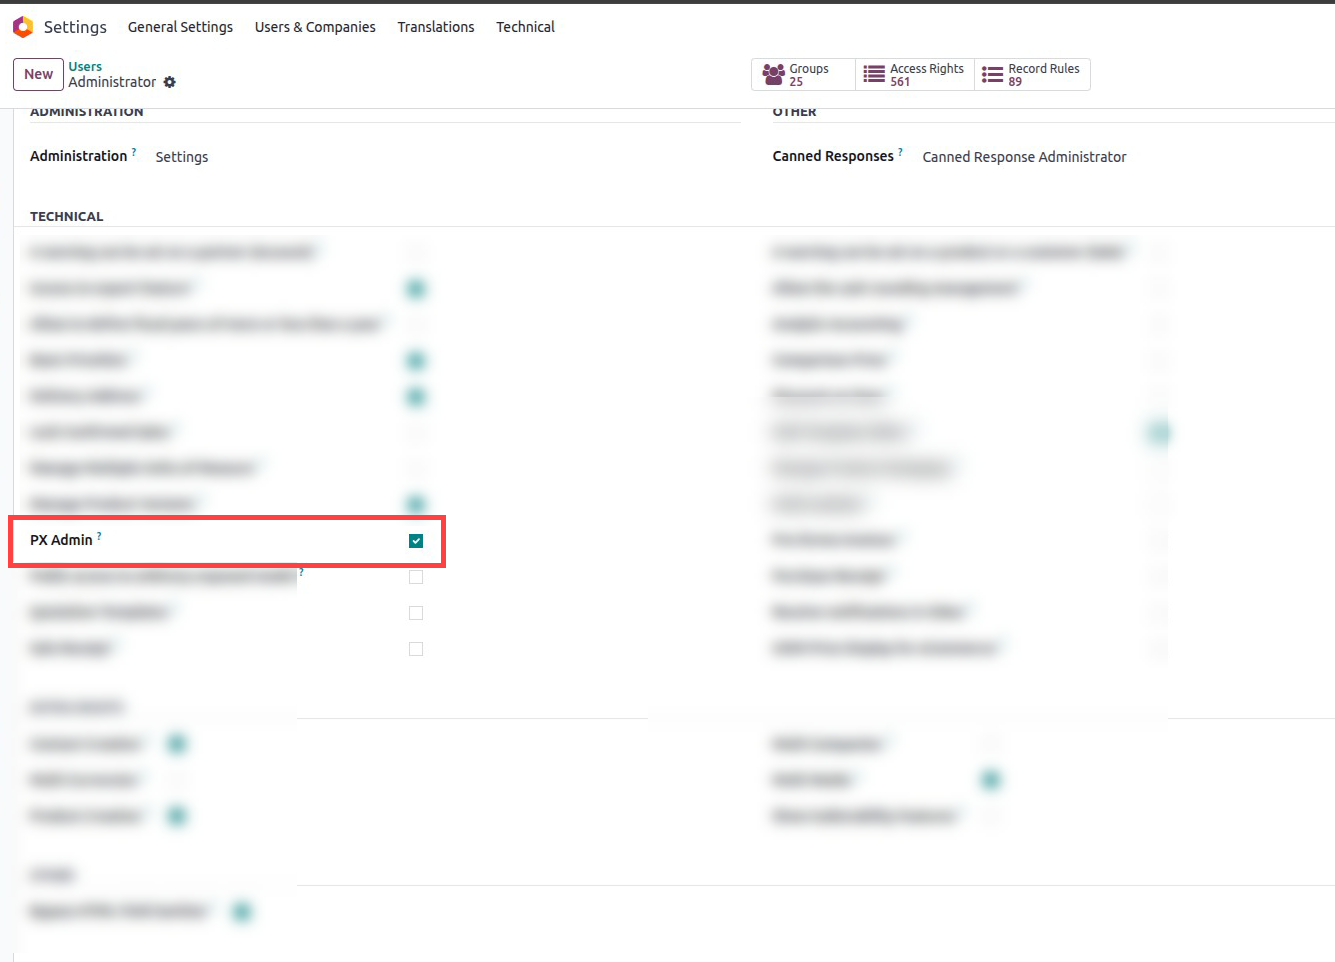
Navigate to Settings > User Module and select the PX Admin checkbox to mark the user as a PX Admin.
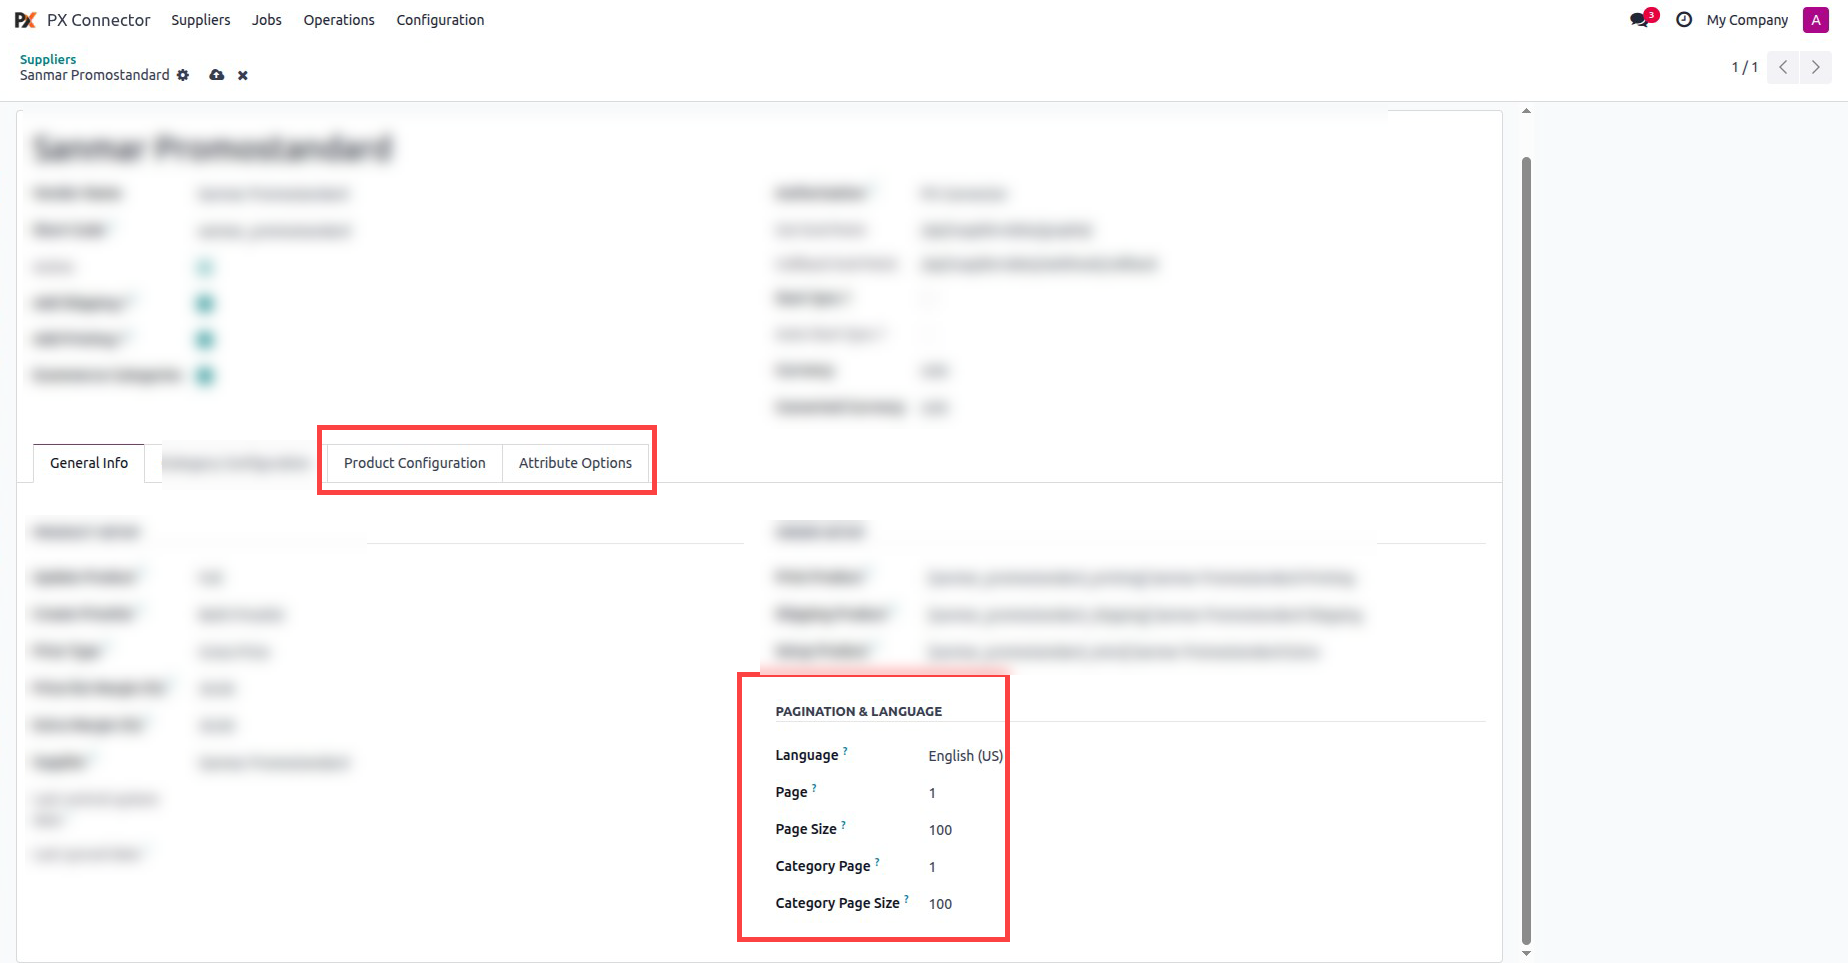
Once this option is selected, the user will have access to the following options in supplier configurations:
If the PX Admin checkbox is not selected, the Attribute, Product Configuration, Field Mapping and in Pagination & language only page options will not be visible in the Supplier Configuration section.
Supplier login
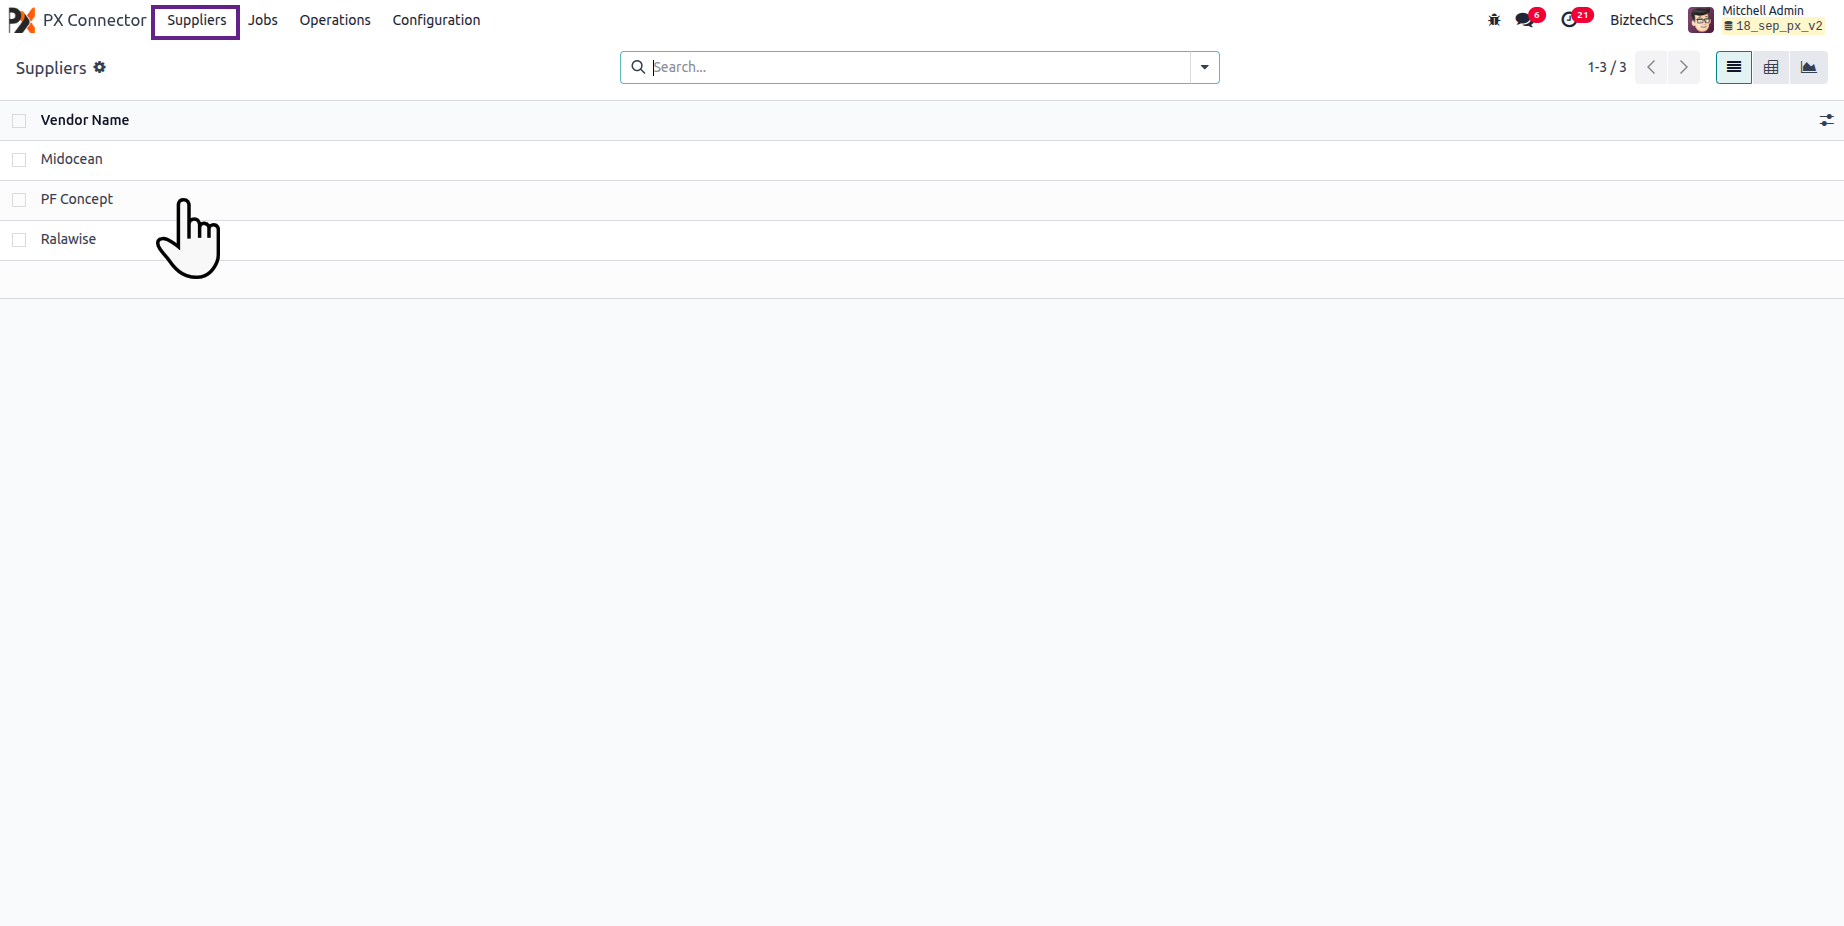
Now navigate to the Supplier module. Here, all suppliers are listed. Select the preferred supplier from the list.
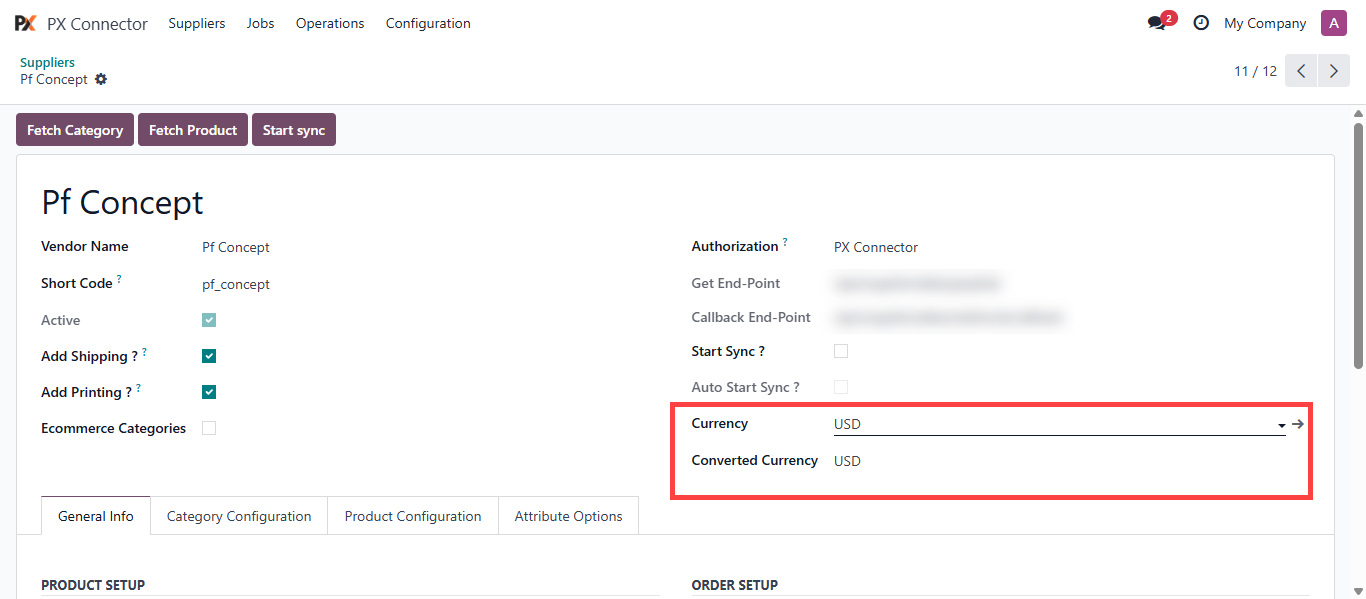
In the supplier details, the Supplier Currency will be displayed. From the Converted Currency field, the user can select the currency in which they want the supplier currency to be converted.
General Configuration
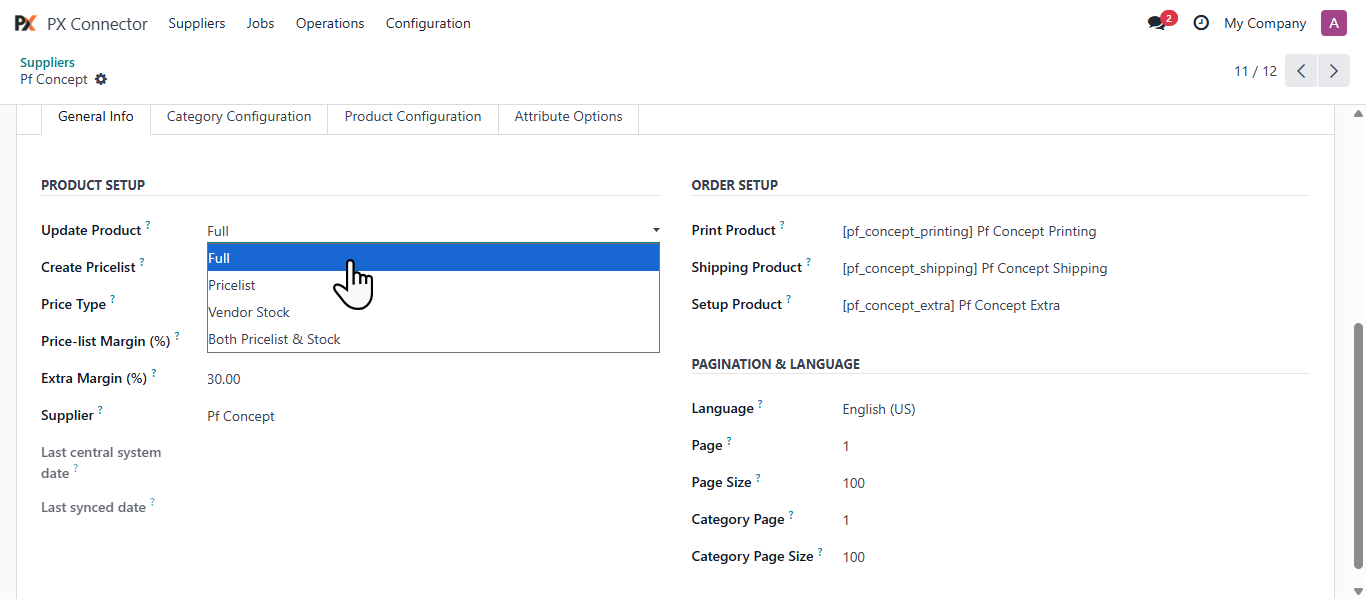
In the General Info section, configure the following fields:
Update Product: Select the preferred method for updating products.
– Vendor Stock: Updates the product’s stock based on vendor stock data.
– Both Pricelist & Stock: Updates both the price list and the stock information.
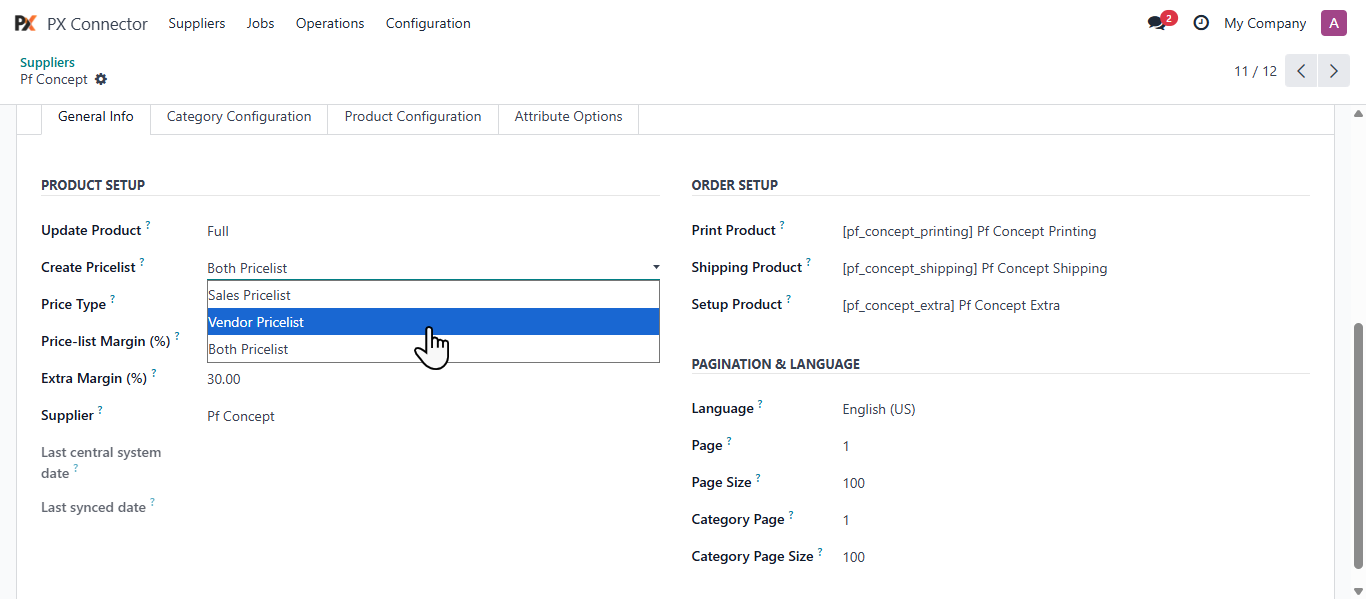
Now set the Create Pricelist options as required:
– Vendor Pricelist: Sets the vendor price list used for customer-facing product pricing.
– Both Pricelist: Applies both the Sales and Vendor Pricelist.
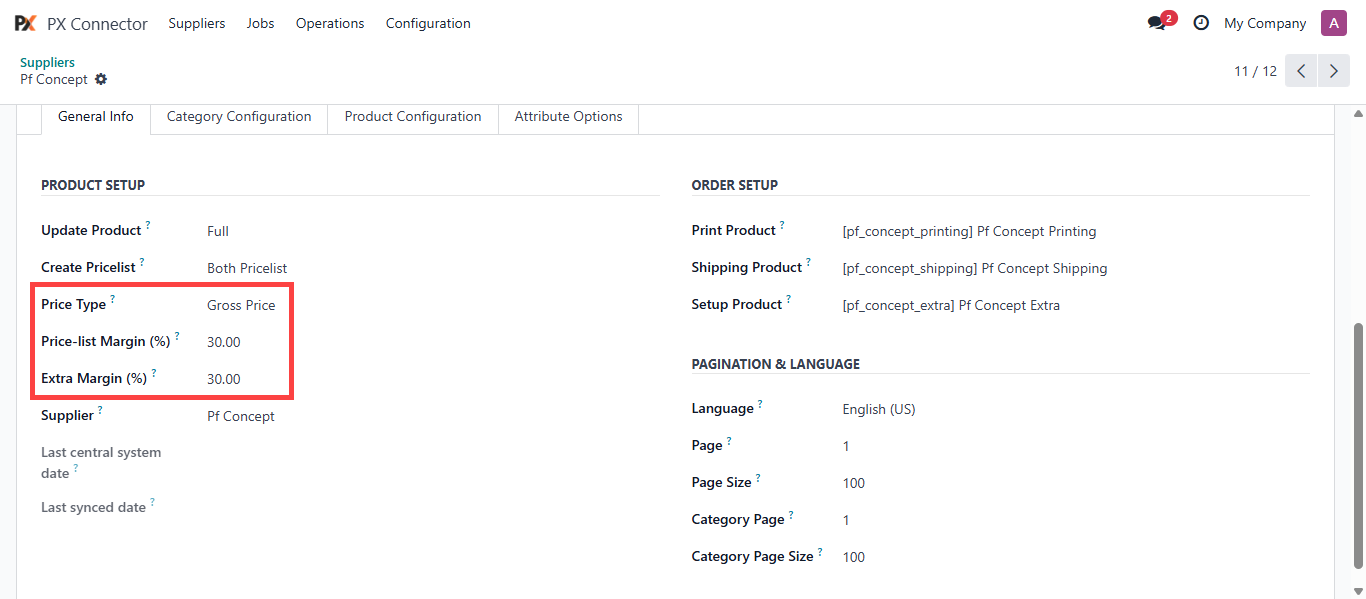
Now set the Price Type. The user can choose between the following options:
– Gross
– Net
– After selecting the price type, the user must configure the margin settings:
Extra Margin (%): This is a dynamic margin that applies to the product. The user can configure and adjust this value as preferred.
Category Configuration
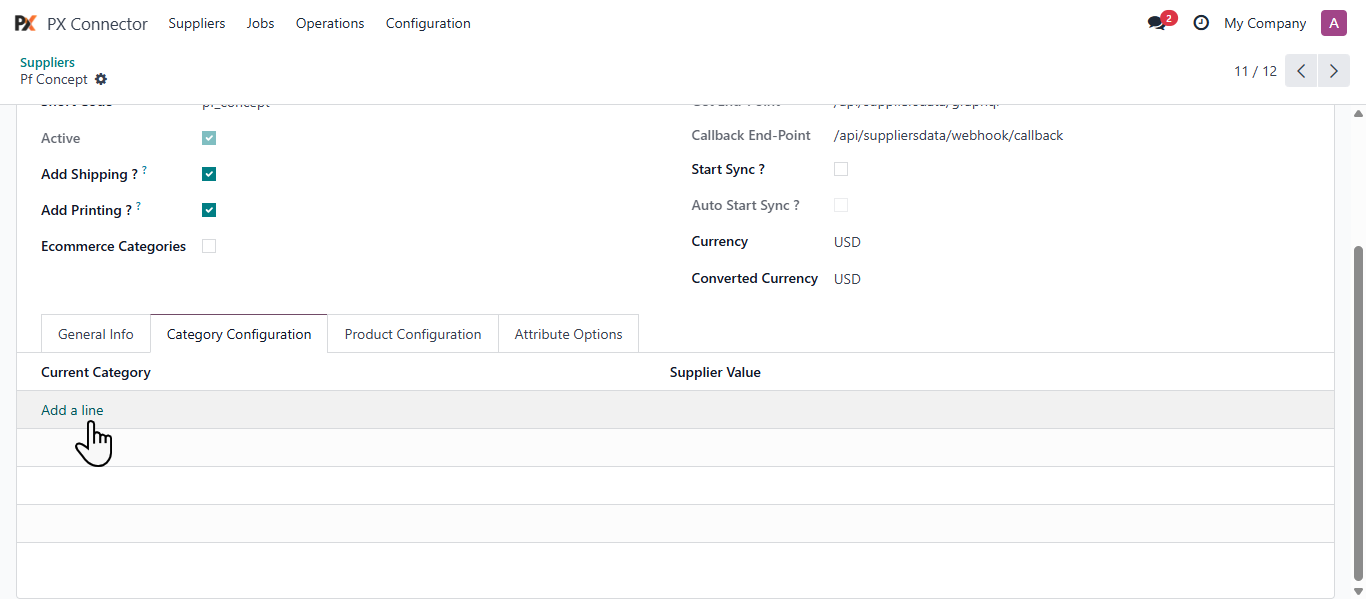
In the Category Configuration section, all configured categories are listed. To add a new mapping, the user selects the Add Line button.
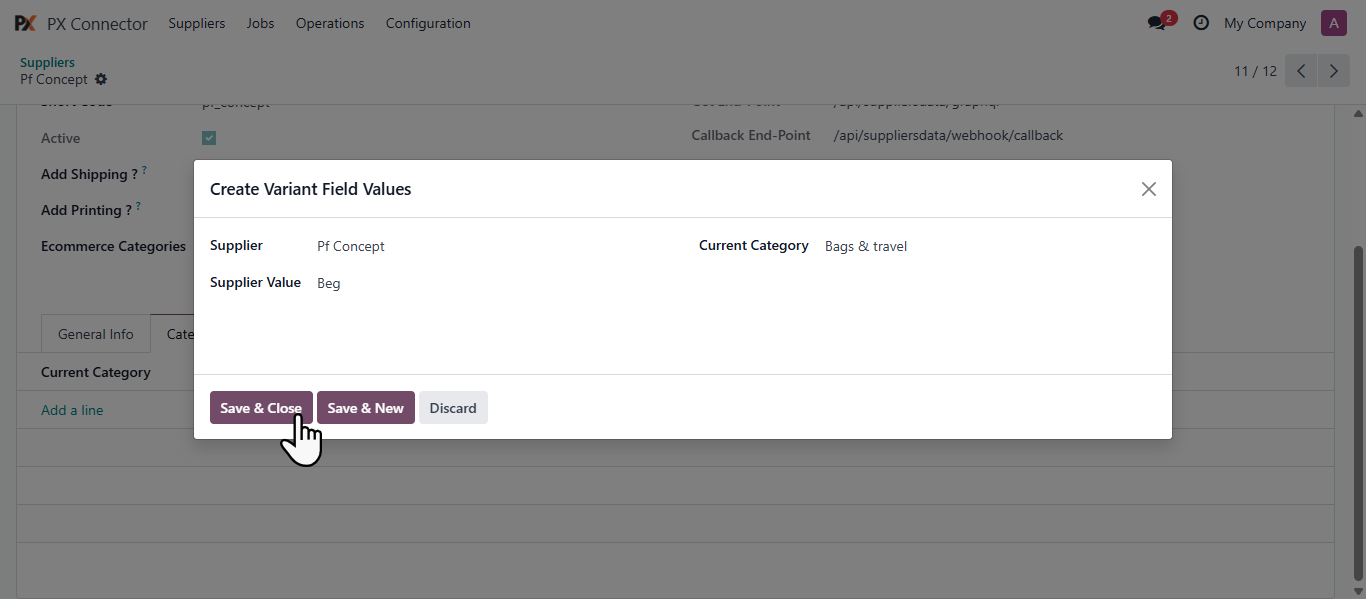
This action opens the Create Variant Field Values pop-up.Inside this pop-up:
– Then select the Supplier Category from which the user wants to pull and add data into the current category.
After configuring these fields, select Save & Close. The configured category mapping will be added to the list.
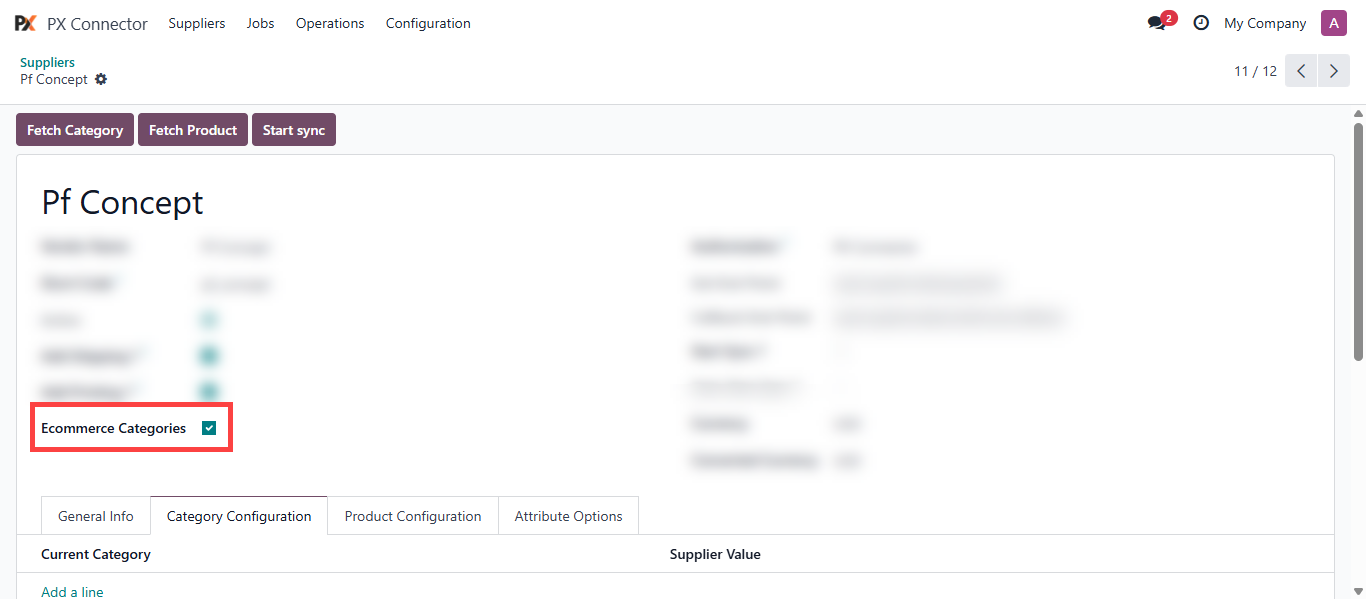
To map the Ecommerce Categories, select the Ecommerce Categories checkbox. Once selected, the Ecommerce Category section will become available.
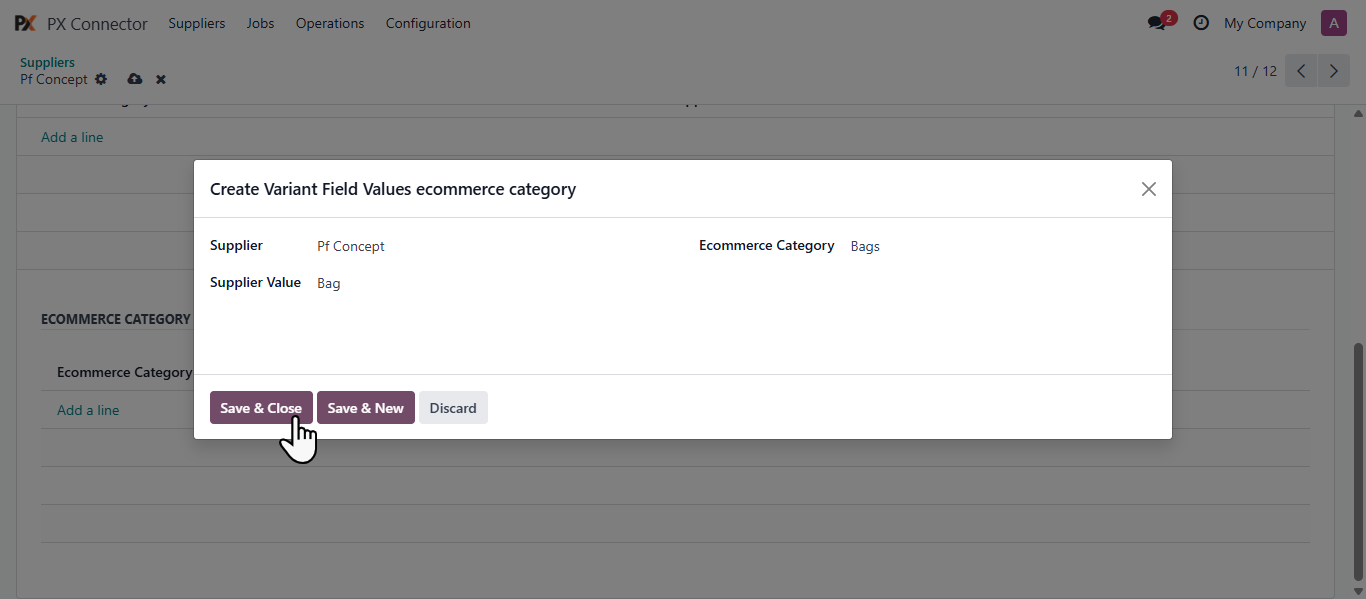
Click on Add a line button this action opens the Create Variant Field Values ecommerce category pop-up.Inside this pop-up:
– Then select the Supplier Category from which the user wants to pull and add data into the current category.
After configuring these fields, select Save & Close. The configured category mapping will be added to the list.
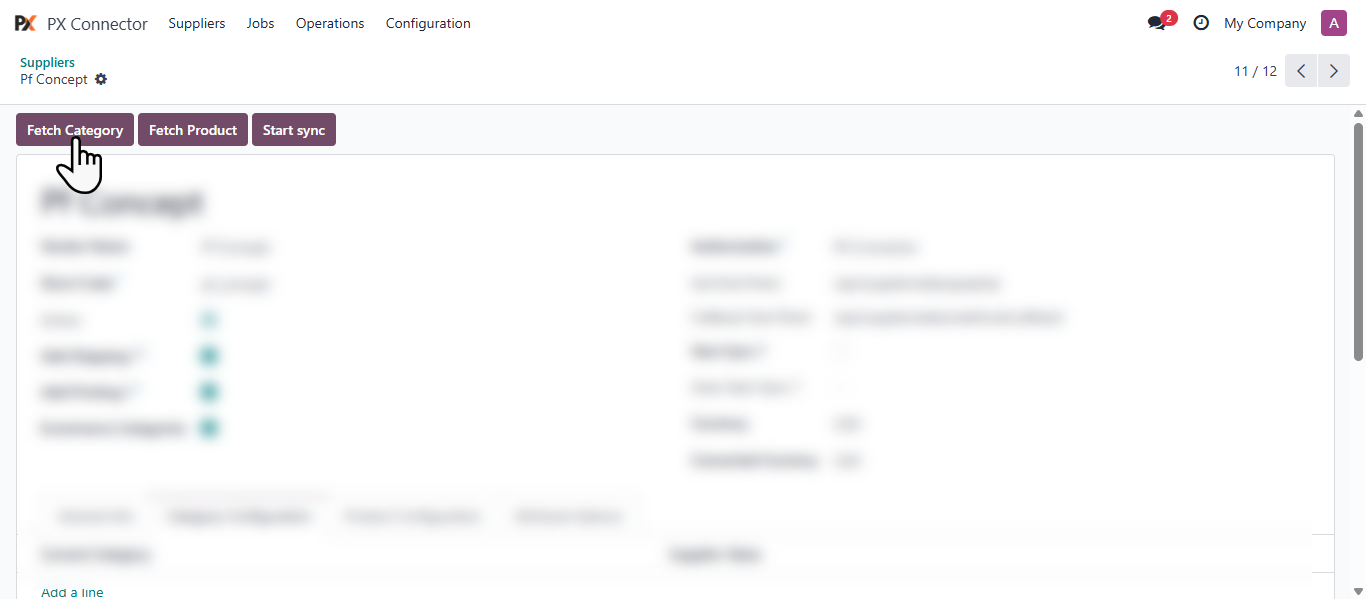
Once these fields are configured, the user selects the Fetch Category button. This action fetches all categories configured from the supplier’s data.
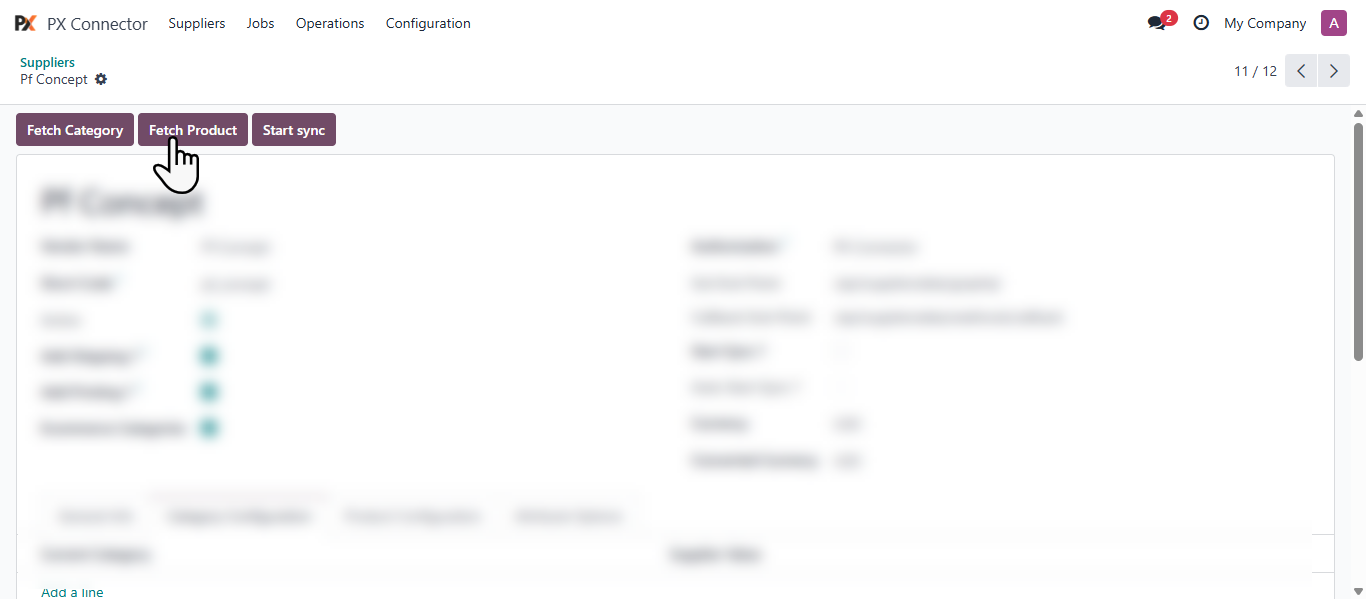
After the categories are fetched, the user selects the Fetch Product button. This action fetches all products from the supplier’s data and maps them to the configured categories.
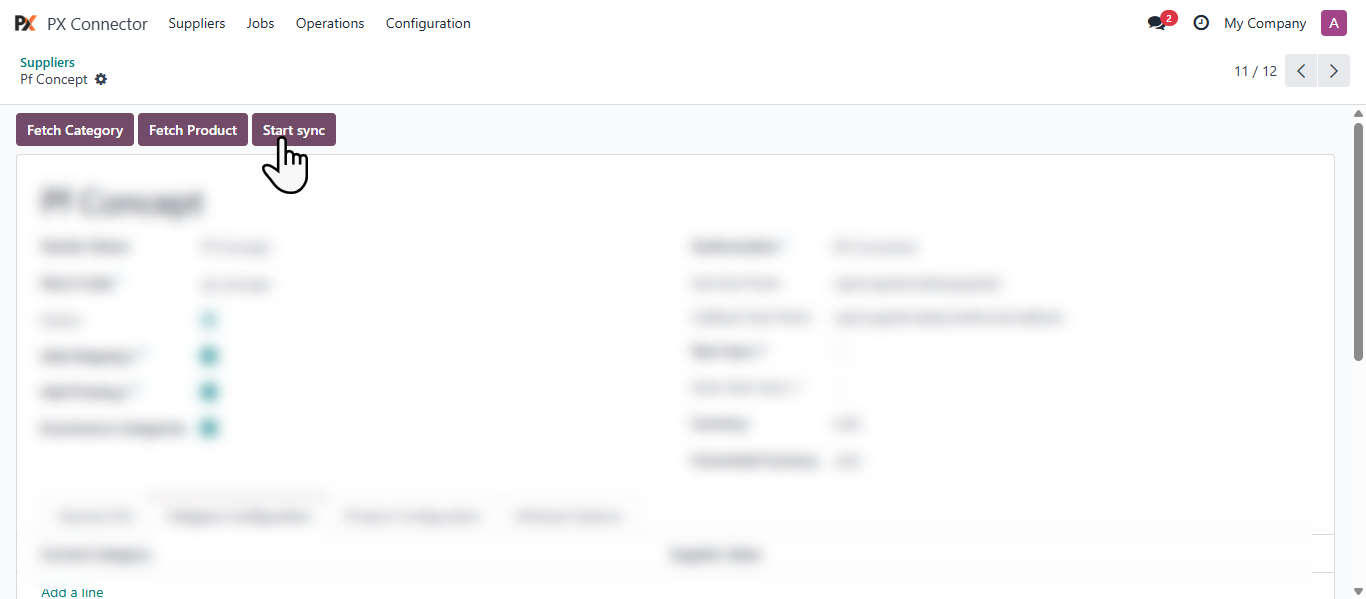
Finally, the user selects the Start Sync button to begin the syncing process.
Field Mapping
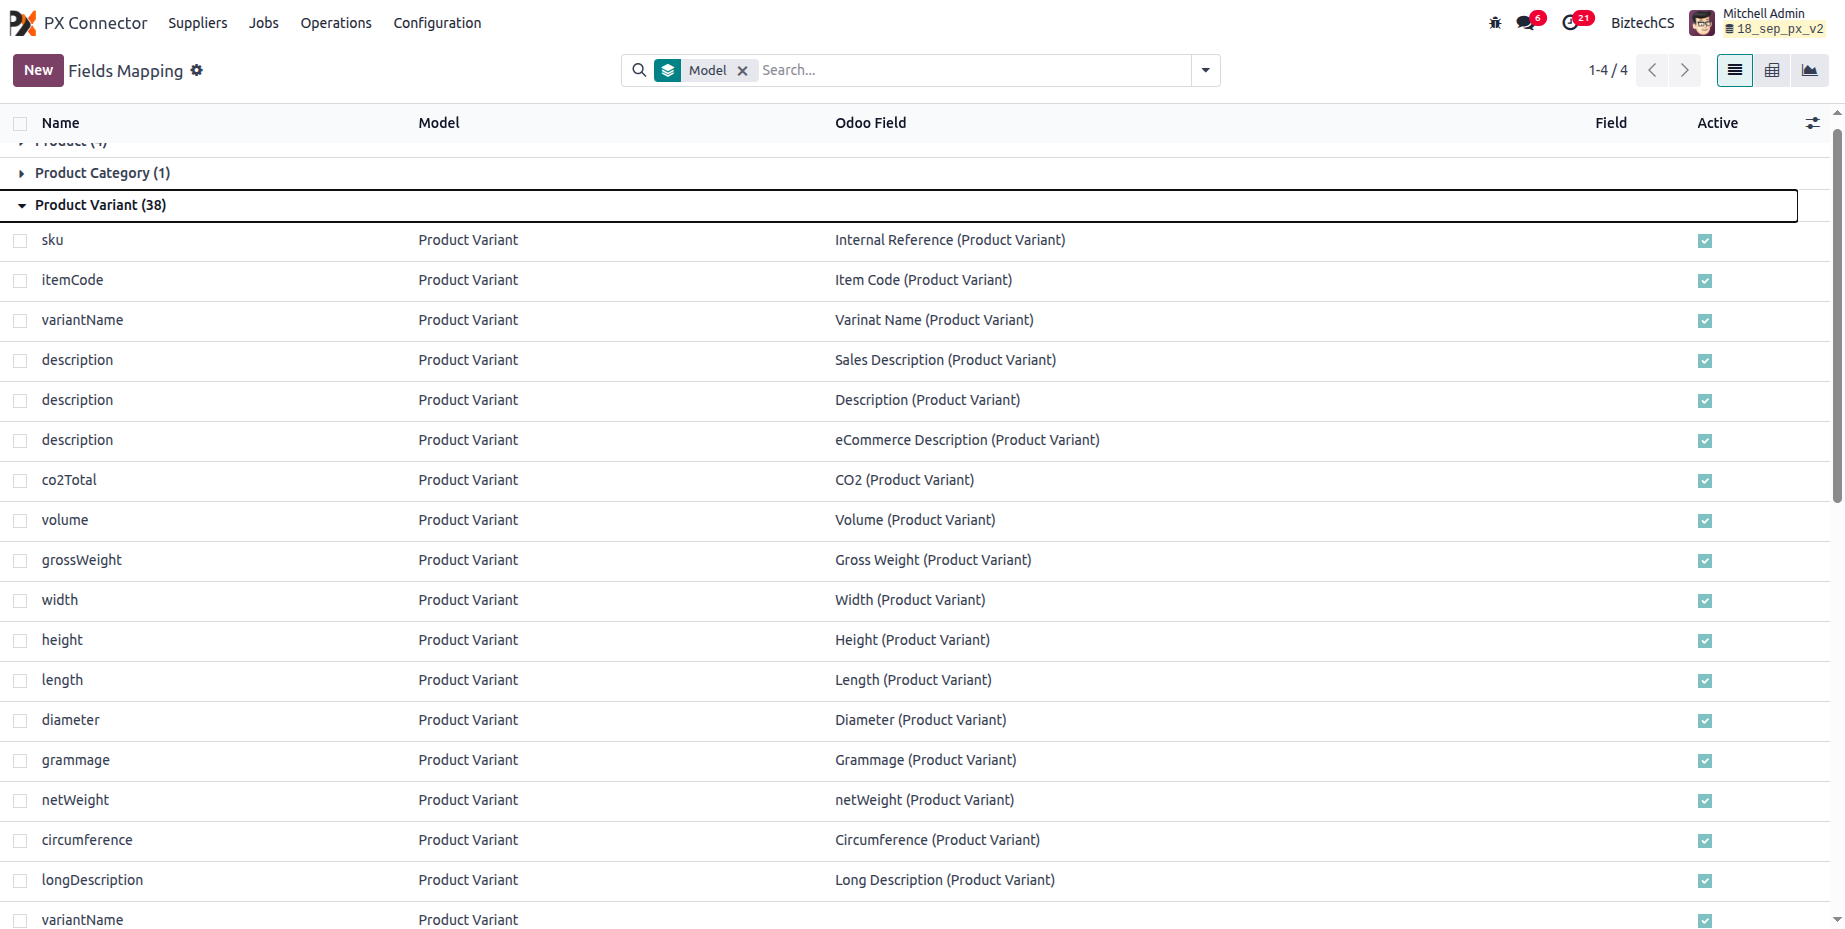
In the Field Mapping section, all product categories and product variants are listed. To access this section, navigate to Configuration > Fields Mapping.
This area allows the user to review and manage how product fields and variant fields from the supplier data are mapped to the corresponding fields within the odoo fields.
Jobs
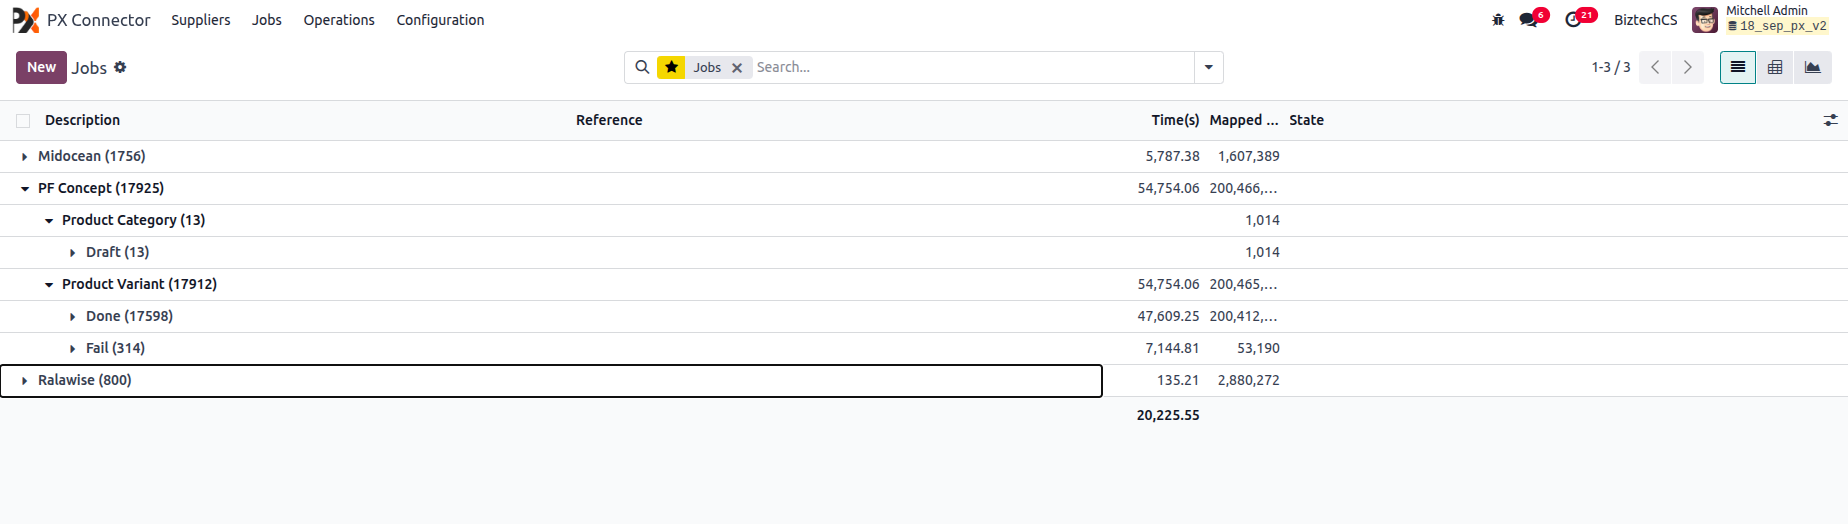
In the Jobs section, all logs related to the supplier are displayed. This includes the status of:
Product Category
Product Variant
– Done
– Fail
– Draft
– Process
Each log entry shows whether the operation was successfully completed or failed, allowing the user to track and review all processing activities.
Product Details page
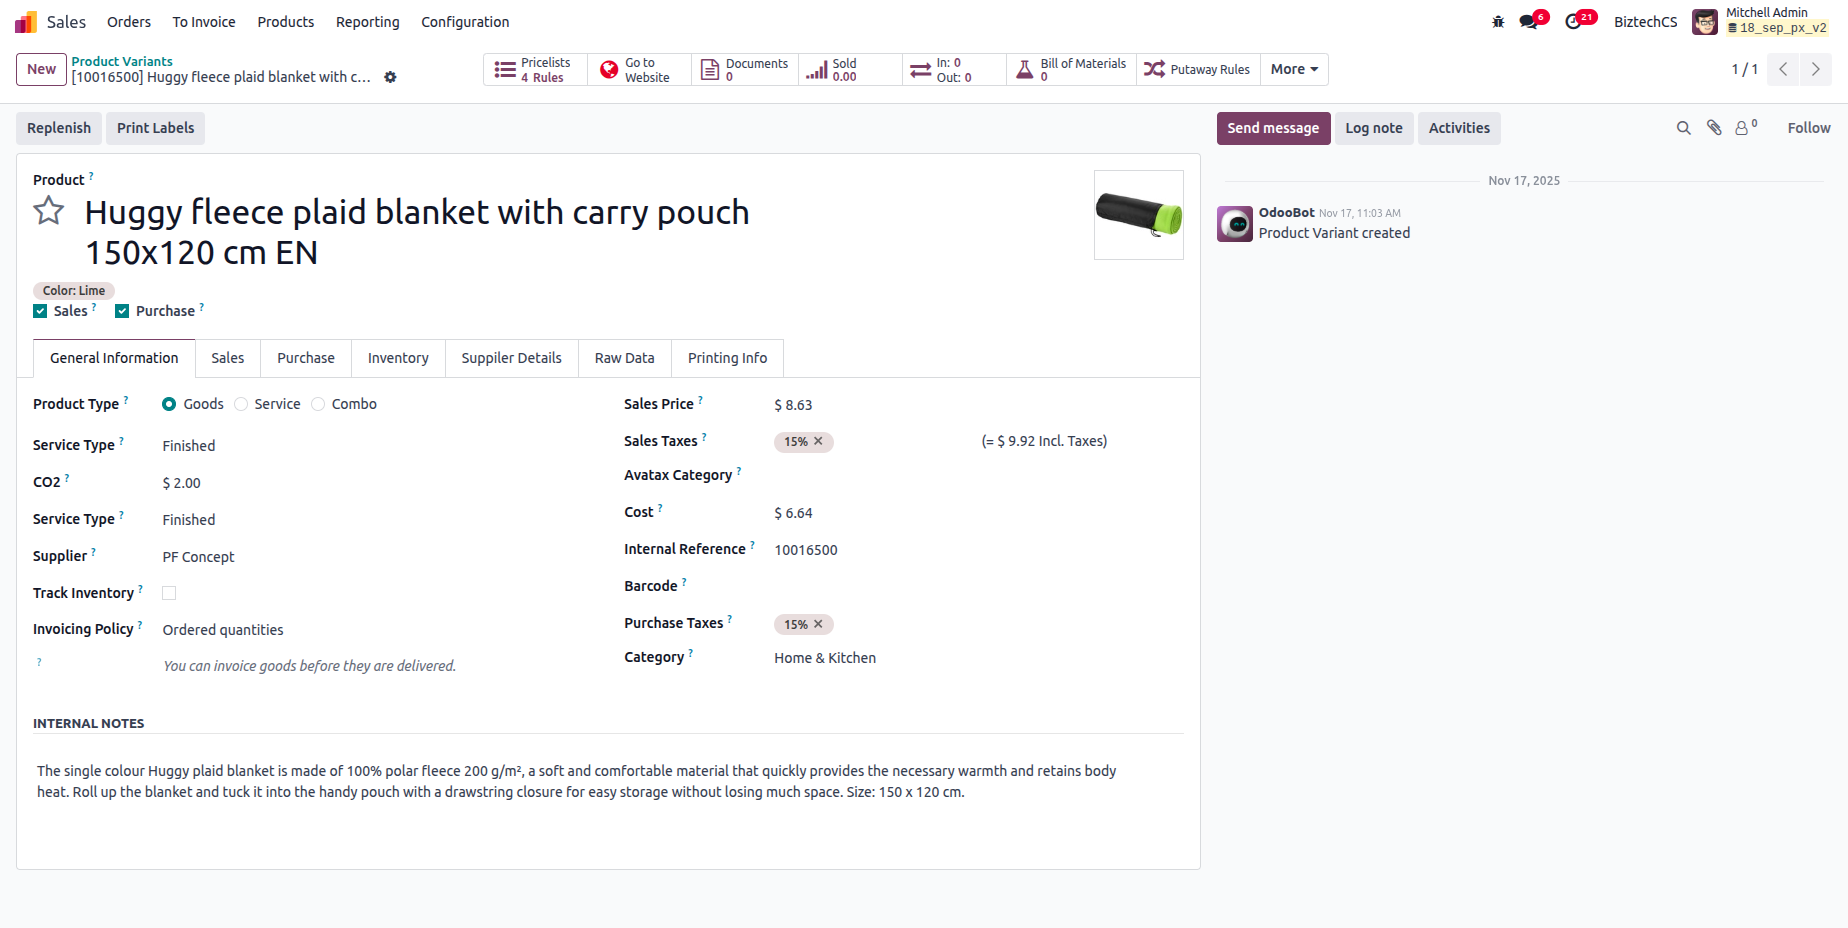
Once all the synchronization is complete, the product is added to Odoo. To view the synced products, navigate to the Sales module. Here, the user can review all products that were successfully created through the sync process.
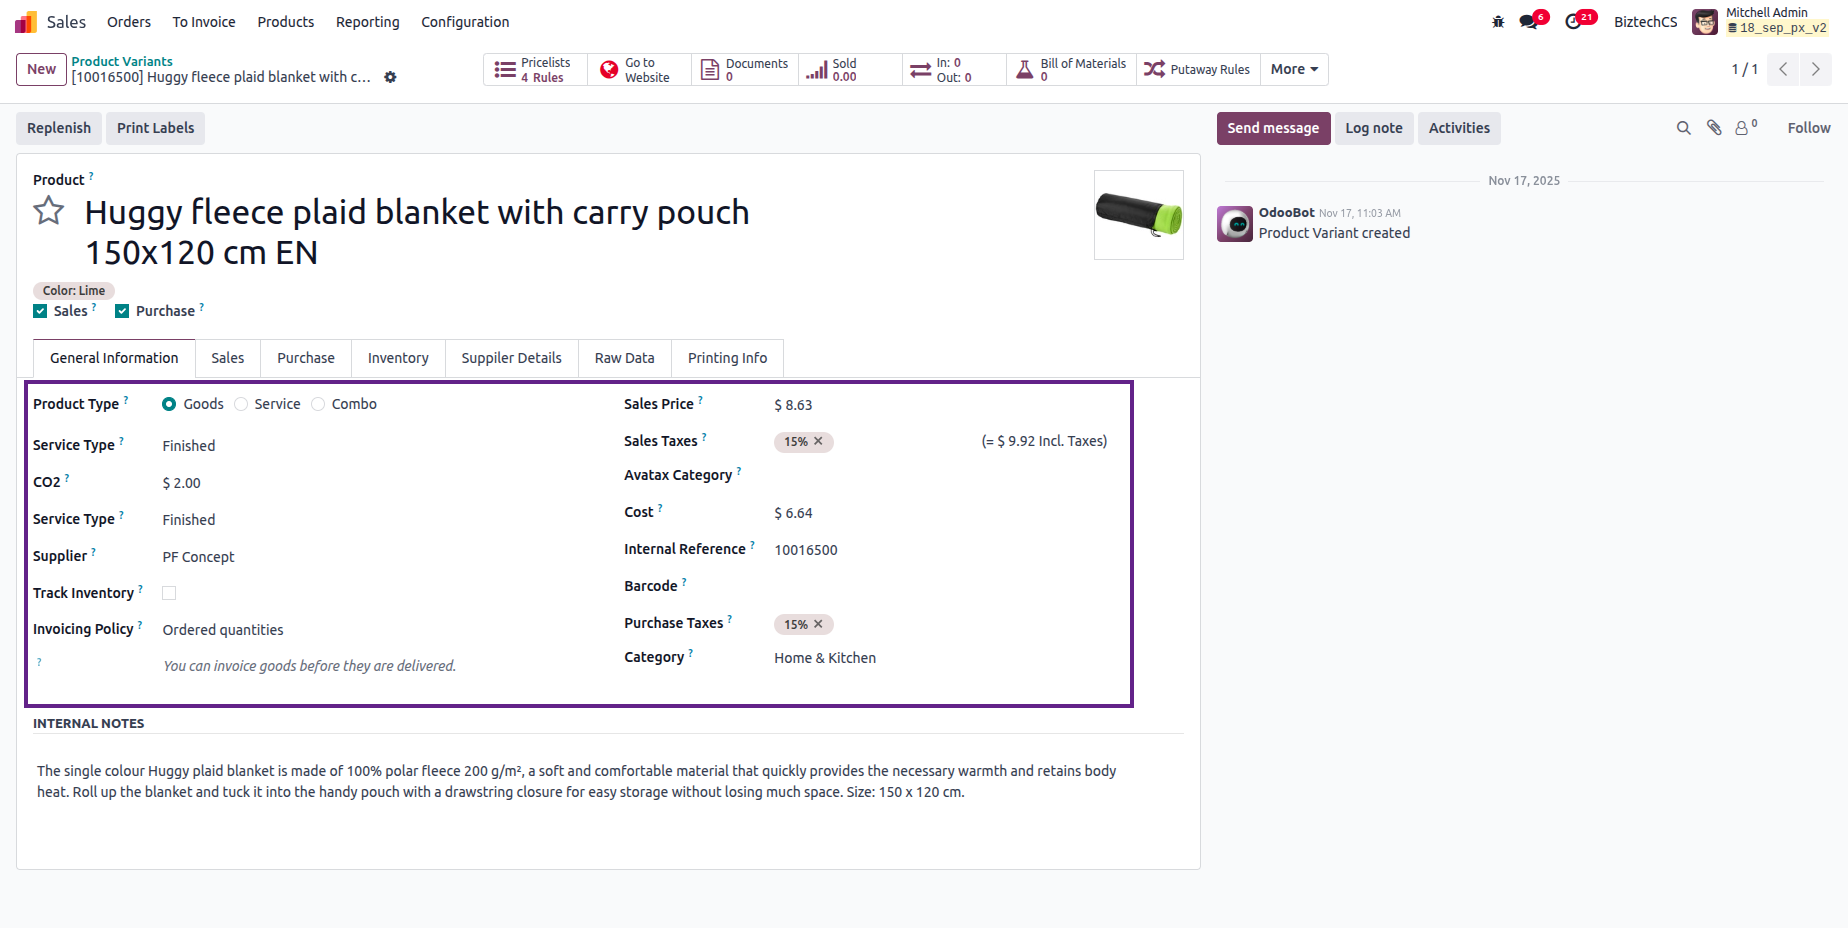
In the General Information section, all product details are listed, including core attributes fetched from the supplier.
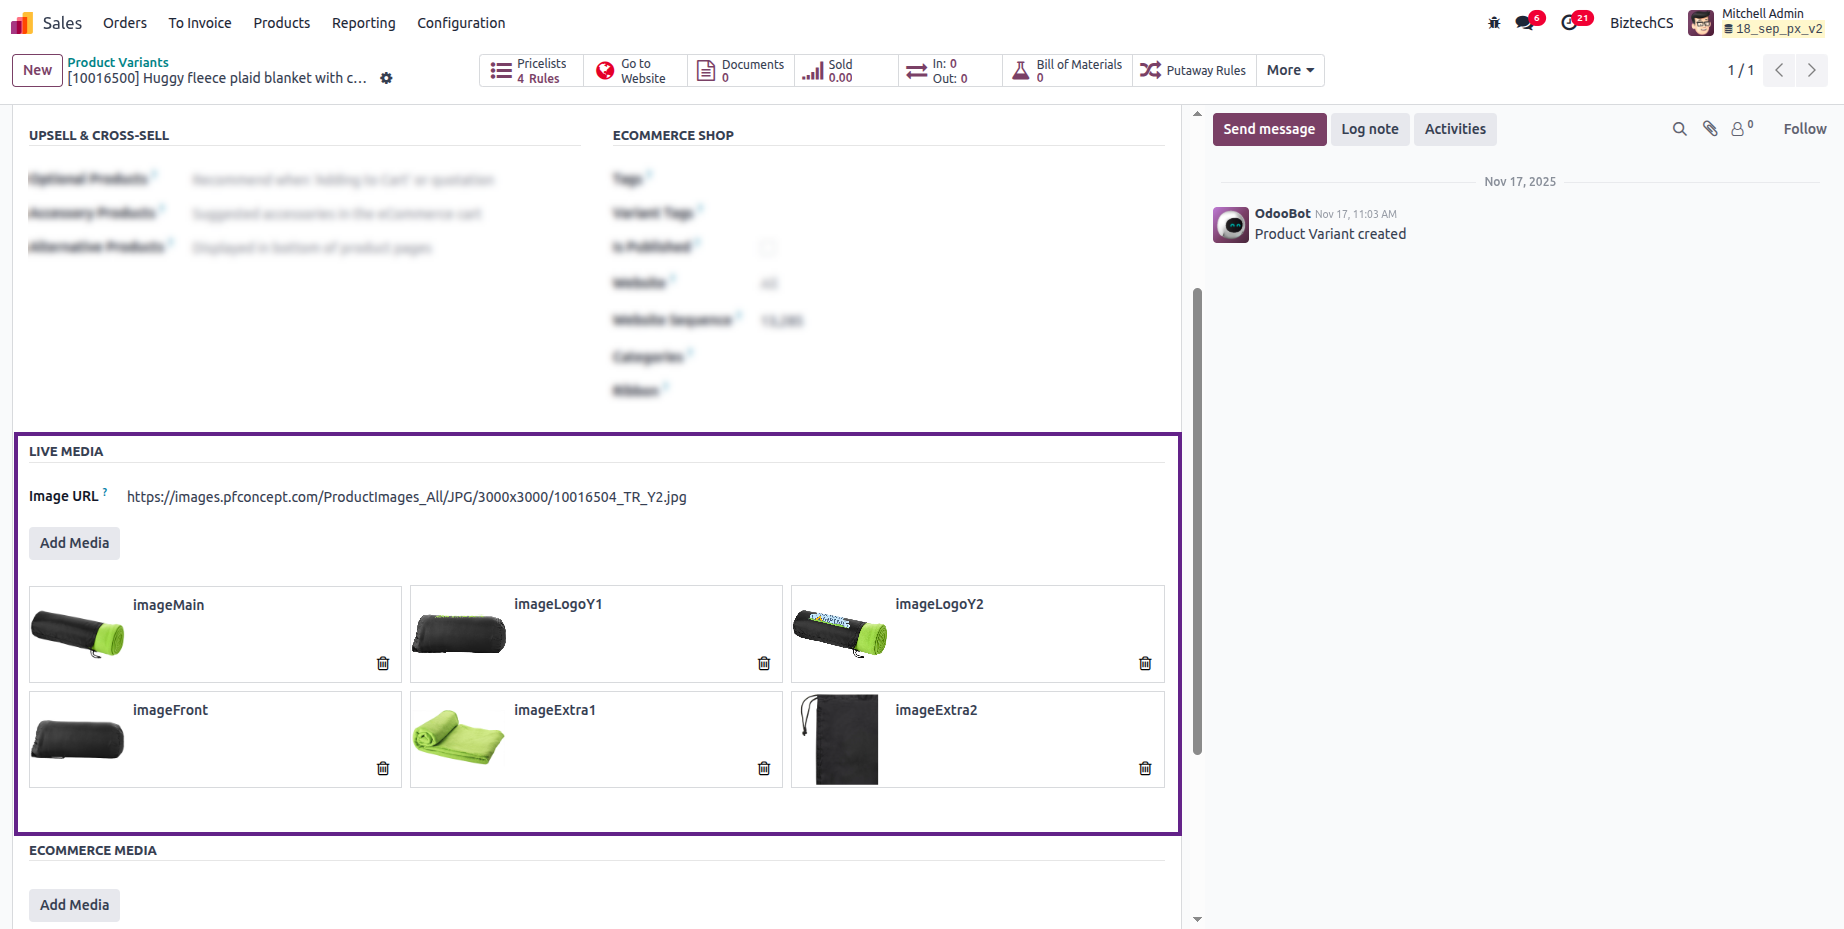
Next, navigate to the Sales section, where the Product Variant Images are displayed under the Live Media section.
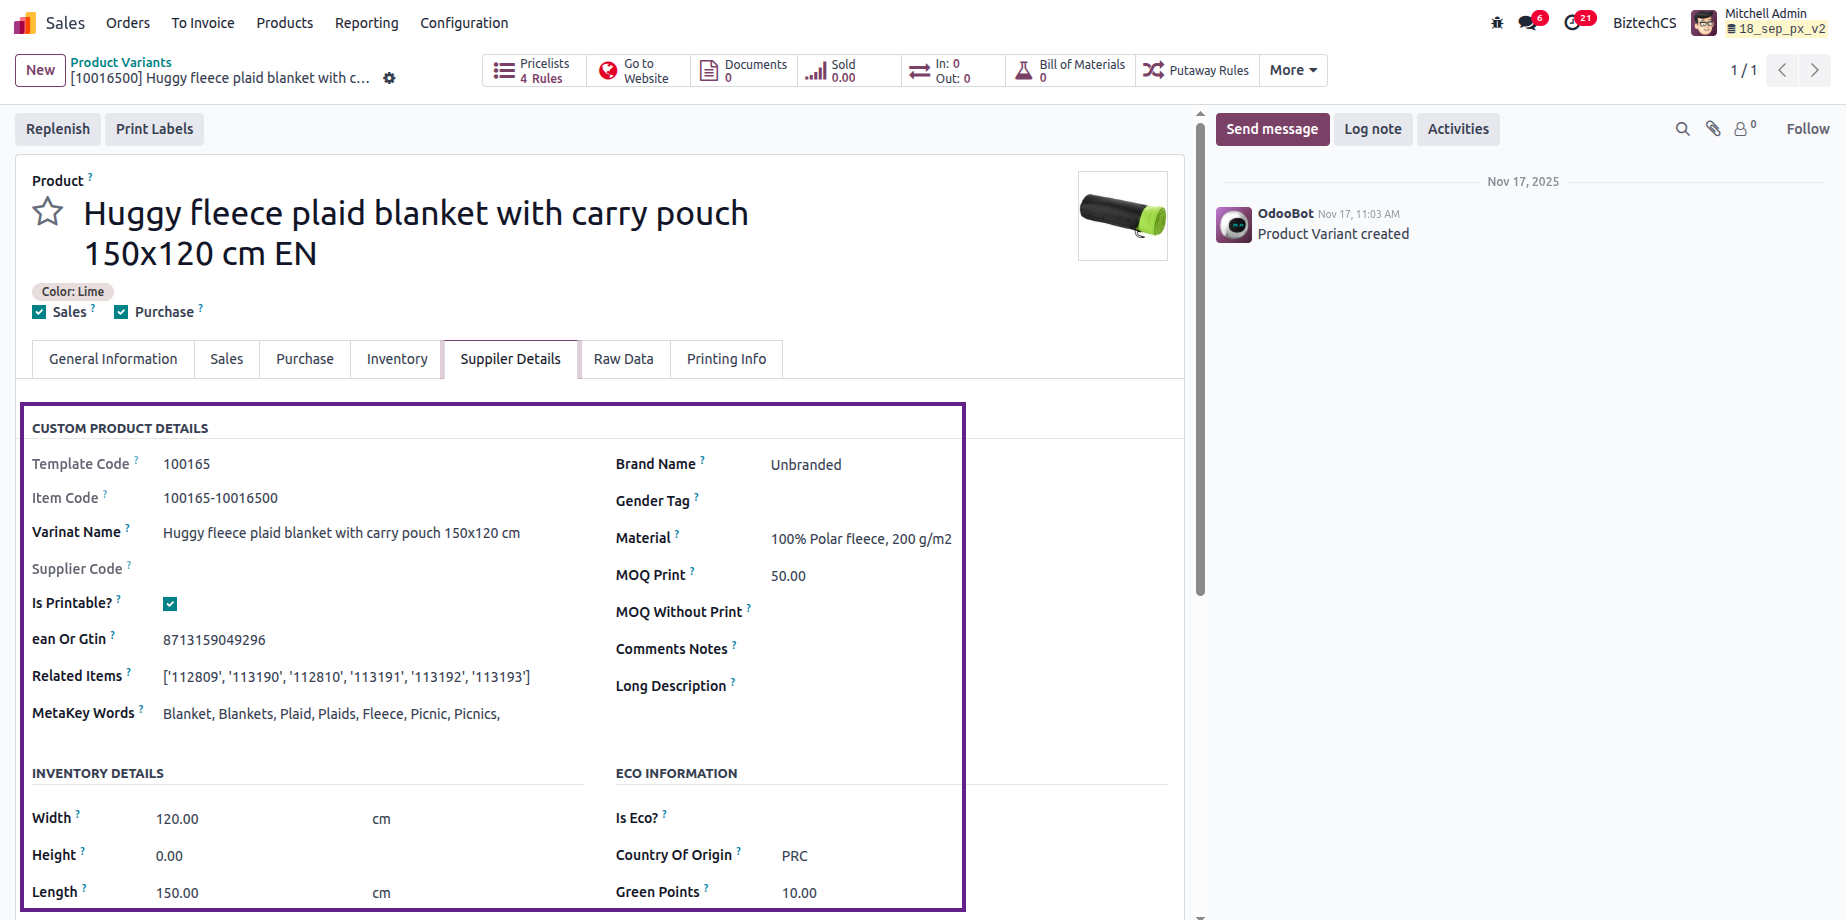
In the Supplier Details section, all product-related data imported from the supplier is shown. This includes Template code, Materials, Brand Name, and other relevant Product information.