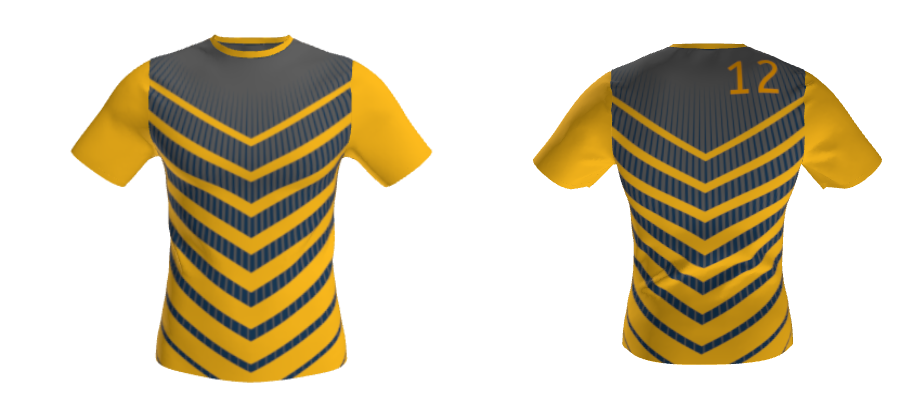
3D Preview
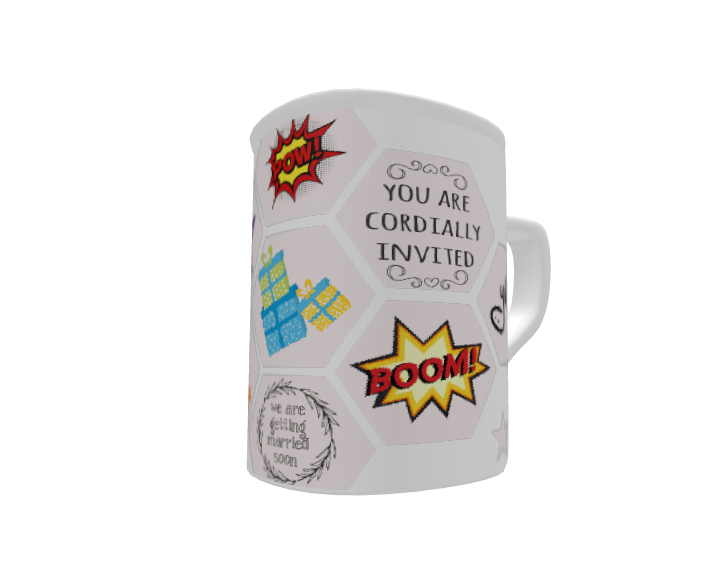
With the 3D preview feature, you’ll be able to give customers a 360° view of your products. Your customers could apply different attributes like Cliparts, Artworks, Text, Images and much more to your product.
Once you decorate your products with these features you can preview the product in 3D.
Backend Configuration
Manage Layouts
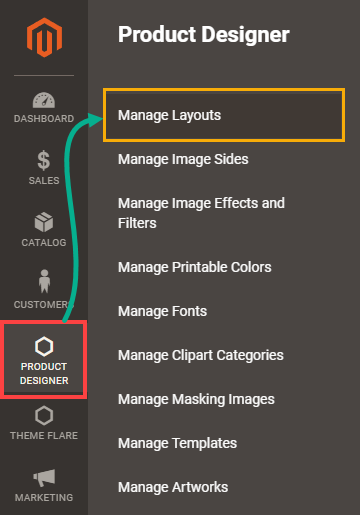
You have to enable the 3D preview from the Manage Layouts sections. In order to do so, navigate to Product Designer ➤ Manage Layouts. [1]
Here a list of layouts will be displayed. Click on the Edit icon in the Edit column and then you will be directed to the configurations page of that layout. [2]
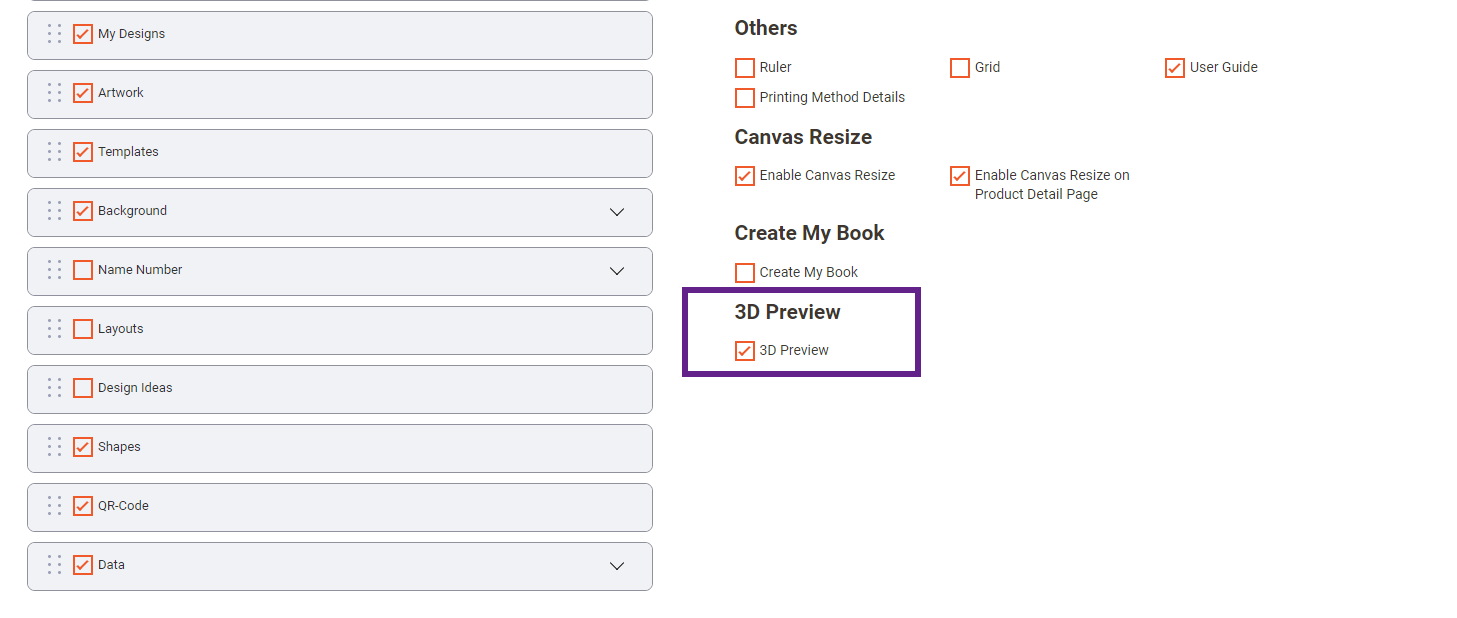
Now here you have to scroll down to the 3D Preview section and click on the checkbox in order to enable the 3D preview for that layout. [3]
After enabling 3D preview, it’s time to create a new product.
Create New Product
To add a product and enable the product designer, go to Catalog → Products. You will be redirected to the product list page where you can see the list of all created products. To add a new product, click on the “Add Product” button.[1]
In the new product page, select the attributes and insert all required details related to the product like product name, price, quantity, category, etc. [2]
Now, navigate to the “Images & Videos” option to upload product images with their sides.
To upload an image for the product, click on the “Browse to find” text label or drag the image there to upload the image. You can also select the relevant images as per sides. [3]
After uploading images of a product, click on the Save button to save the product details. Once the image is uploaded and the product is saved, only then “Designer Settings” button will be enabled. [4]
Now, the Designer Settings button is enabled. By clicking on the product’s image, the ‘Image Detail’ pop-up window will appear on the screen. [5]
Add ‘Alt Text’ as per your requirement and select the option of Role: Base, Small, Thumbnail, Swatch accordingly for the product view and any other area to display the image. After adding all the details, don’t forget to save it. [6]
Note: To access the Designer Settings, ensure that your product is enabled and that you have uploaded its images.
Designer Settings
Once you have added the product details and its images, you must set the “Image Sides” and the “Design Area” for the product.
Click on the Designer Settings button to configure the sides and the design area as per the sides. [1]
As you clicked on the “Designer Settings” button, you will navigate to the designer setting page, here you can enable the product designer feature and also add the product pricing details. [2]
To configure designer area for front user scroll down to the designer type drop-down, Here you can configure different designer type based on industry/ market. [3]
– General
– Photo album
– Custom Size
– 3D Preview
Note: Once you set up the photo album settings for a product, you won’t be able to change the designer area type for that product later.
3D- Designer Area settings
You need to configure the following details related to configuring the design areas:
You can configure the product with different aspects:
– DPI: You have the option to specify the resolution of the product image in dots per inch.
– Unit: you can configure the image height and width using different units( pixel, Inch, millimeter, centimeter)
– Output Based On: Output options can be selected based on the following criteria: Product Image Size, and Custom Size. [1]
- Image Side: Select the image side from the drop-down selection. Here, you will get the Images Sides drop-down selection as per the “Product Designer → Manage Image Sides”. Select the relevant side for the product (for the selected image). [2]
- Masking Image: To select a masking image for your product, choose from the dropdown list of masking images available in the “Making Image” section. [3]
Note: Ensure to select the appropriate masking image according to your product.
Additionally, you have the option to upload a masking image directly by clicking on the masking section. Any image uploaded here will be added to the Manage Masking Image section and automatically assigned to the product. [4]
3-D Preview configuration
– Default View : Select the 2D/3D view to load the product on the front side.
– File Upload or Add Path : You can upload the GLB files through File Upload or you can enter the Magento Root Path of the GLB file in Add Path.
– SVG files : If the product has multiple sides then it is mandatory to upload SVG file containing its side.
Note : The side name in the SVG file and in the backend should match.
After adding all the details, click on Save.
Manage 3D Objects
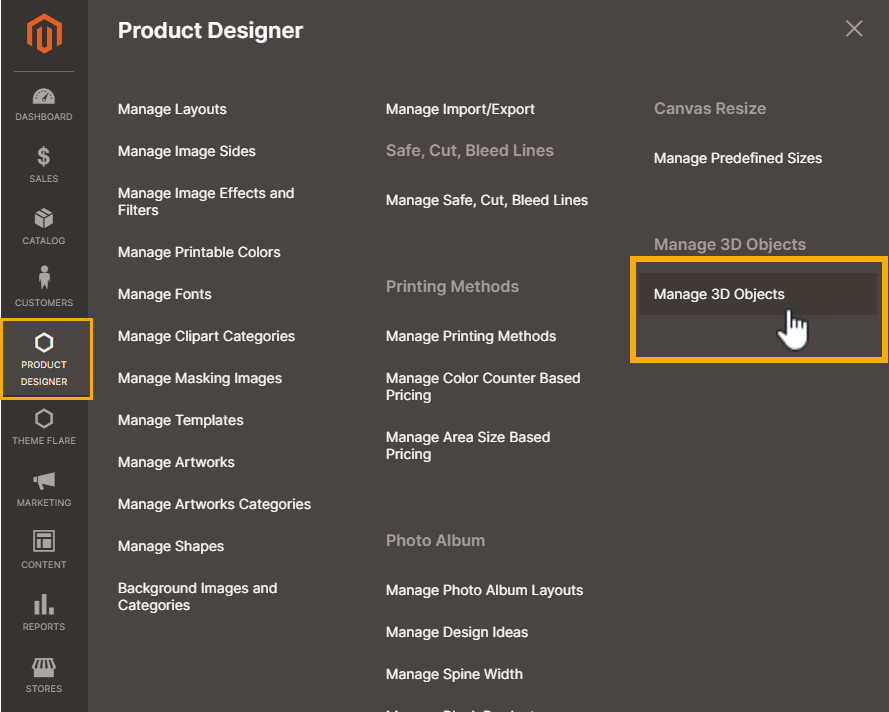
Once you add a new product, you have to then navigate to Manage 3D Objects module under Product Designer in order to upload a GLB file. [1]
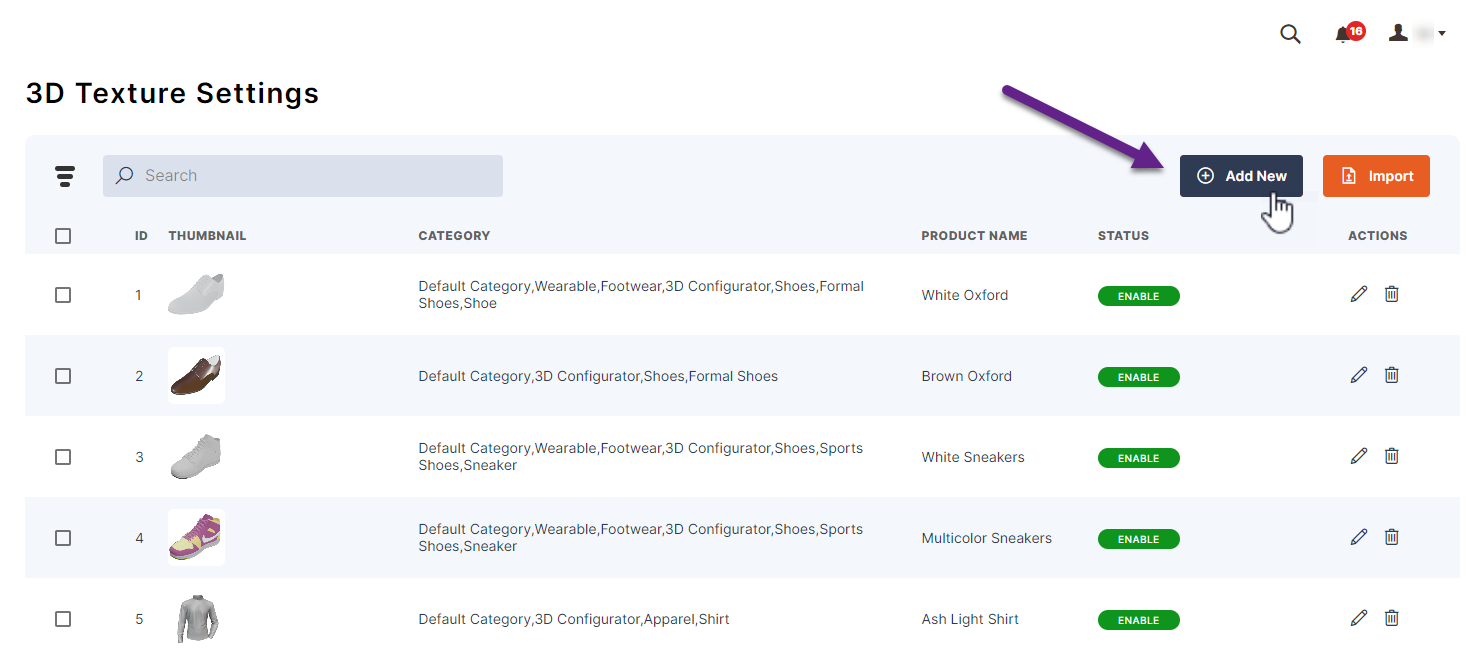
You will land on the 3D Texture Settings page where you have to click on the Add New button to add the glb file. [2]
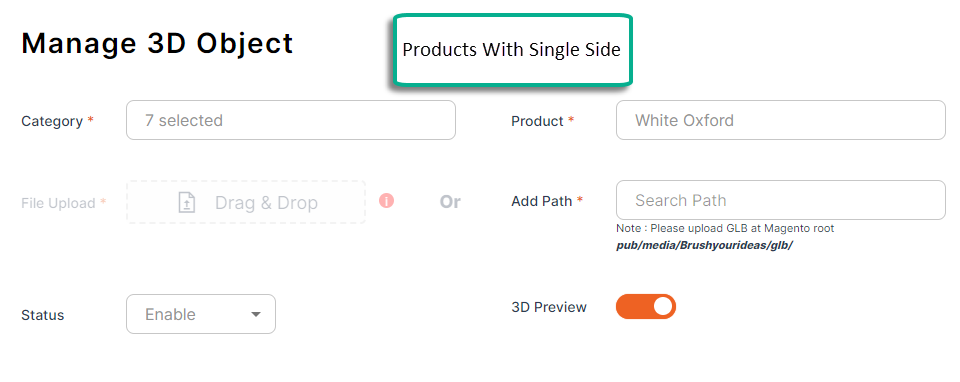
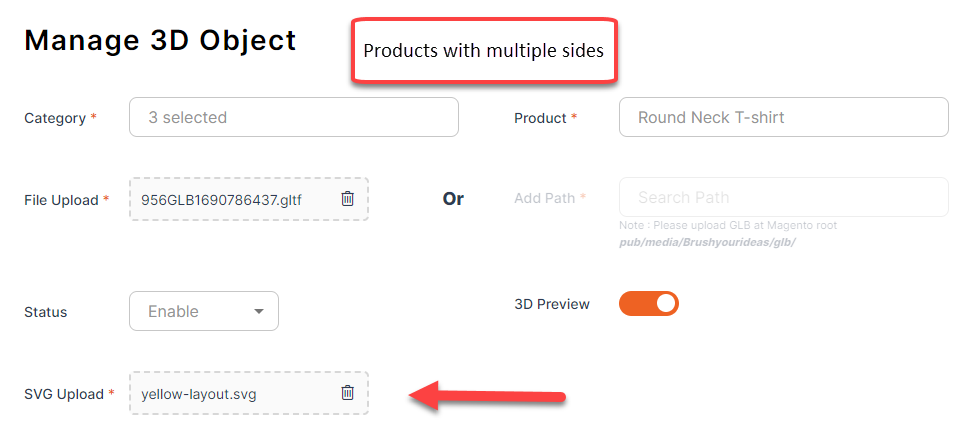
Here to add a glb file you have to fill up the following details :-
– Category : Select the category of the product.
– Product : Select the product.
– Add New Product : From here you can create a new product.
– File Upload or Add Path : You can upload the GLB files through File Upload or you can enter the Magento Root Path of the GLB file in Add Path.
– SVG files : If the product has multiple sides then it is mandatory to upload SVG file containing its side.
– Status : You can Enable/Disable 3D objects from here.
Note : The side name in the SVG file and in the backend should match.
After adding all the details, click on Save. [3][4]
Product Designer Features
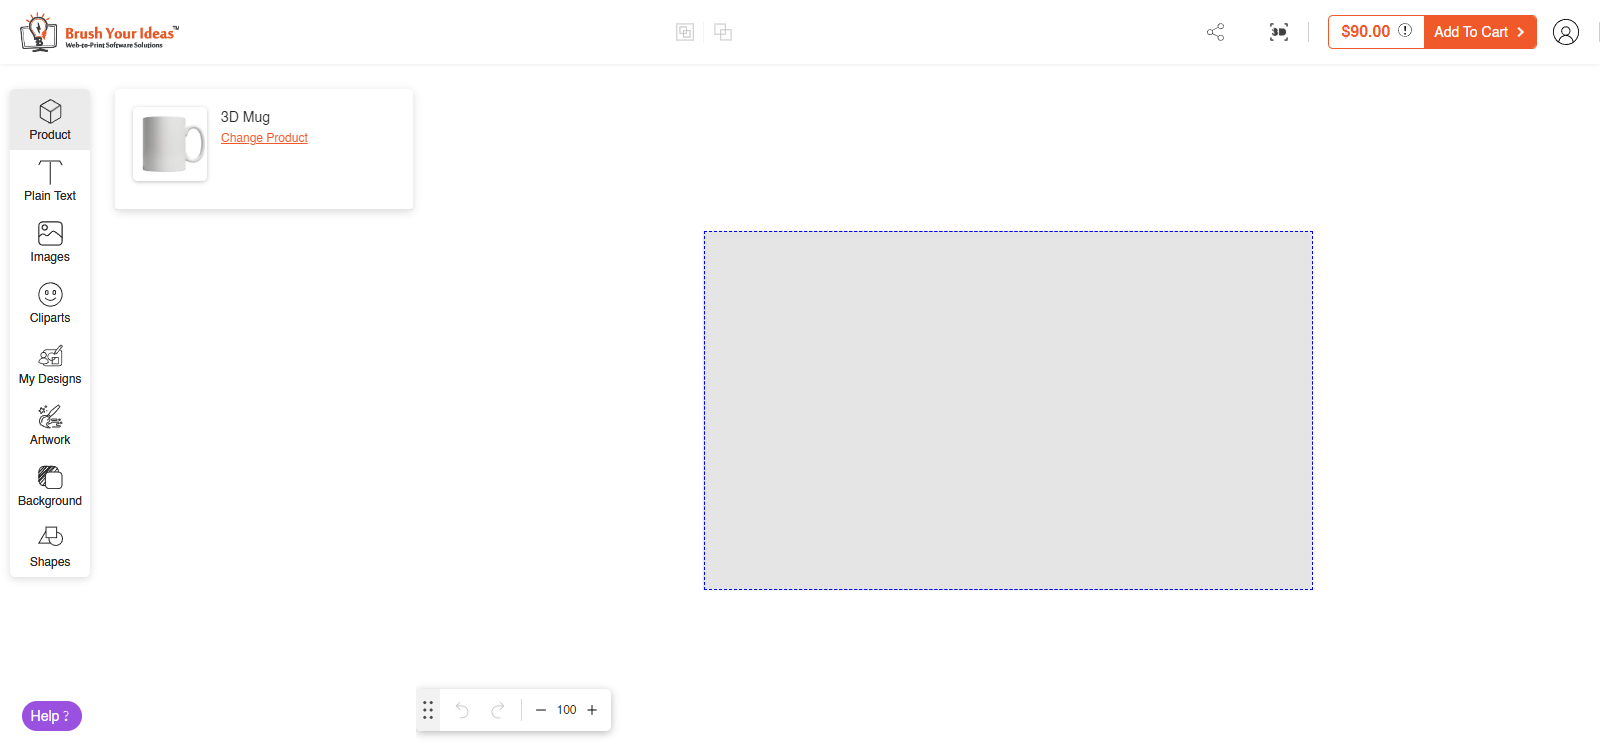
You can customize your product through the following features that are present on the left tab : –
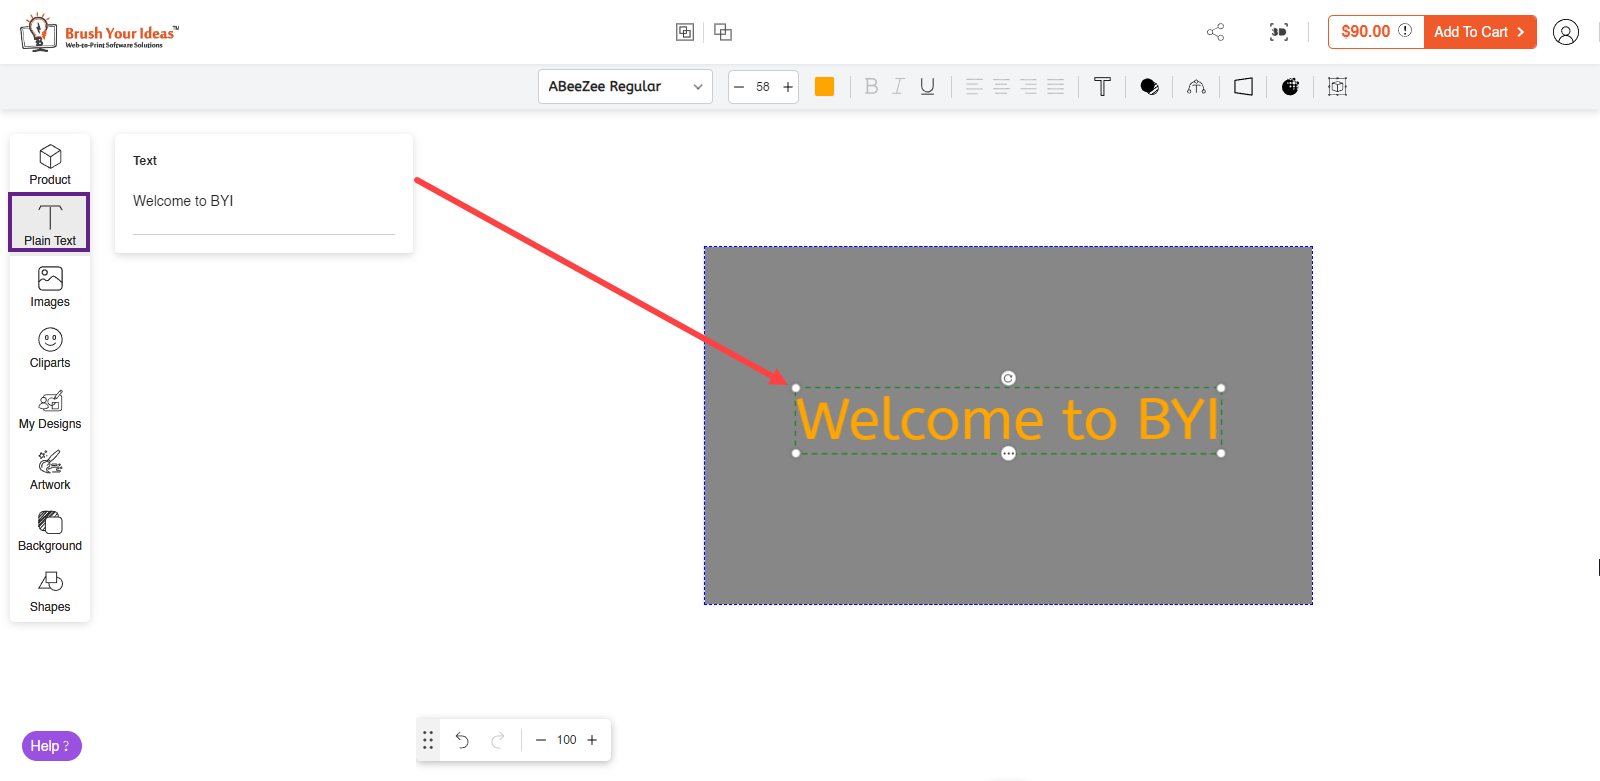
Customers can enter text with the Plain Text section, to display on the products. [1]
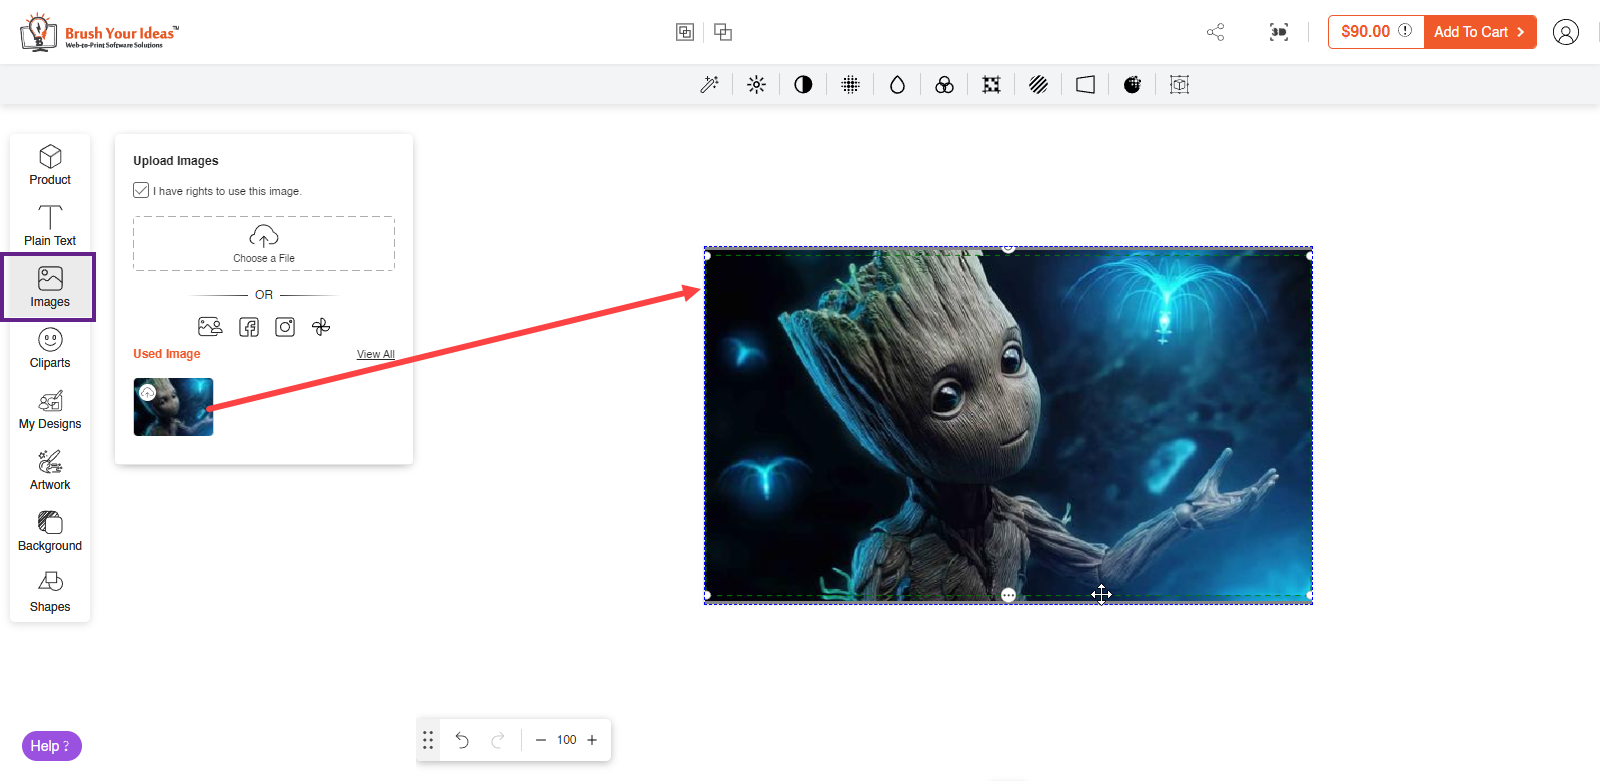
Customers can upload images from the Image section. There are multiple ways to upload an image.
Either, click on the Choose File icon or upload through various platforms like Facebook, Instagram, and Google Photos. You can Drag and Drop the images you want to add. [2]
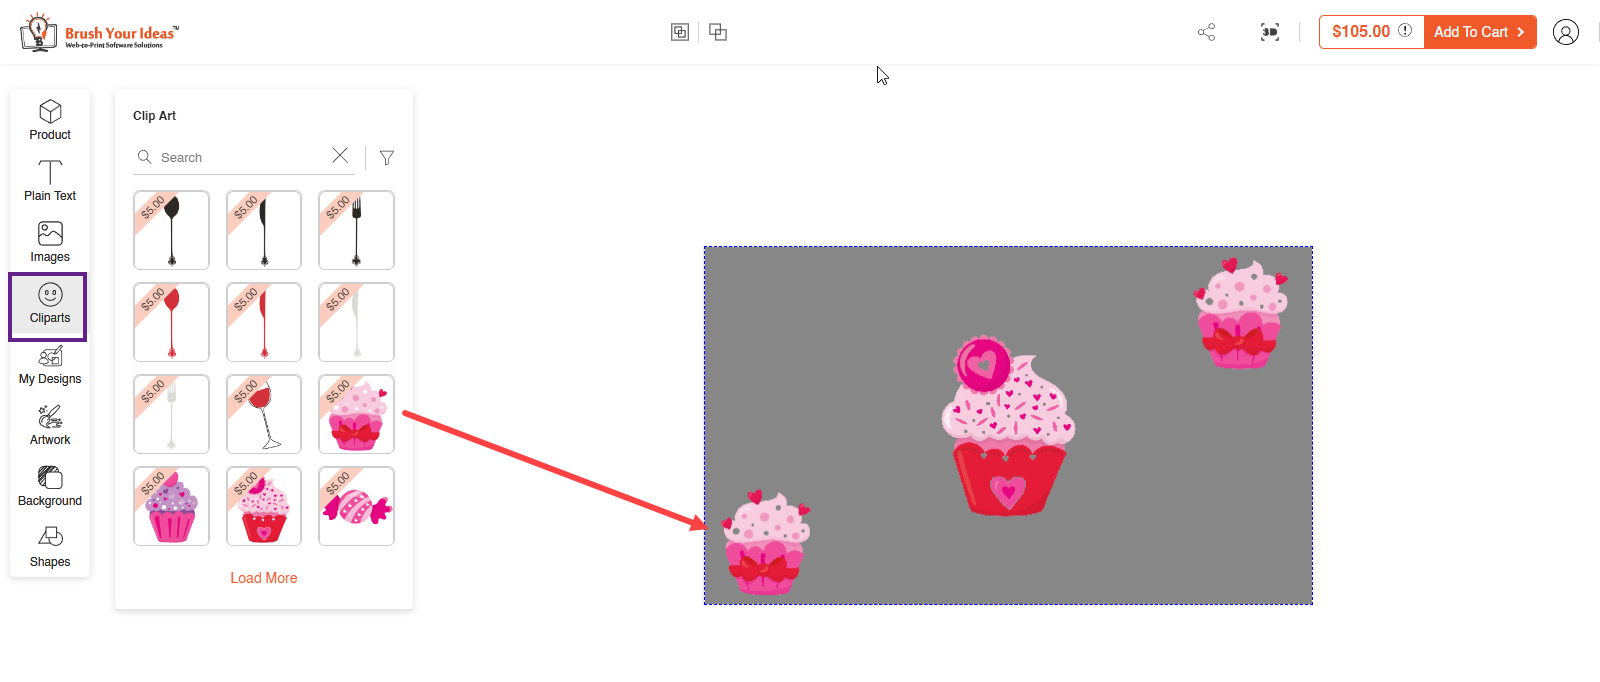
Customers can add unique designs to their products using the Clipart Gallery provided under Clipart section. [3]
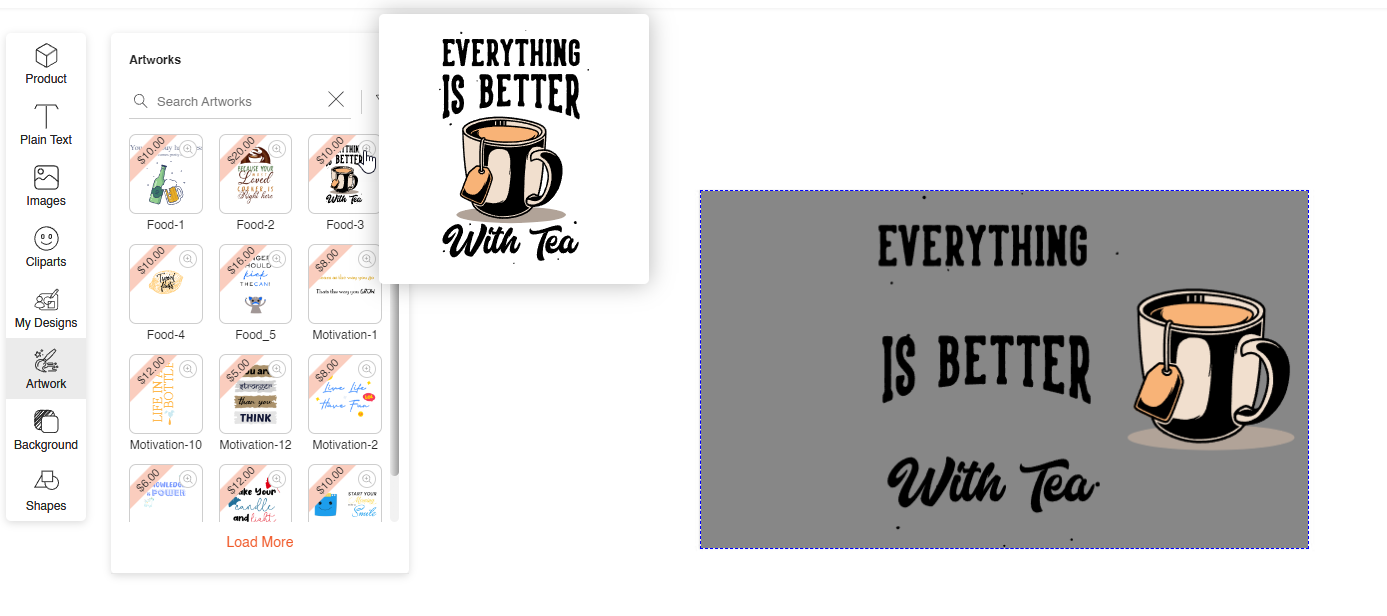
You can add artworks from the Artwork section. [4]
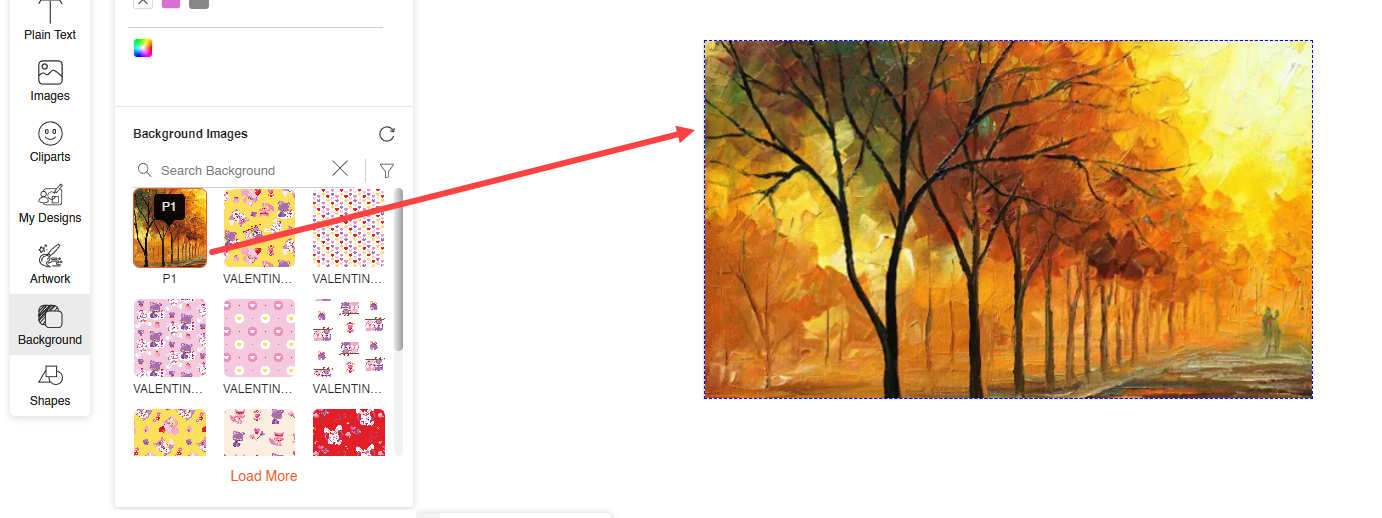
With the Background feature, your customer can add different backgrounds on the product by selecting a solid color background. [5]
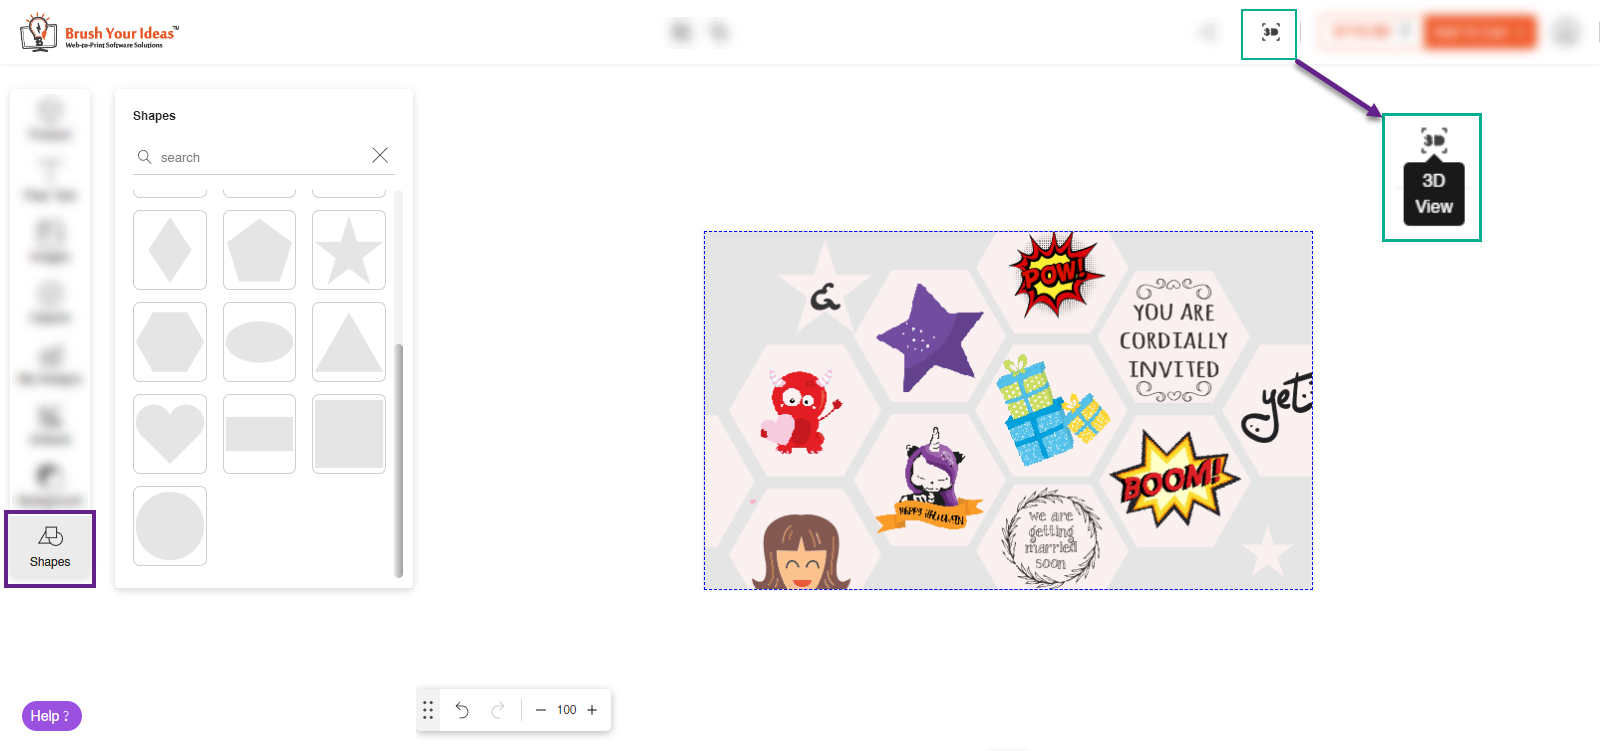
From the Shapes feature, customers can apply any shape as per their preference. Customers can then apply clipart, image or any other design elements which will then be set into the respective shape. [6]
![Add Products [1]](https://docs.printxpand.com/wp-content/uploads/2023/08/1-1.png)
![Add Product Details [2]](https://docs.printxpand.com/wp-content/uploads/2023/08/2-1.png)
![Image and Videos[3]](https://docs.printxpand.com/wp-content/uploads/2023/08/3.png)
![Design Area button [4]](https://docs.printxpand.com/wp-content/uploads/2023/08/4.png)
![Click on product [5]](https://docs.printxpand.com/wp-content/uploads/2023/08/Image-Pasted-at-2024-5-30-10-59.png)
![Update the image details [6]](https://docs.printxpand.com/wp-content/uploads/2023/08/6.png)
![Design Setting button [1]](https://docs.printxpand.com/wp-content/uploads/2024/05/1-2.png)
![Enable Product Designer [2]](https://docs.printxpand.com/wp-content/uploads/2024/05/2-2.png)
![Designer Type [3]](https://docs.printxpand.com/wp-content/uploads/2024/05/3-1.png)
![Design Area [1]](https://docs.printxpand.com/wp-content/uploads/2024/05/1-3.png)
![Image Side [2]](https://docs.printxpand.com/wp-content/uploads/2024/05/2-3.png)
![Masking Image [3]](https://docs.printxpand.com/wp-content/uploads/2024/05/3-2.png)
![Masking Upload Image [4]](https://docs.printxpand.com/wp-content/uploads/2024/05/4-1.png)

