OBJECT MANAGEMENT
In the PrintXpand product designing tool, the customers can easily align the individual objects on the canvas and manage the sides with interactive Tool. They can also rotate and flip the elements with the tool.
Customers can manage the alignments and the sides in the product designer page using mentioned below tools.
Layer Management
Object Alignment
Object Alignment
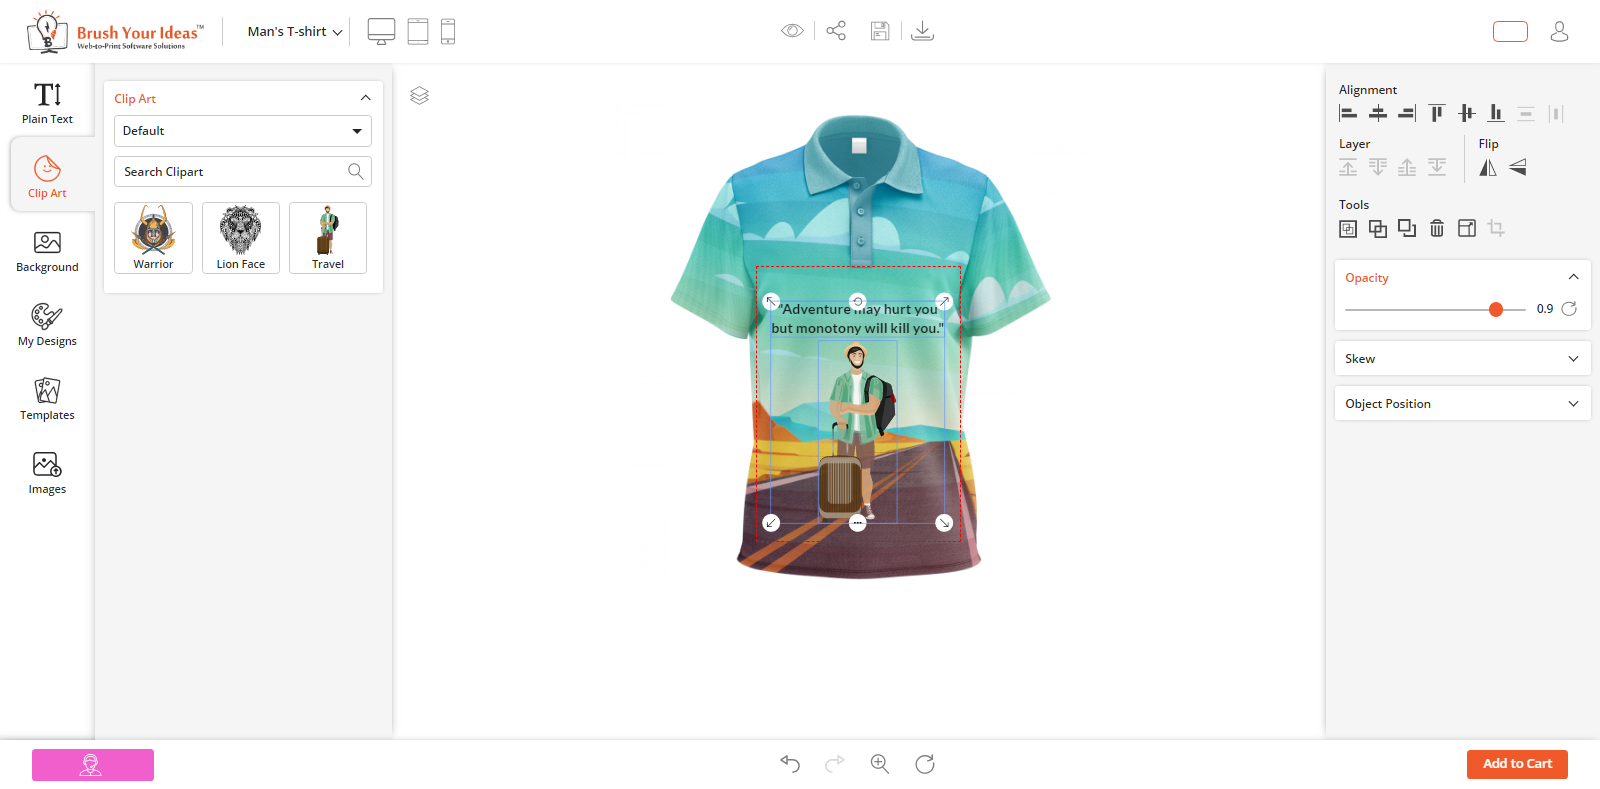
The customers can manage the alignment of objects in product design. The following options are given to manage the alignments:
Align Left: Click on this icon to align the object towards left in the canvas.
Align Horizontal Center: Click on this icon to align the object in the center horizontally in the canvas.
Align Right: Click on this icon to align the object towards the right in the canvas.
Align Top: Click on this icon to align the object towards the top in the canvas.
Align Vertical Center: Click on this icon to align the object in the center vertically in the canvas.
Align Bottom: Click on this icon to align the object towards the bottom in the canvas.
Layer Management
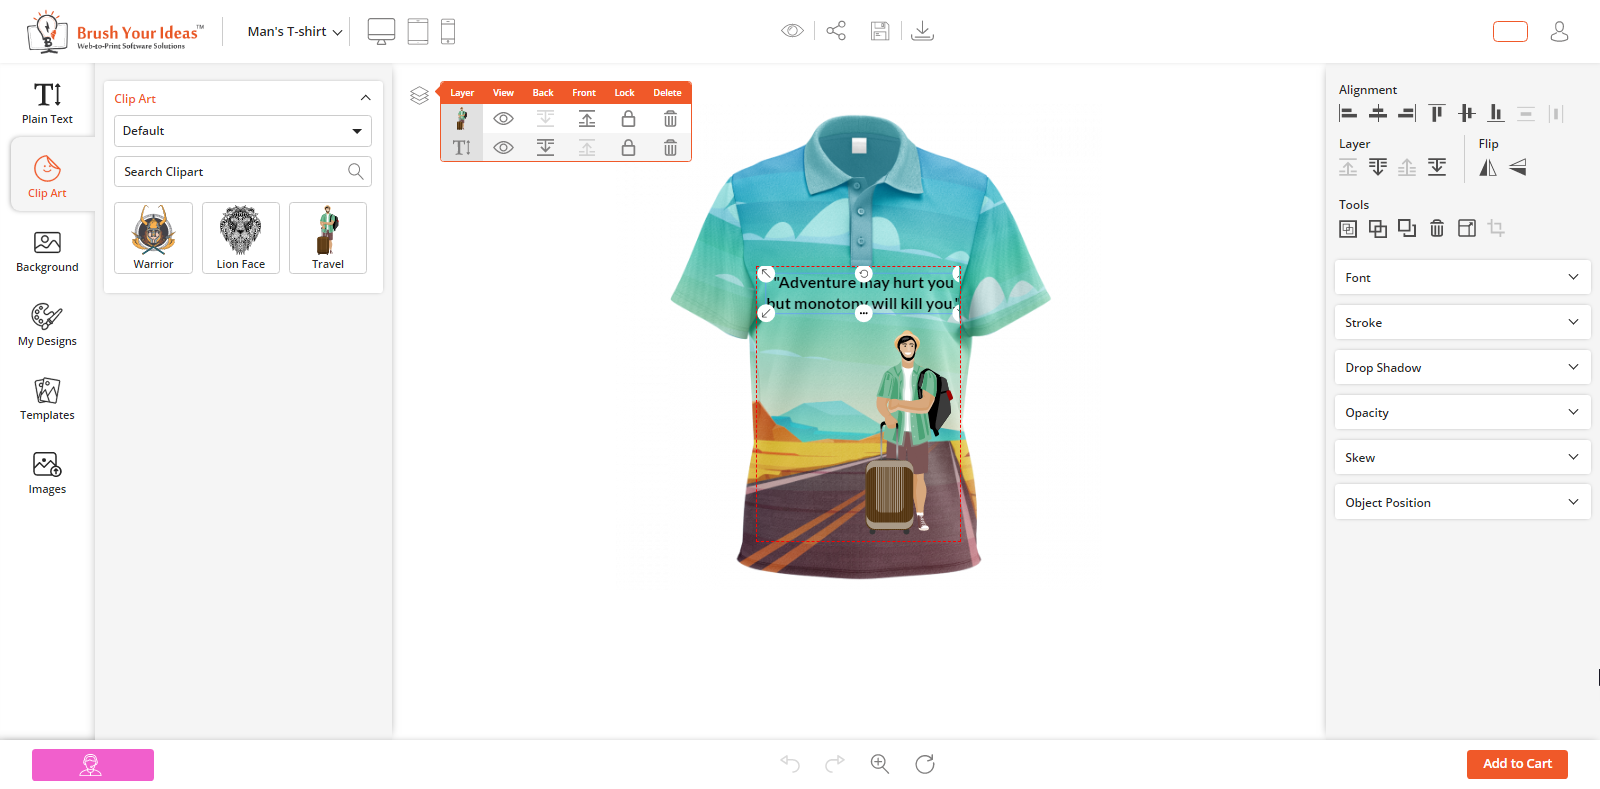
Using the PrintXpand product designing tool, the customer can View/Hide any object, Lock and Delete the objects. It is possible to manage the order of the objects with the ‘Back’ and ‘Front’ options with regards to other elements.
By clicking on “Layer” icon, it will expand and display all the options of layer management for individual design objects. These options include View/Hide, Back/Front, Lock and Delete.
View / Hide:
The customers can View & Hide any object by clicking on View/Hide icon. In the layer management panel, the view icon of the hidden object can be seen in Red.
Back / Front:
By clicking on the Front/back icons, the customers can manage the Forward/Backward positions of the object as per their need.
Lock:
Click on the lock icon, to lock an object. This will prevent the editing of that object. so that any change of other objects will not affect. The lock icon of the locked object will mark in Red.
Delete:
To delete any of the object layers, click on the ‘Delete’ icon beside that particular object.
Layer in Designer Tool
Your customers can also manage Forward/Backward object positions from the Right side in Layer section. Your customers can manage positions when the objects are more than two. In Right side there are four options are given:
Bring Forward: To forward an object. i.e. 3rd position to 2nd position. (This option is also available in the layer management panel)
Send to Back: To send an object in last position i.e. 1st position to last position.
Bring Backward: To backward an object. i.e. 1st position to 2nd position. (This option is also available in the layer management panel)
Send to Front: To send an object in front in 1st position. i.e. Last position to 1st position.
Note: ‘Send to Back’ and ‘Send to Front’ options are enabled based on the selected object in the product design area.
Object Grouping
In the Premium version, your customers will get the option to group the objects together and edit them in the group easily. They can also manage the alignment of the grouped objects.
They will be able to Select All/Deselect All the objects on the canvas from the Tools section in the Designer tool. The multiple selections feature can be performed by dragging the mouse over the objects.
If three or more objects are selected, the last two ‘Alignment’ icons (Distributed Horizontal, Distributed Vertical) from the ‘Alignment’ section in the Designer Tool will be enabled.
By using both icons customers can align the objects horizontally/vertically to maintain the distance.
Object Alignment Position
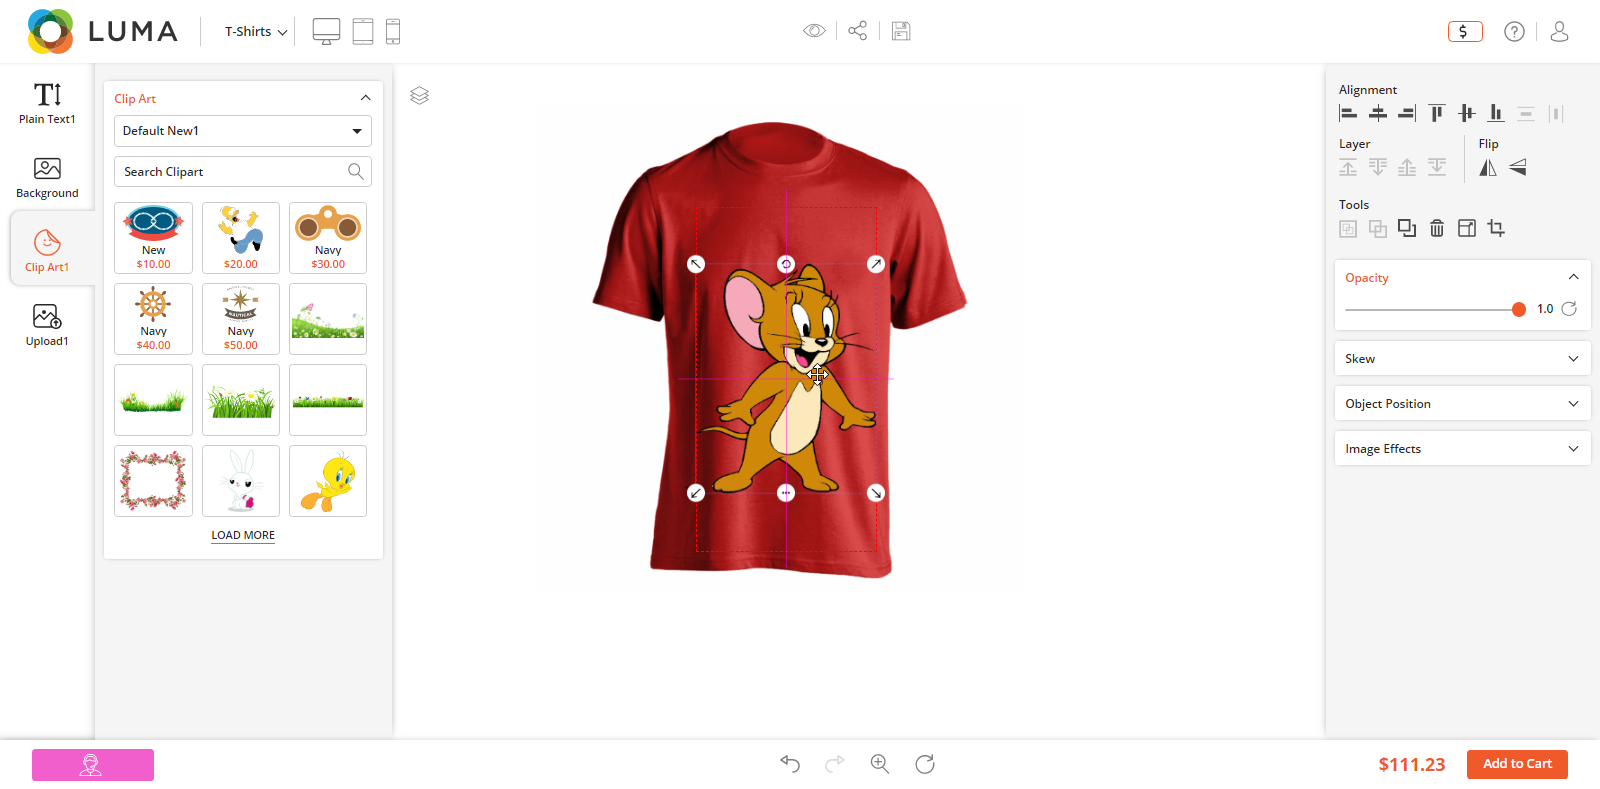
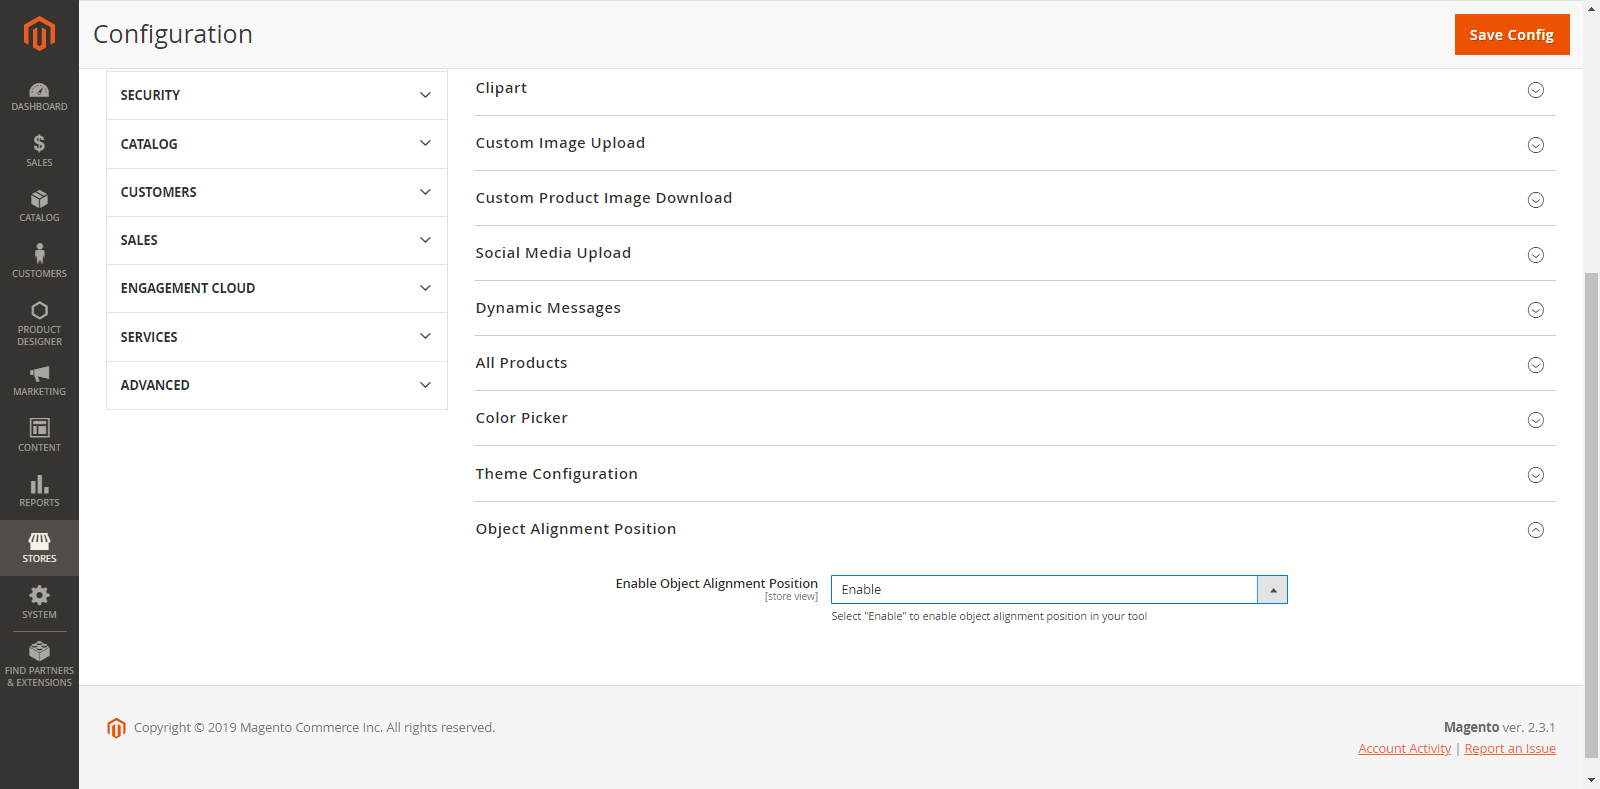
You can set the auto ‘Object Alignment’.
Stores → Configurations → Object Alignment Position
Enable the ‘Object Alignment Position’ to align any object with respect to other objects and design canvas.


