MAGE-MOB APP BUILDER
PrintXpand – W2P Mobile APP V2.1.0
PrintXpand offers a mobility solution to your users in the form of a W2P Store Mobile App and helps them access your store, design products, and place orders through their mobile on the go.
A must-have extension for store owners, which allows their customers to design, and place orders from their mobile. It is easy to download and quite user-friendly for your customers.
Installation Steps
First, you must install the modules from the backend configuration of the Magento2.
Manual Installation (Installing Magento 2 extension by copying code)
Step 1:
For Windows OS:
Go to /app/code. Under that, create the folders using following hierarchy:
-Biztech
–Magemobcart
For Linux OS:
Enter the following commands keeping their order:
cd /app/code
mkdir -p Biztech/ Magemobcart
After this, find the Download Zip and extract all files and folders in Biztech/ Magemobcart
Step 2:
After the successful installation, you have to run the command on Magento2 root directory:
php bin/magento setup: upgrade
php bin/magento setup:di:compile
If you see blank page or permission error, go to Terminal (Linux)/ Command Prompt (Windows) and run the following command:
cd [magento root directory] [var]
run the following command
$ chmod –R 777 *
Step 3:
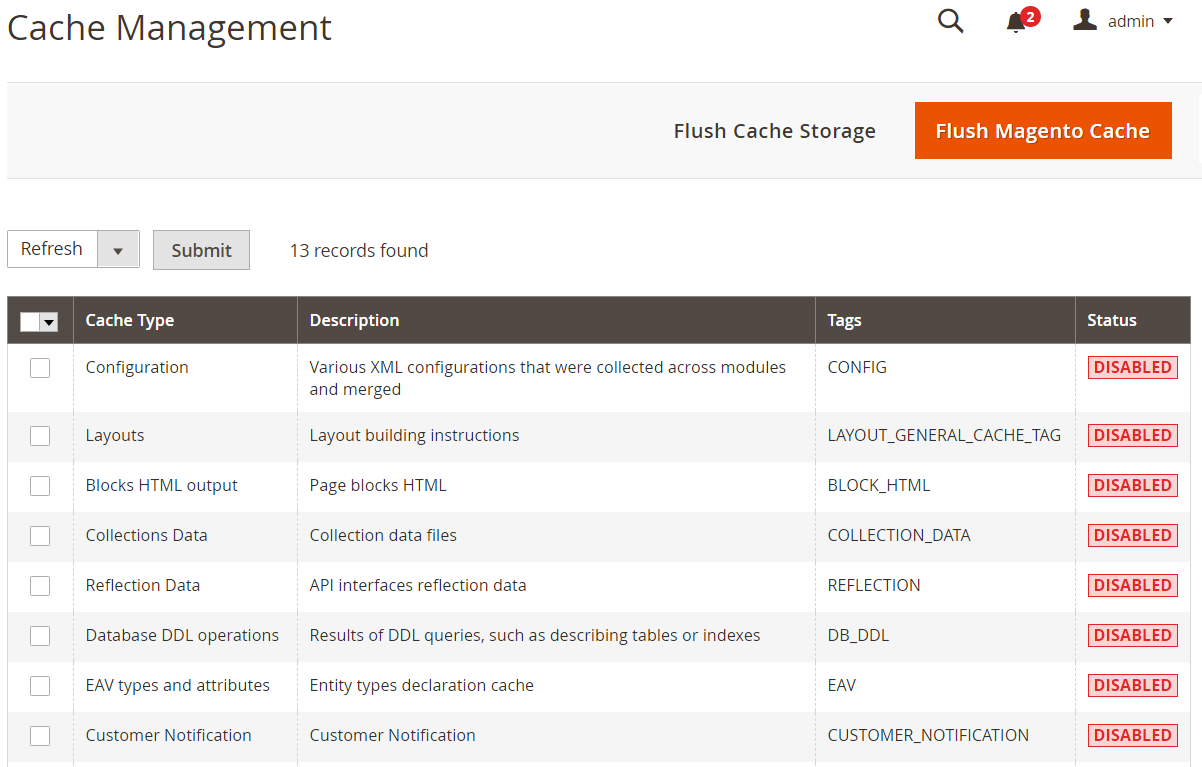
After running the command, log into the admin panel and clear the Cache.
Go to SYSTEM -> Tools (section) -> CACHE MANAGEMENT to clear the cache.
Step 4:
After successful installation, you can see the ‘Magemob App Builder’ under ‘APPJETTY’ tab inside STORES -> Configuration.
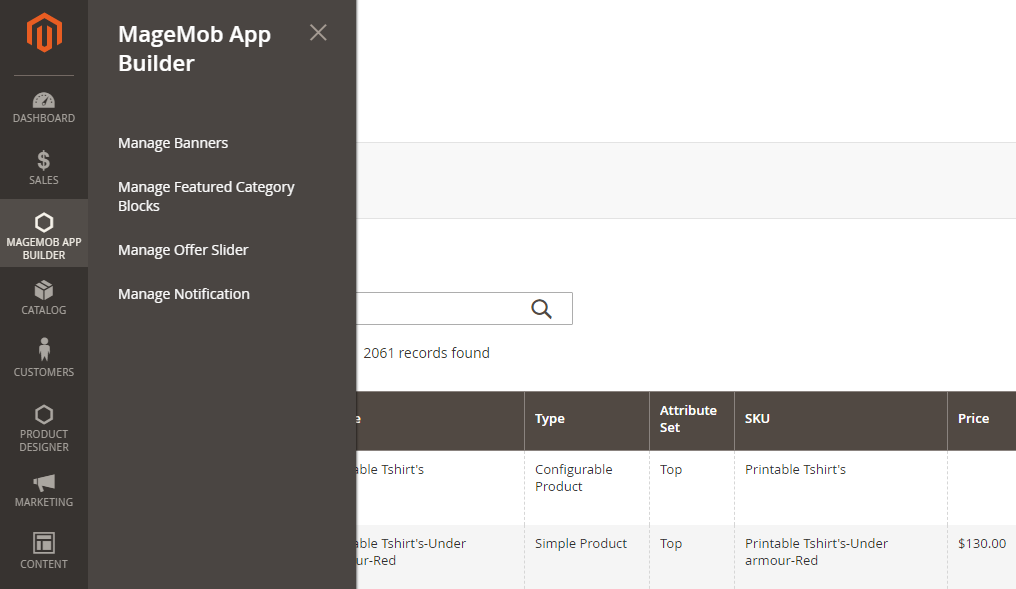
You can also see MageMob App Builder in the drawer menu.
Extension Activation
Copy an activation key
Copy the activation key from the Order Confirmation Mail. OR
Log into your account at www.PrintXpand.com using the email and password you have provided at the checkout process.
Go to Downloadable Options and copy the activation key for the App Builder extension.
Activate the extension
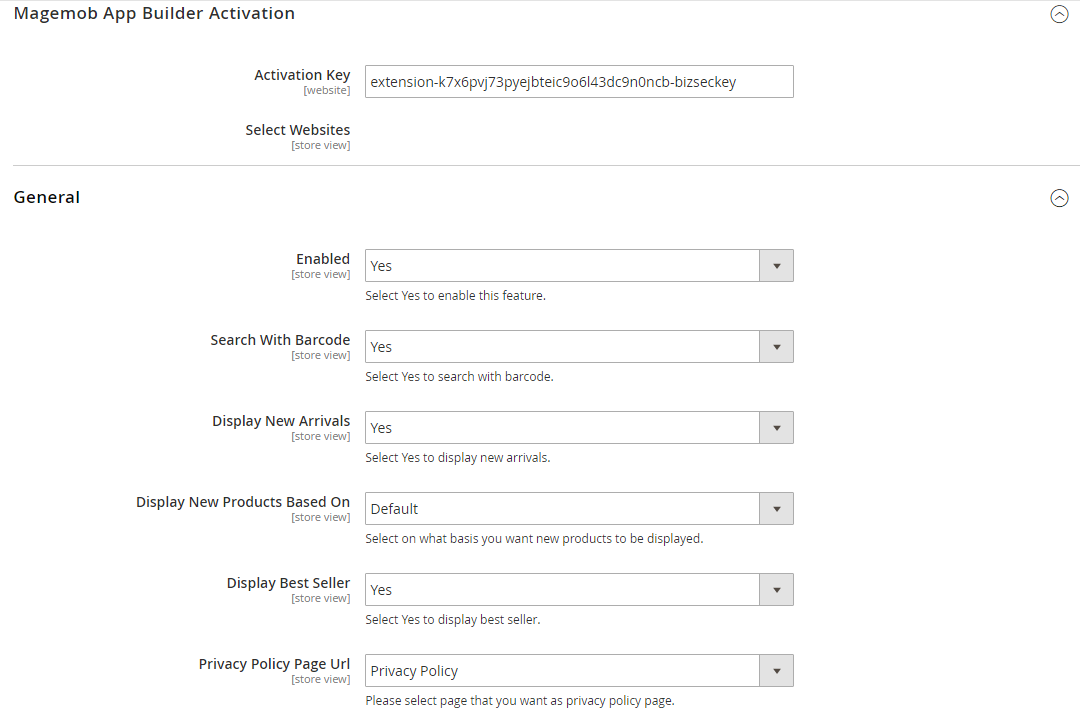
Log into Magento Admin Panel and go to STORES -> CONFIGURATION -> APPJETTY -> Magemob App Builder Activation and enter the activation key in the ‘Activation Key’ field for the App Builder extension then click the ‘Save Config’ button.
Select Websites
When you enter and save the key it will be verified, and you can select the websites where you need to use the App Builder extension. Click the ‘Save Config’ button after making your selections.
Now, Magemob App Builder Extension got activated! You just have to set configurations.
Back End Configuration
Please follow the below steps to configure MageMob App Builder extension.
Go to Stores -> Configuration.
In the left column, you will see the tab Appjetty. Under Appjetty You can see MageMobAppBuilder Click on it and go to General Configurations.
General Configurations
Enabled: Select ‘Yes’ to enable the Magemob App Builder extension. The extension is disabled by default.
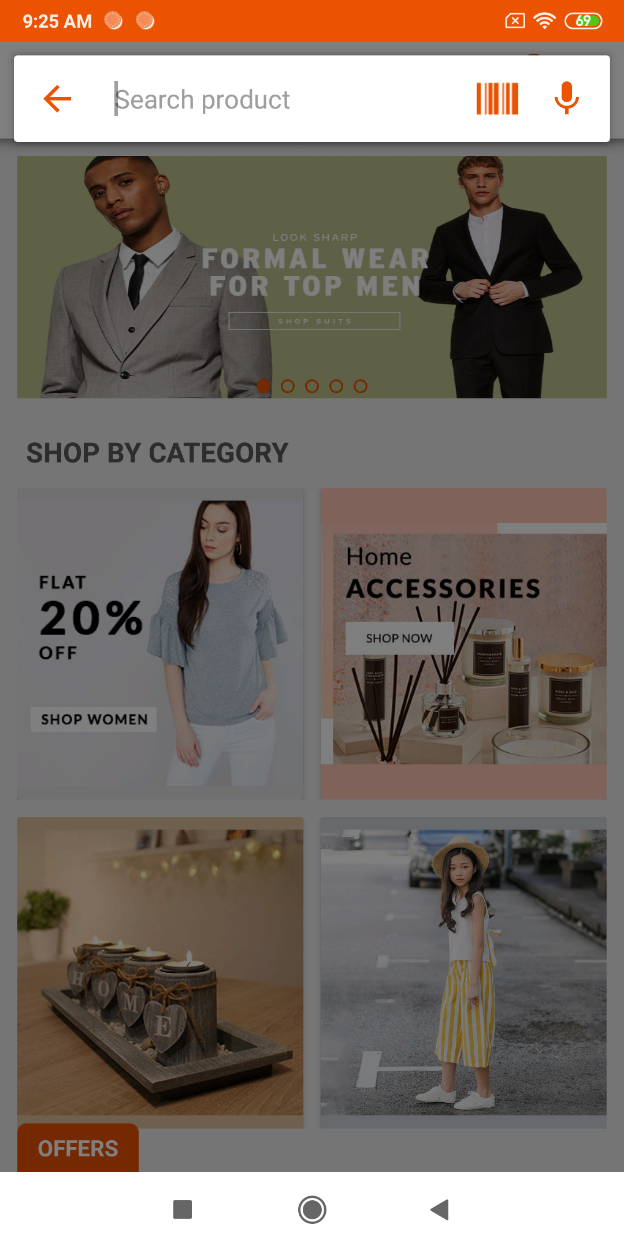
Search with Barcode: Select ‘Yes’ to search for products with a barcode.
Display New Arrivals: Select ‘Yes’ to Display New Arrivals on Dashboard.
Display new products based on: Select on which basis new products are displayed. If you select “Category wise” then the list of categories would be displayed below.
Display Best Seller: Select ‘Yes’ to Display Best Seller Products on Home Screen.
Privacy Policy Page URL: Select page from the list of CMS pages that you want to display as ‘Privacy Policy Page’.
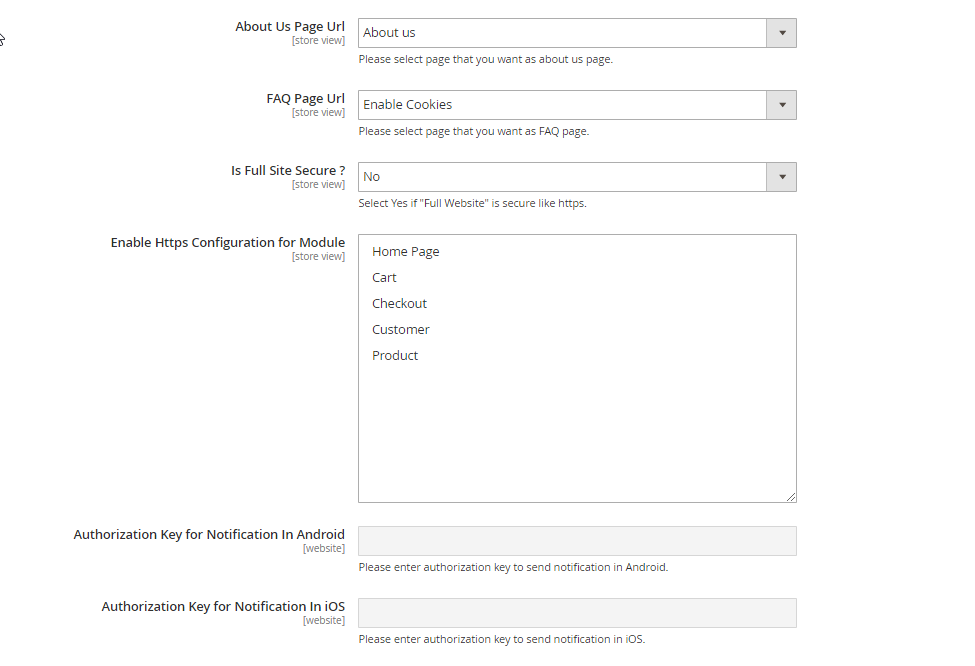
About Us Page URL: Select page from the list of CMS pages that you want to display as ‘About Us Page’.
FAQ Page URL: Select page from the list of CMS pages that you want to display as ‘FAQ Page’.
Is Full Site Secure?: Select ‘Yes’ if Full Website is secured like https.
Authorization Key to Send Notification in Android: Add authorization key for android, based on which notification will be sent to the users.
Authorization Key to Send Notification in iOS: Add authorization key for iOS, based on which notification will be sent to the users.
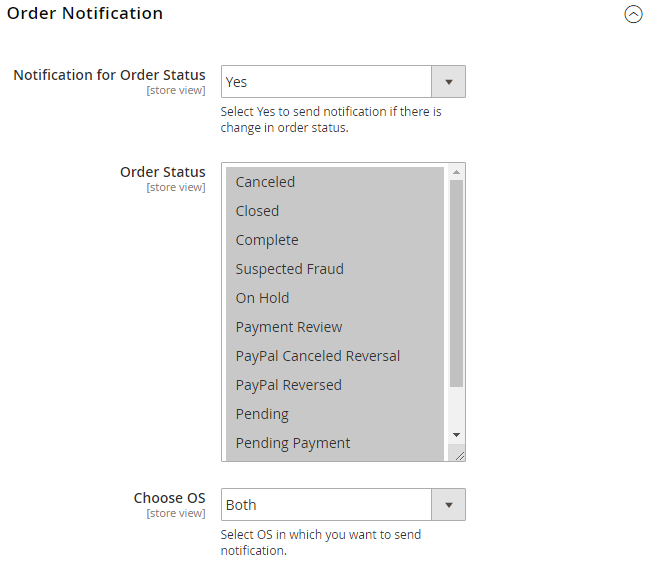
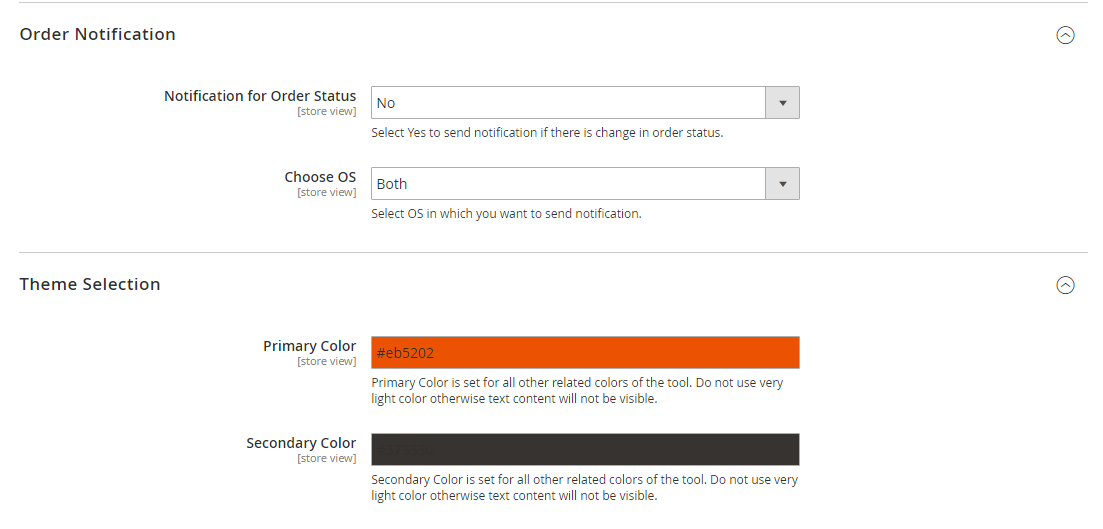
Order Notification
Notification for Order Status: Select ‘Yes’ to enable the notification for change in order status to be sent to your customers.
Order Status: Select the status of the order for which you would like to send the notification to your customers.
Choose OS: Select the OS from ‘Android’, ‘iOS’ or ‘Both’ for which you want to enable the notification module.
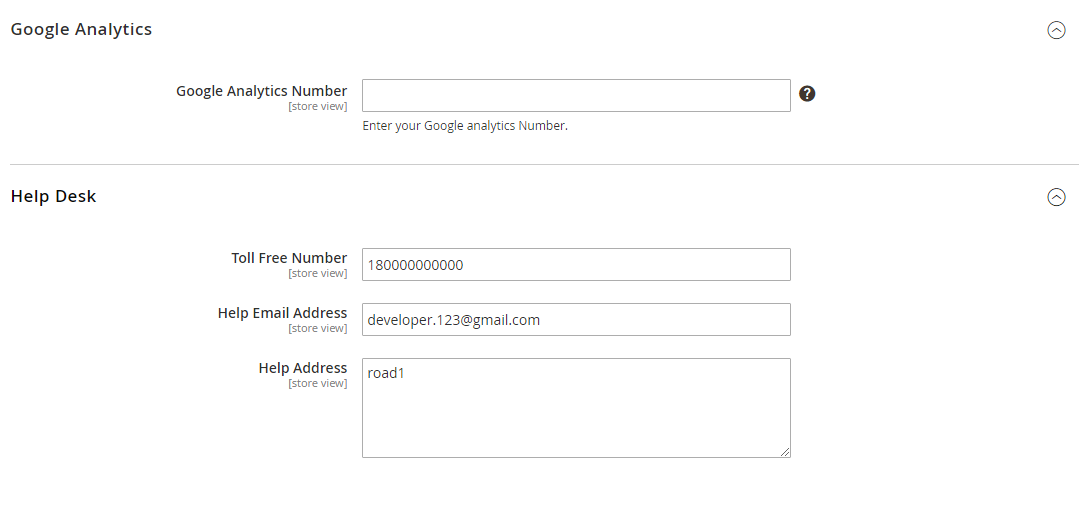
Help Desk
Help Desk: Admin can display store details.
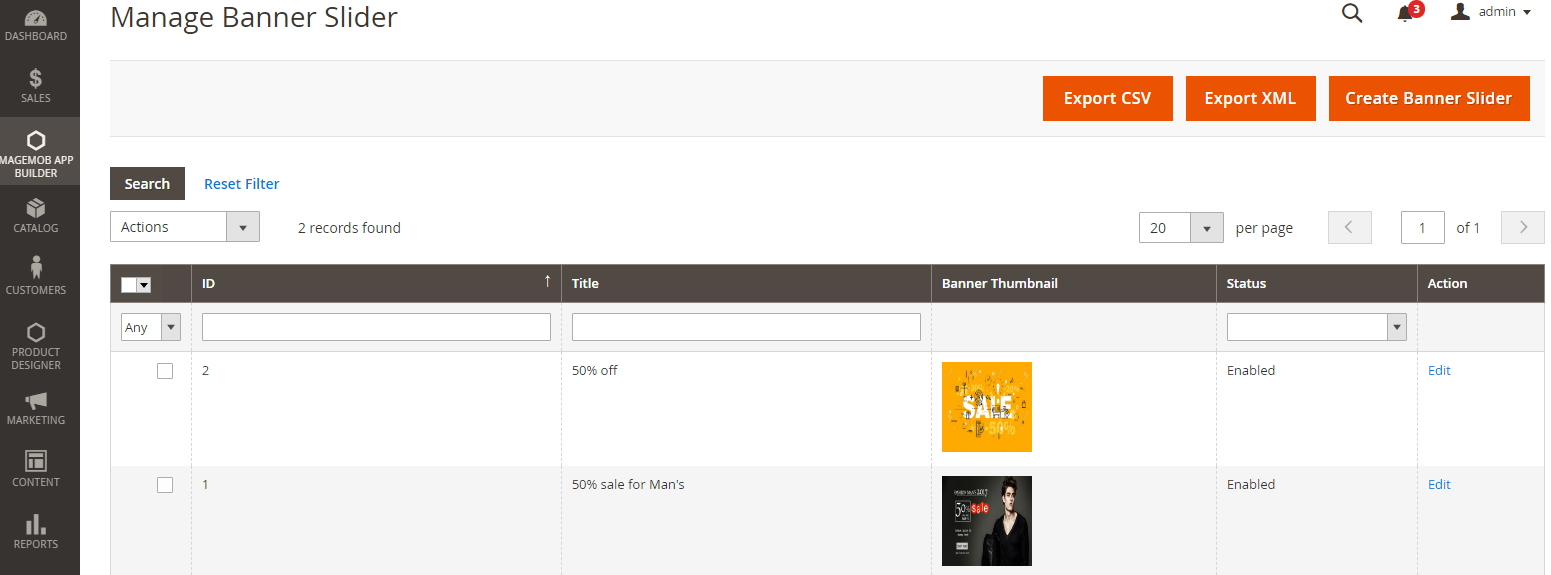
Manage Banner Slider
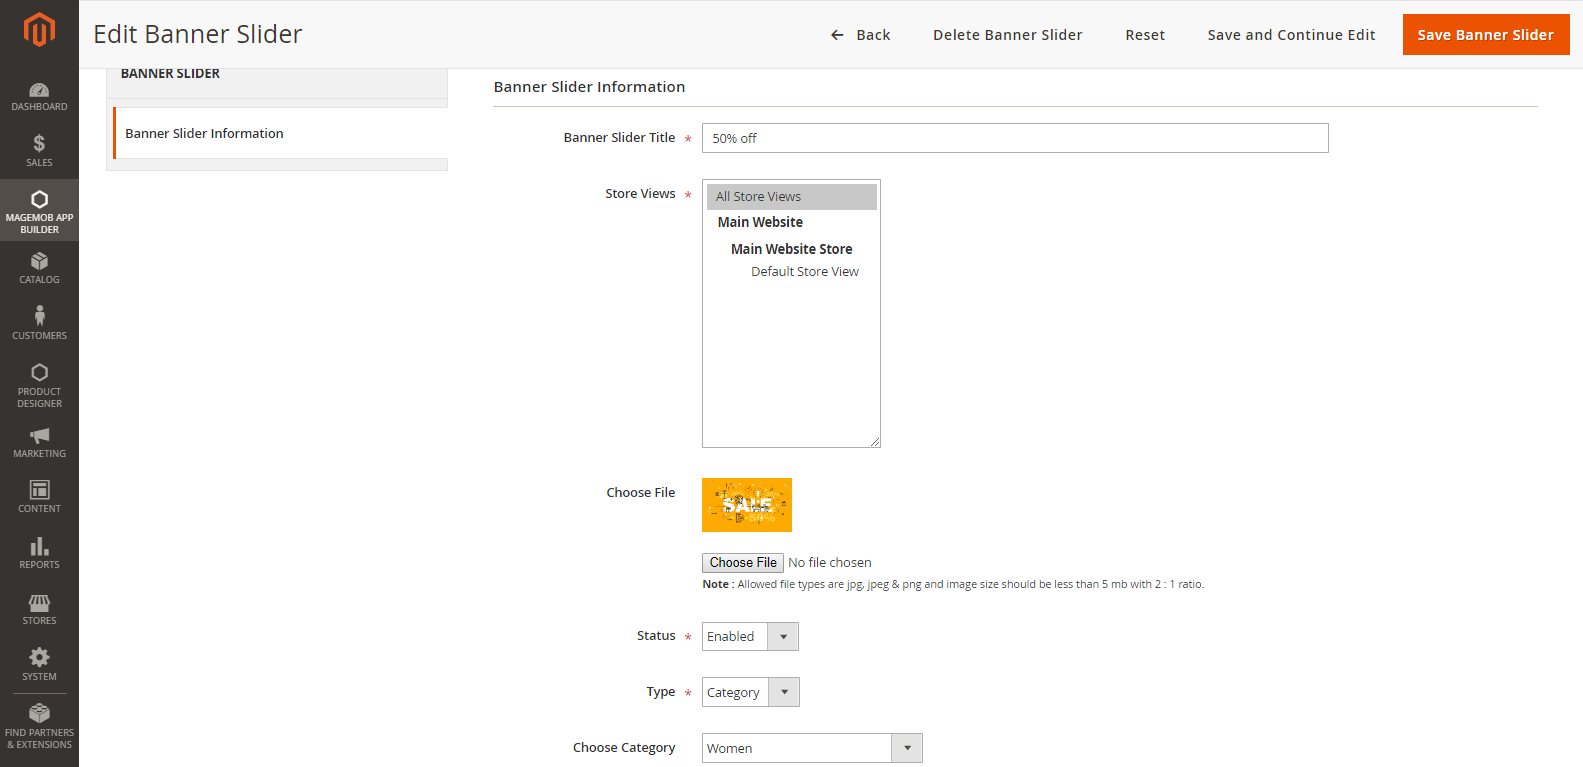
Go to MageMob App Builder -> Manage Banner Slider. A grid of banners (if added) will be displayed here.
Admin will be able to Export all the banner details into a CSV file along with searching for a specific banner. Admin will have to click on Create
Banner Slider to Add a New Banner or click on Edit to edit an existing banner. Admin can Add / Edit following fields for the Banner Slider.
Banner Title: Enter the title of the banner you would like to display at the front end.
Store Views: Select store view on which you want to display this banner.
Choose File: To add an image for notification click choose file button and select image which to want to upload.
Status: Select the status whether to be ‘Enabled’ or ‘Disabled’.
Choose type: Select the type from “Category Offers”, “Product” and “Offer” for which you want to send the notification.
Click on ‘Save Banner Slider’ button to save the configuration. This record will be added in the grid of banner slider.
Manage Offer Slider
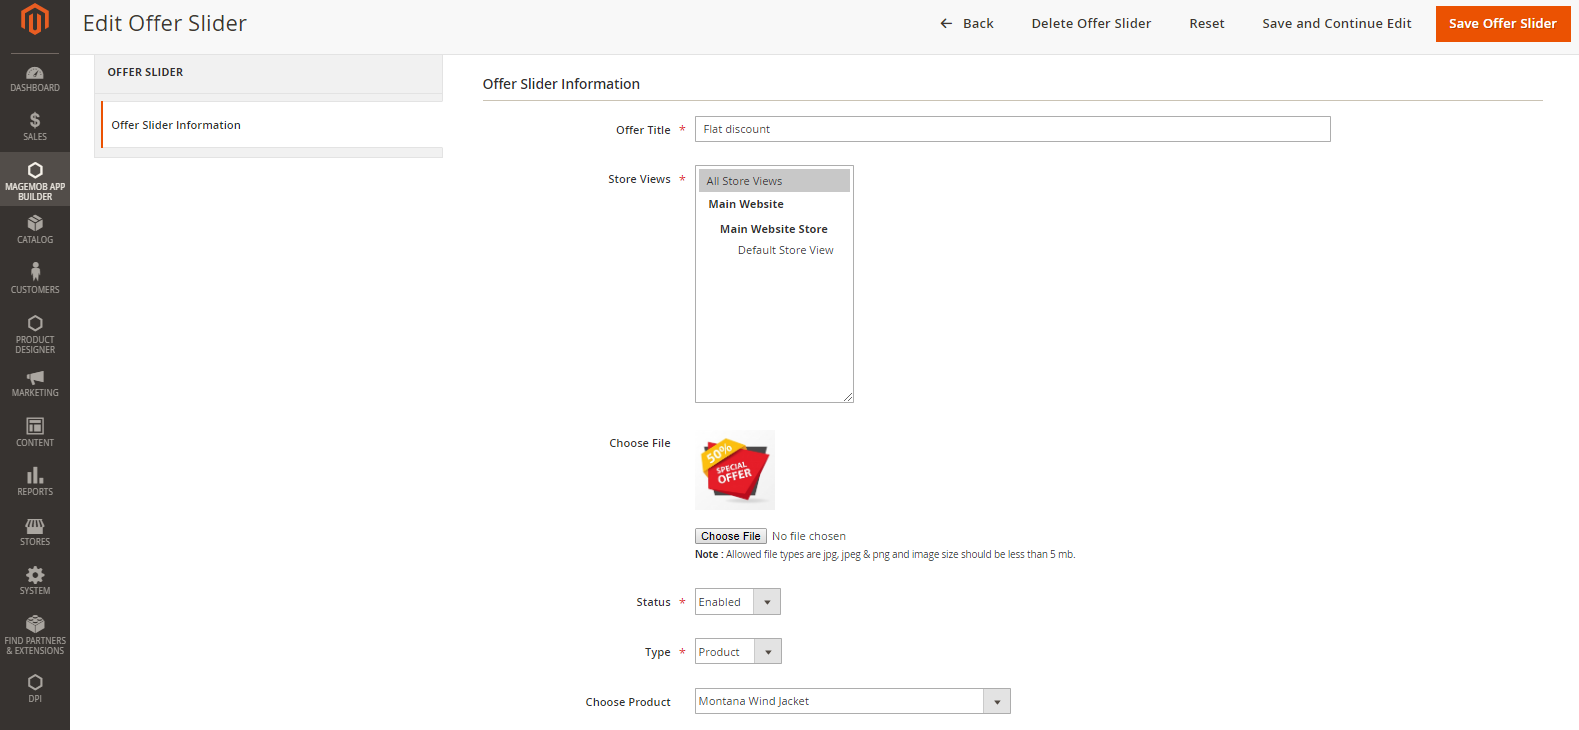
Go to MageMob App Builder -> Manage Offer Slider. A grid of offers (if added) will be displayed.
Admin will be able to Export all the slider details into a CSV file along with searching for a specific offer. Admin will have to click on Create Offer slider to Add a New Offer or Edit to edit an existing offer. Admin can Add / Edit following fields for the offer slider.
Offer Title: Enter the title of the offer you would like to display at the front end.
Store Views: Select store view on which you want to display this offer.
Choose File: To add an image for notification click choose file button and select image which to want to upload.
Status: Select the status whether to be ‘Enabled’ or ‘Disabled’.
Choose Type: Select the category for which you want to display the slider.
Choose Category: Select the category for which offer is made.
Click on ‘Save Offer’ button to save the configuration. This record will be added in the grid of offer slider.
Manage Featured Category Blocks
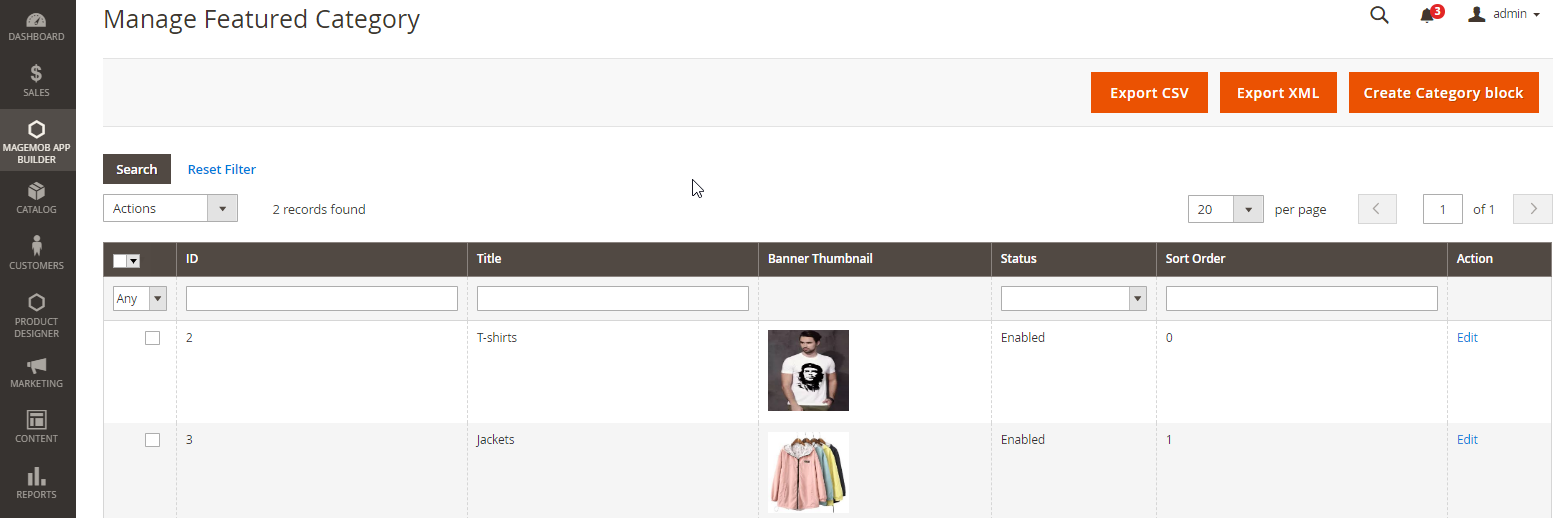
Go to MageMob App Builder -> Manage Featured Category Blocks. A grid of blocks (if added) will be displayed.
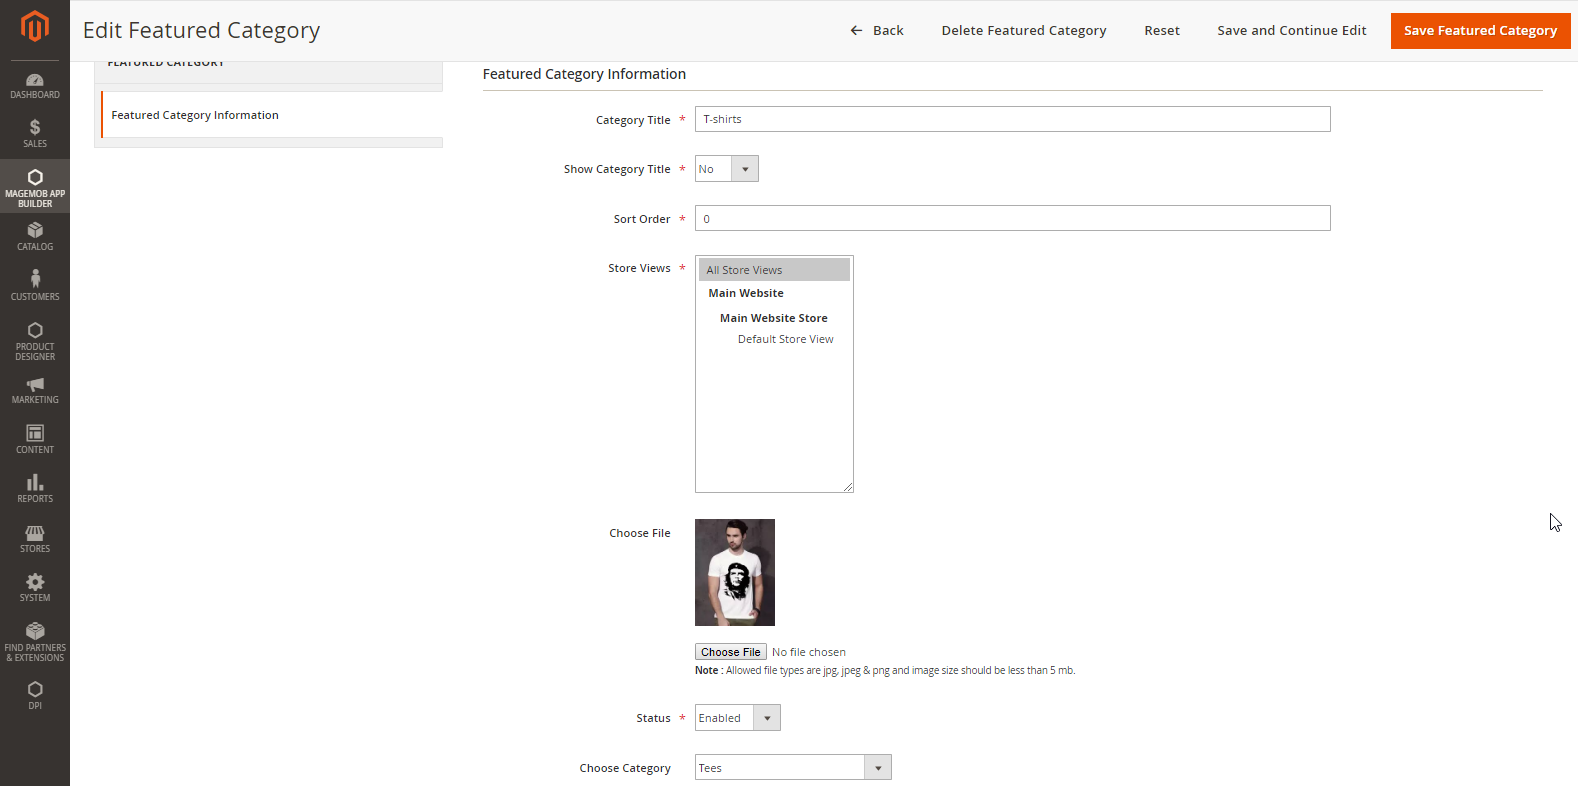
Admin will be able to Export all the slider details into a CSV file along with searching for a specific block. Admin will have to click on Create Category Block to Add a New Featured Block or Edit to edit an existing Featured Block. Admin can Add / Edit following fields for the Featured Block.
Featured Category Title: Enter the title of the block you would like to display at the front end.
Show Category Title: Select ‘Yes’ if you want to display title or not.
Sort Order: Set the Sort Order for the featured block.
Store Views: Select store view on which you want to display this offer.
Choose File: To add an image for notification click choose file button and select image which to want to upload.
Status: Select the status whether to be ‘Enabled’ or ‘Disabled’.
Choose Category: Select the category for which you want to display the block.
Click on ‘Save Block’ button to save the configuration. This record will be added in the grid of featured blocks.
Manage Notification
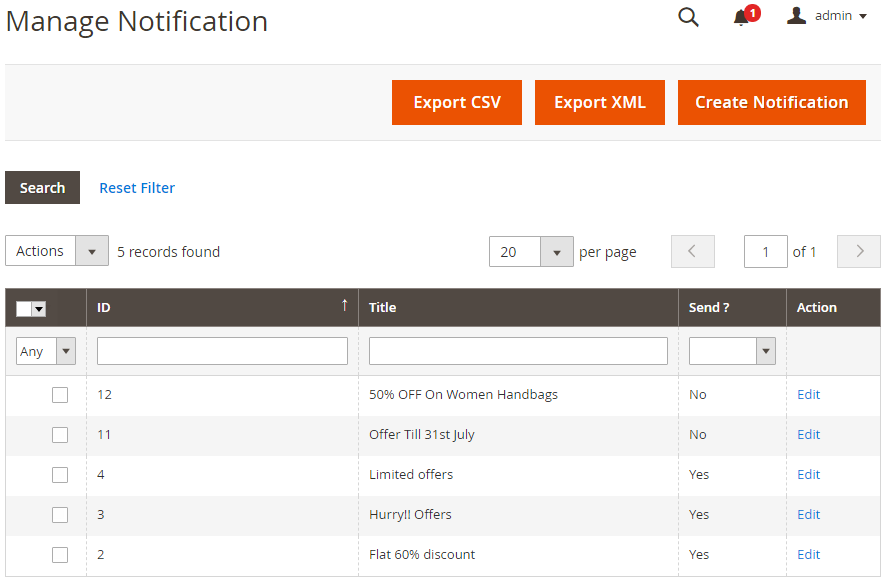
Go to MageMob App Builder -> Manage Notification. A grid of notifications (if added) will be displayed.
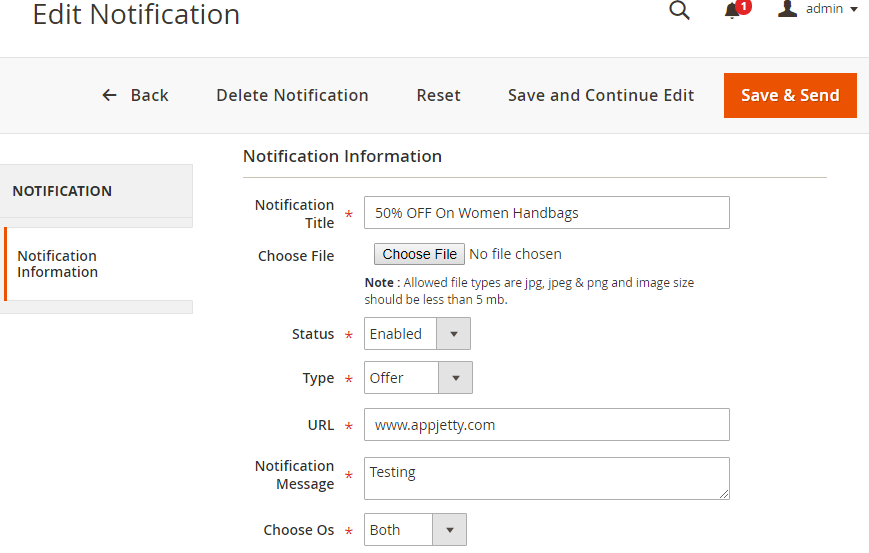
Admin will be able to Export all the notification details into a CSV file along with searching for a specific notification. Admin will have to click on ‘Add Notification’ to Add a New Notification or ‘Edit’ to edit an existing Notification. Admin can Add / Edit following fields for the Notification.
Notification Title: Enter the title to be displayed for notification.
Choose File: To add an image for notification click choose file button and select image which to want to upload.
Status: Select the status whether to be ‘Enabled’ or ‘Disabled’.
Choose type: Select the type from “Category Offers”, “Product” and “Offer” for which you want to send the notification.
URL: By selecting “Offer” type, you need to provide URL for notification to redirect on that page by clicking on notification details.
Notification Message: Type the message content for the notification.
Choose OS: Select the OS from “Android”, “iOS” or “Both” for which you want to enable the notification module.
Front End Configuration
User Authentication
LogIn
Magemob App Builder allows you to login with registered email id and password.
Another way is to log in with social media accounts like Facebook or Google. On that page, you need to enter email id and password of existing social media account.
It also allows Guest User to visit app without registered themselves by clicking on the skip button.
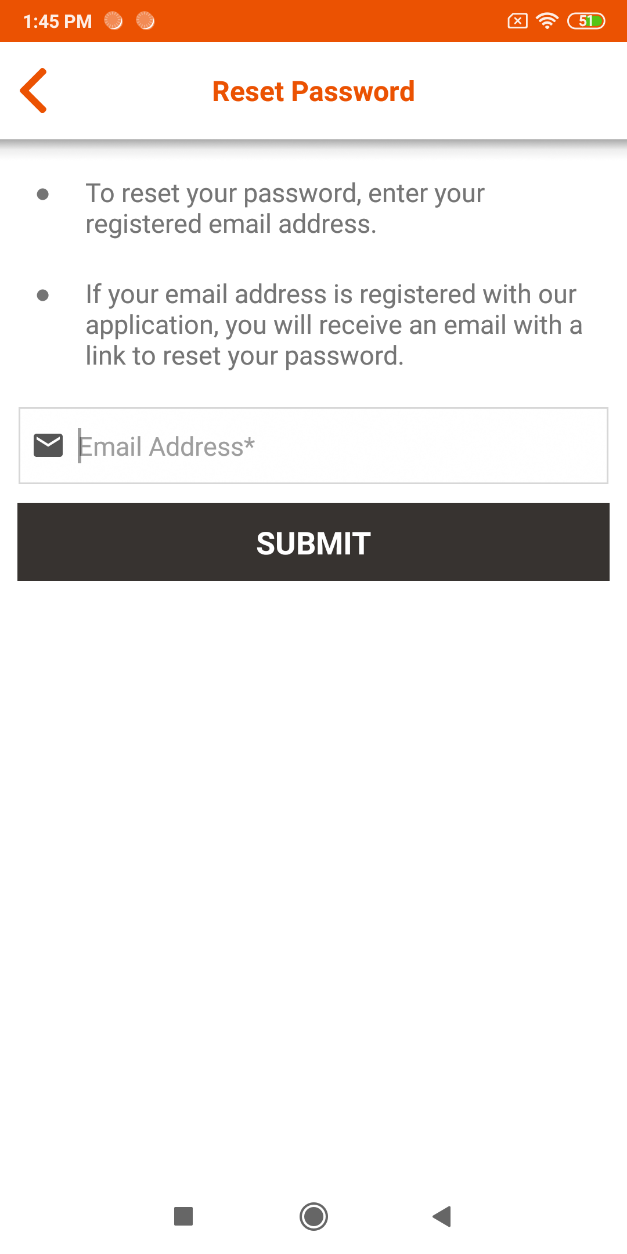
If you forgot or misplaced your password, click on Reset Password link provided on the page and thus can be reset by providing a registered email address.
Registration
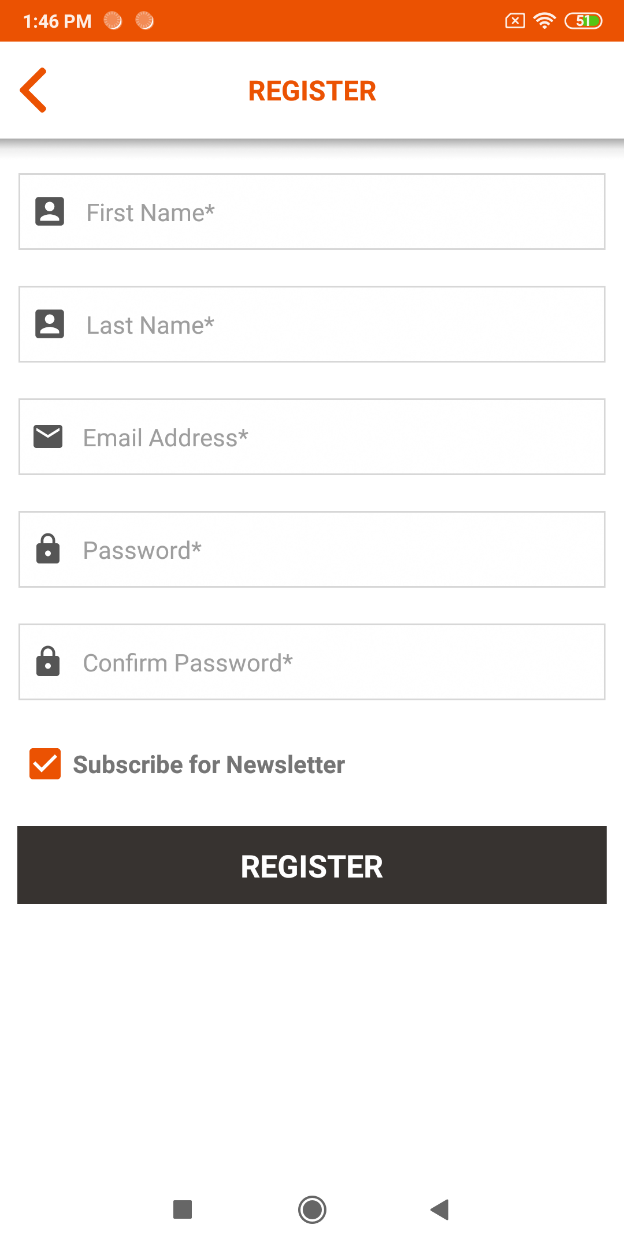
If you are not already registered, you can register yourselves on the store directly from the application by clicking on the Register Here link. There you need to enter basic details like First Name, Last Name, Email Address and Password for registration.
You can also Subscribe for Newsletter, by clicking that you will be notified for upcoming offers via mail or receive any important news on the registered email address.
Home
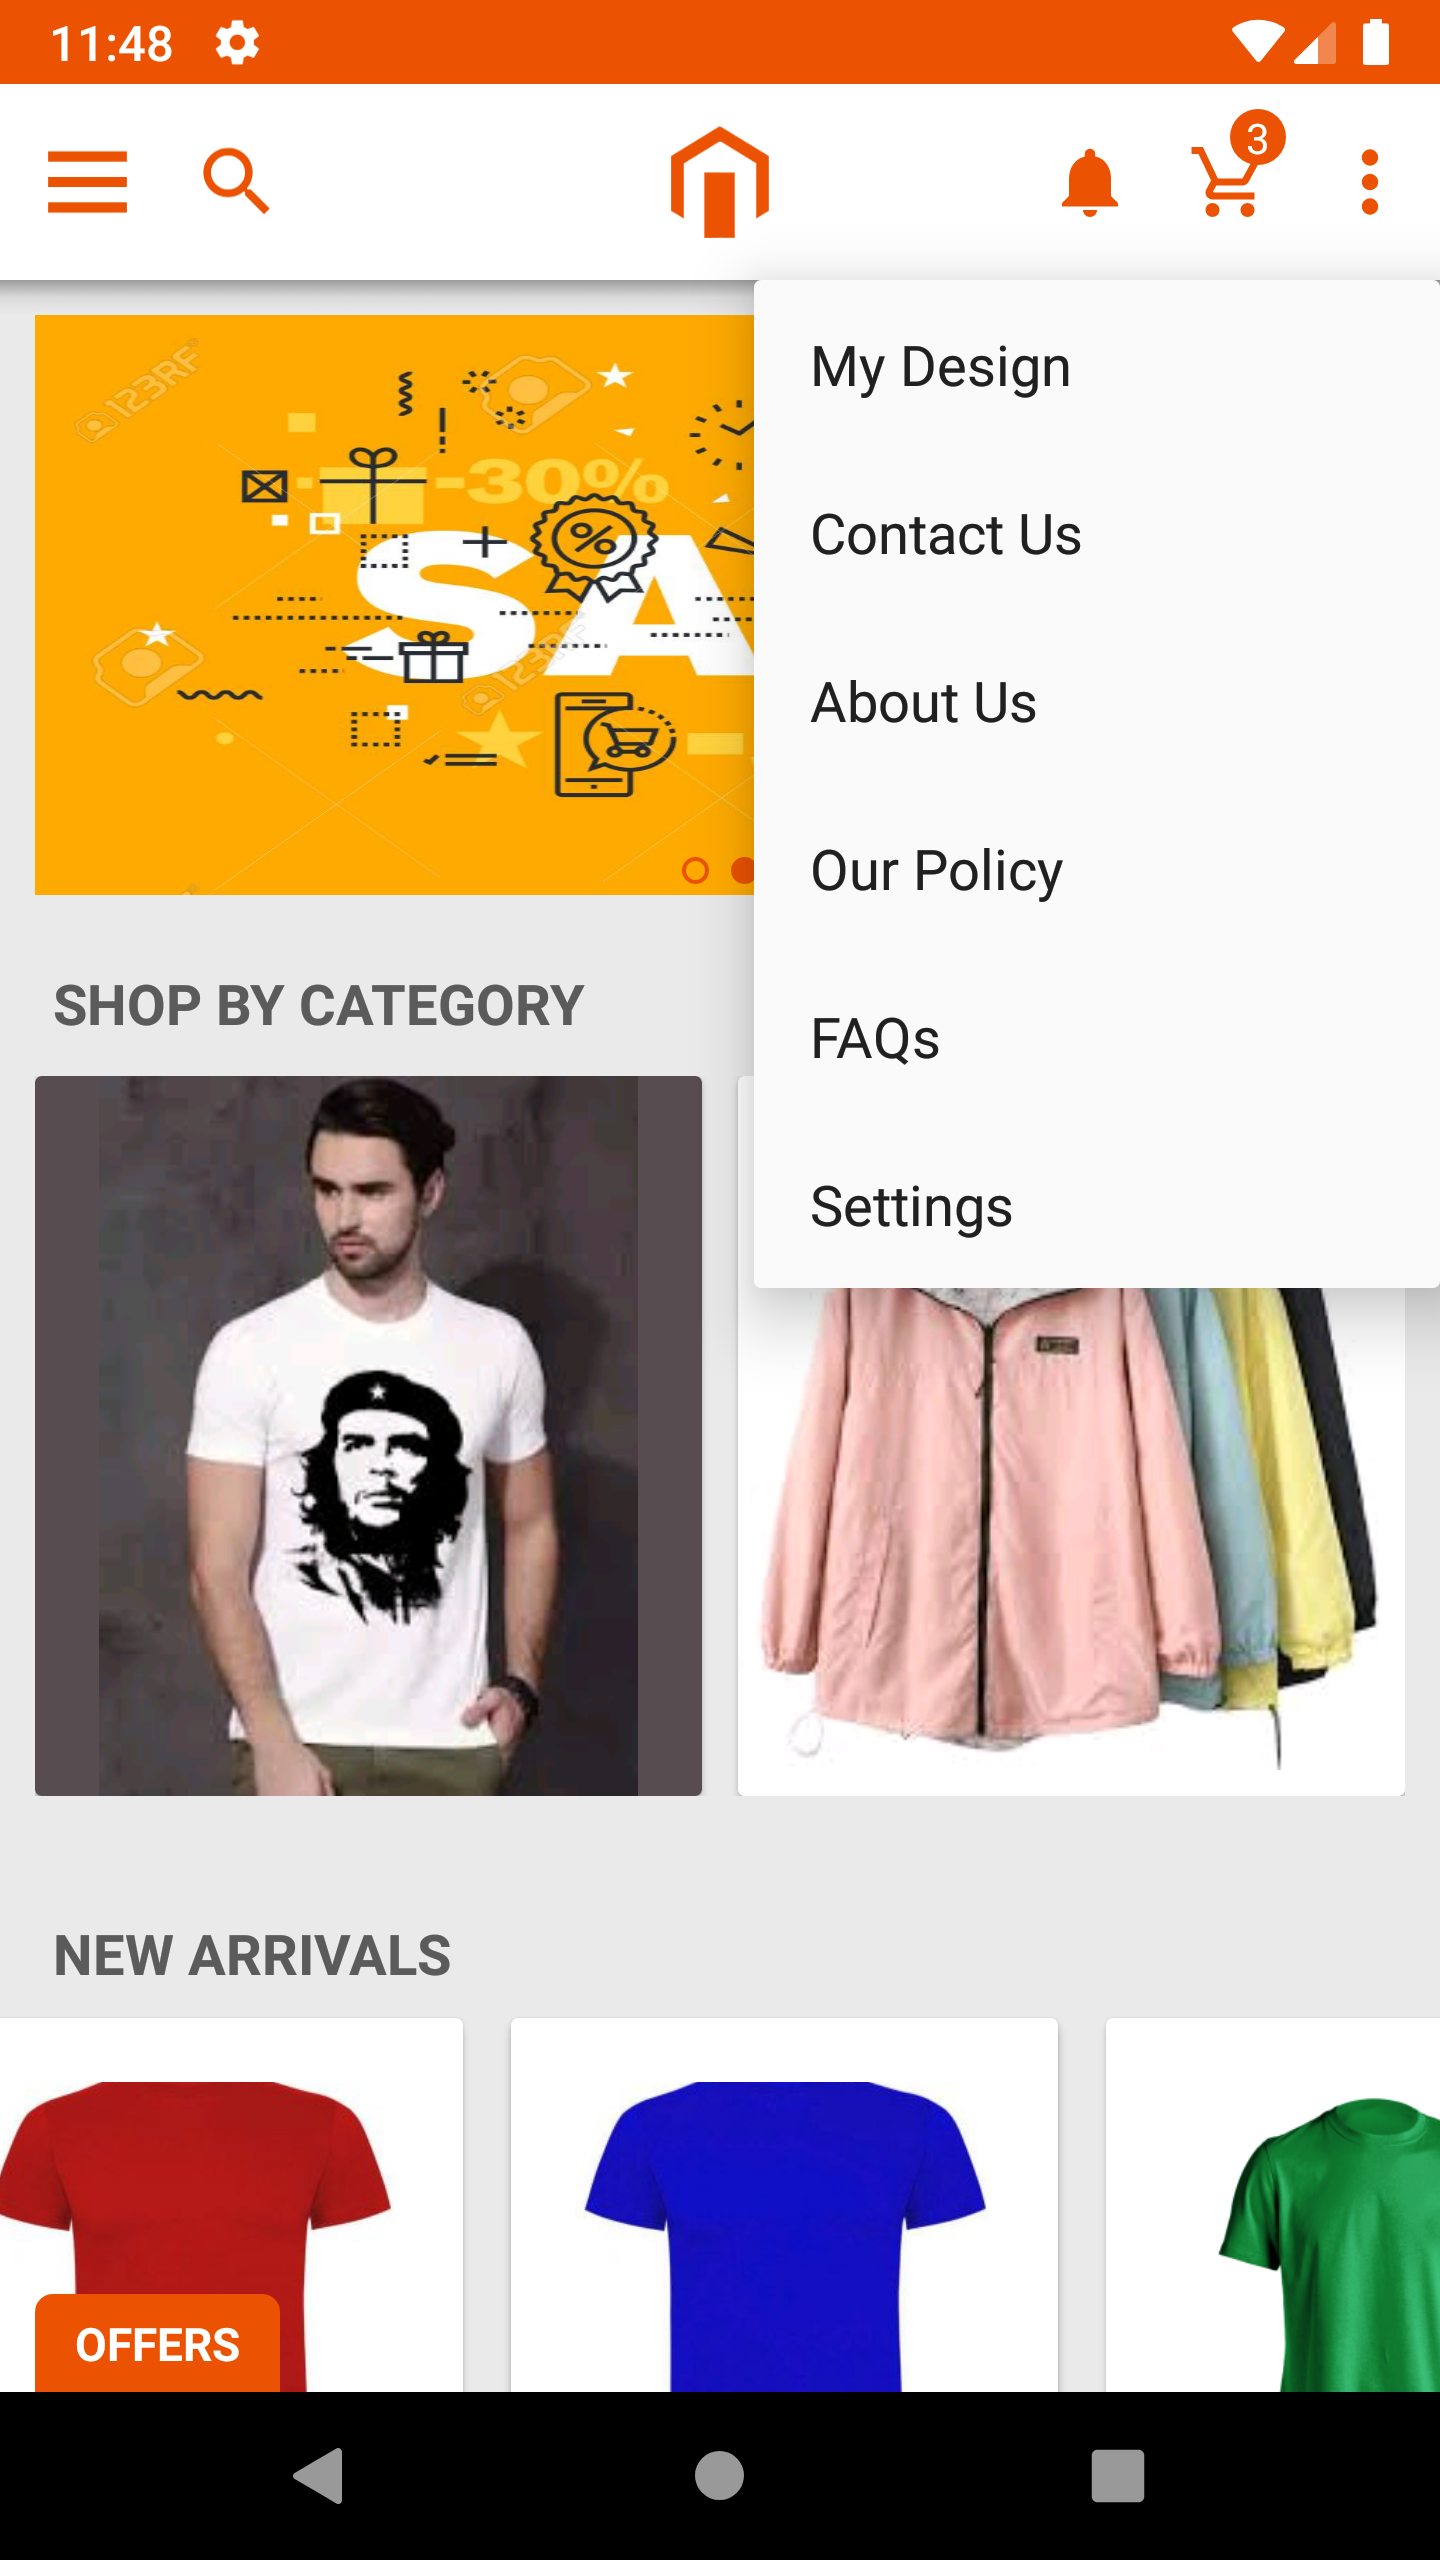
Access all important shortcuts from home screen like offers, Shop by category, Bestseller products, etc.
View items which are added in cart and also view notifications by clicking on the notification icon.
Admin user can manage banner slider, offer slider, best seller products and category block with a maximum range of 5 from the back end.
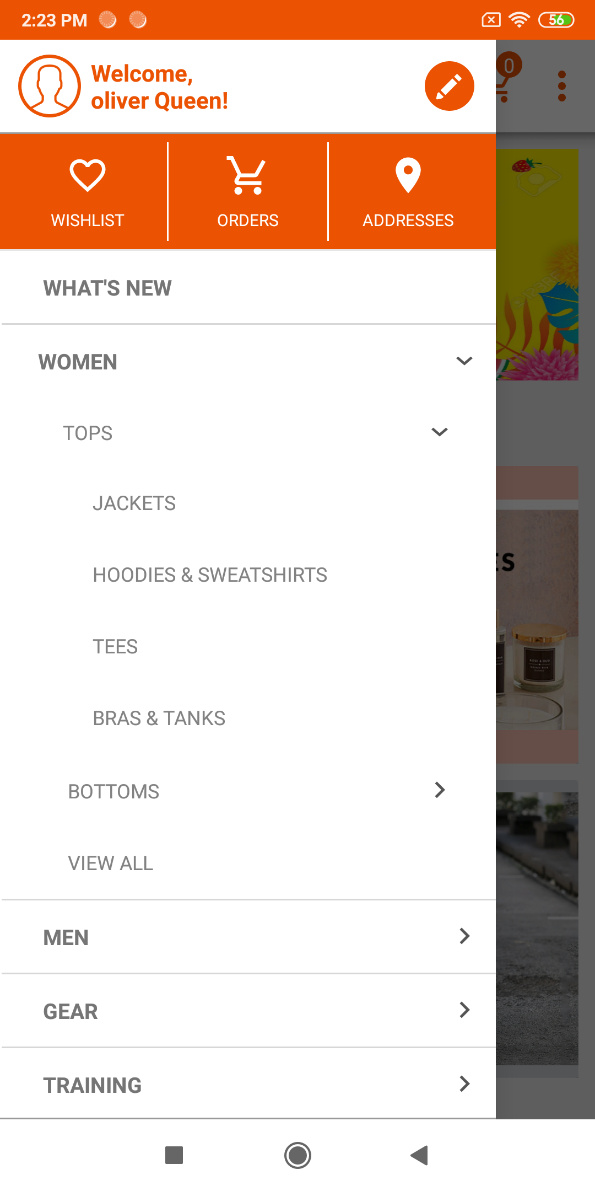
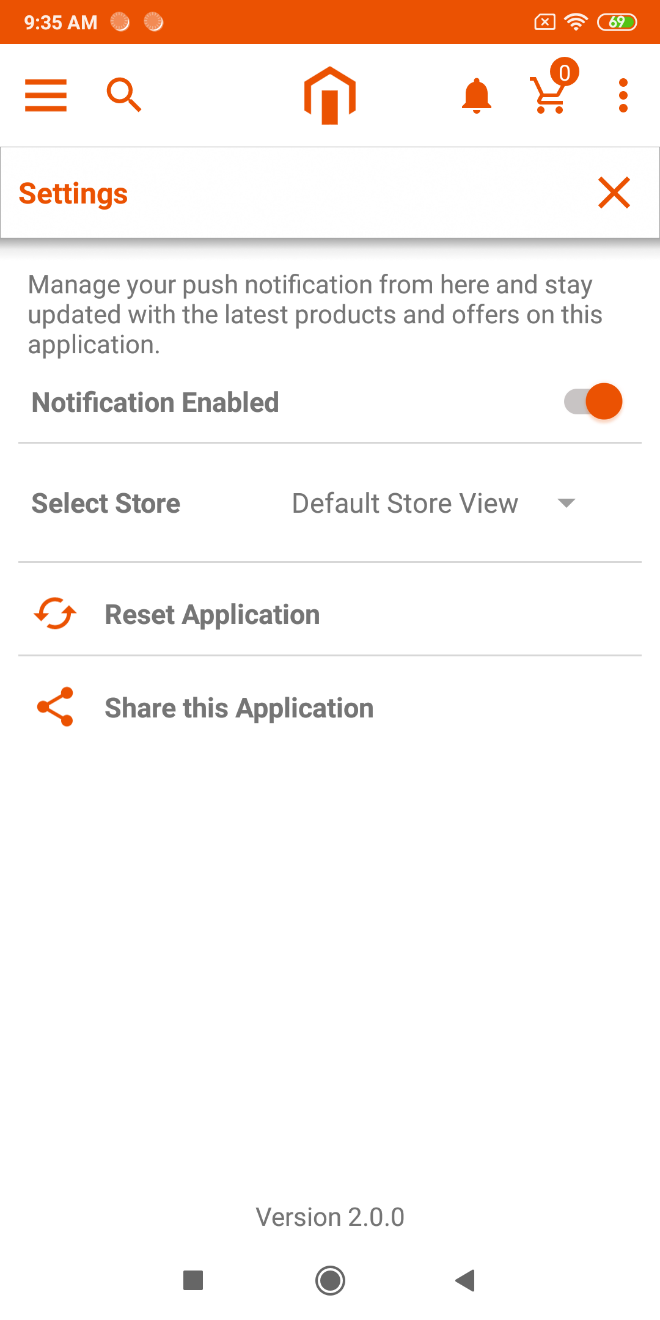
By clicking on more options on the home page, user can find various informative pages like about us, Contact us, FAQs, Our policy and settings page as configured from the back end.
Products Listing Page
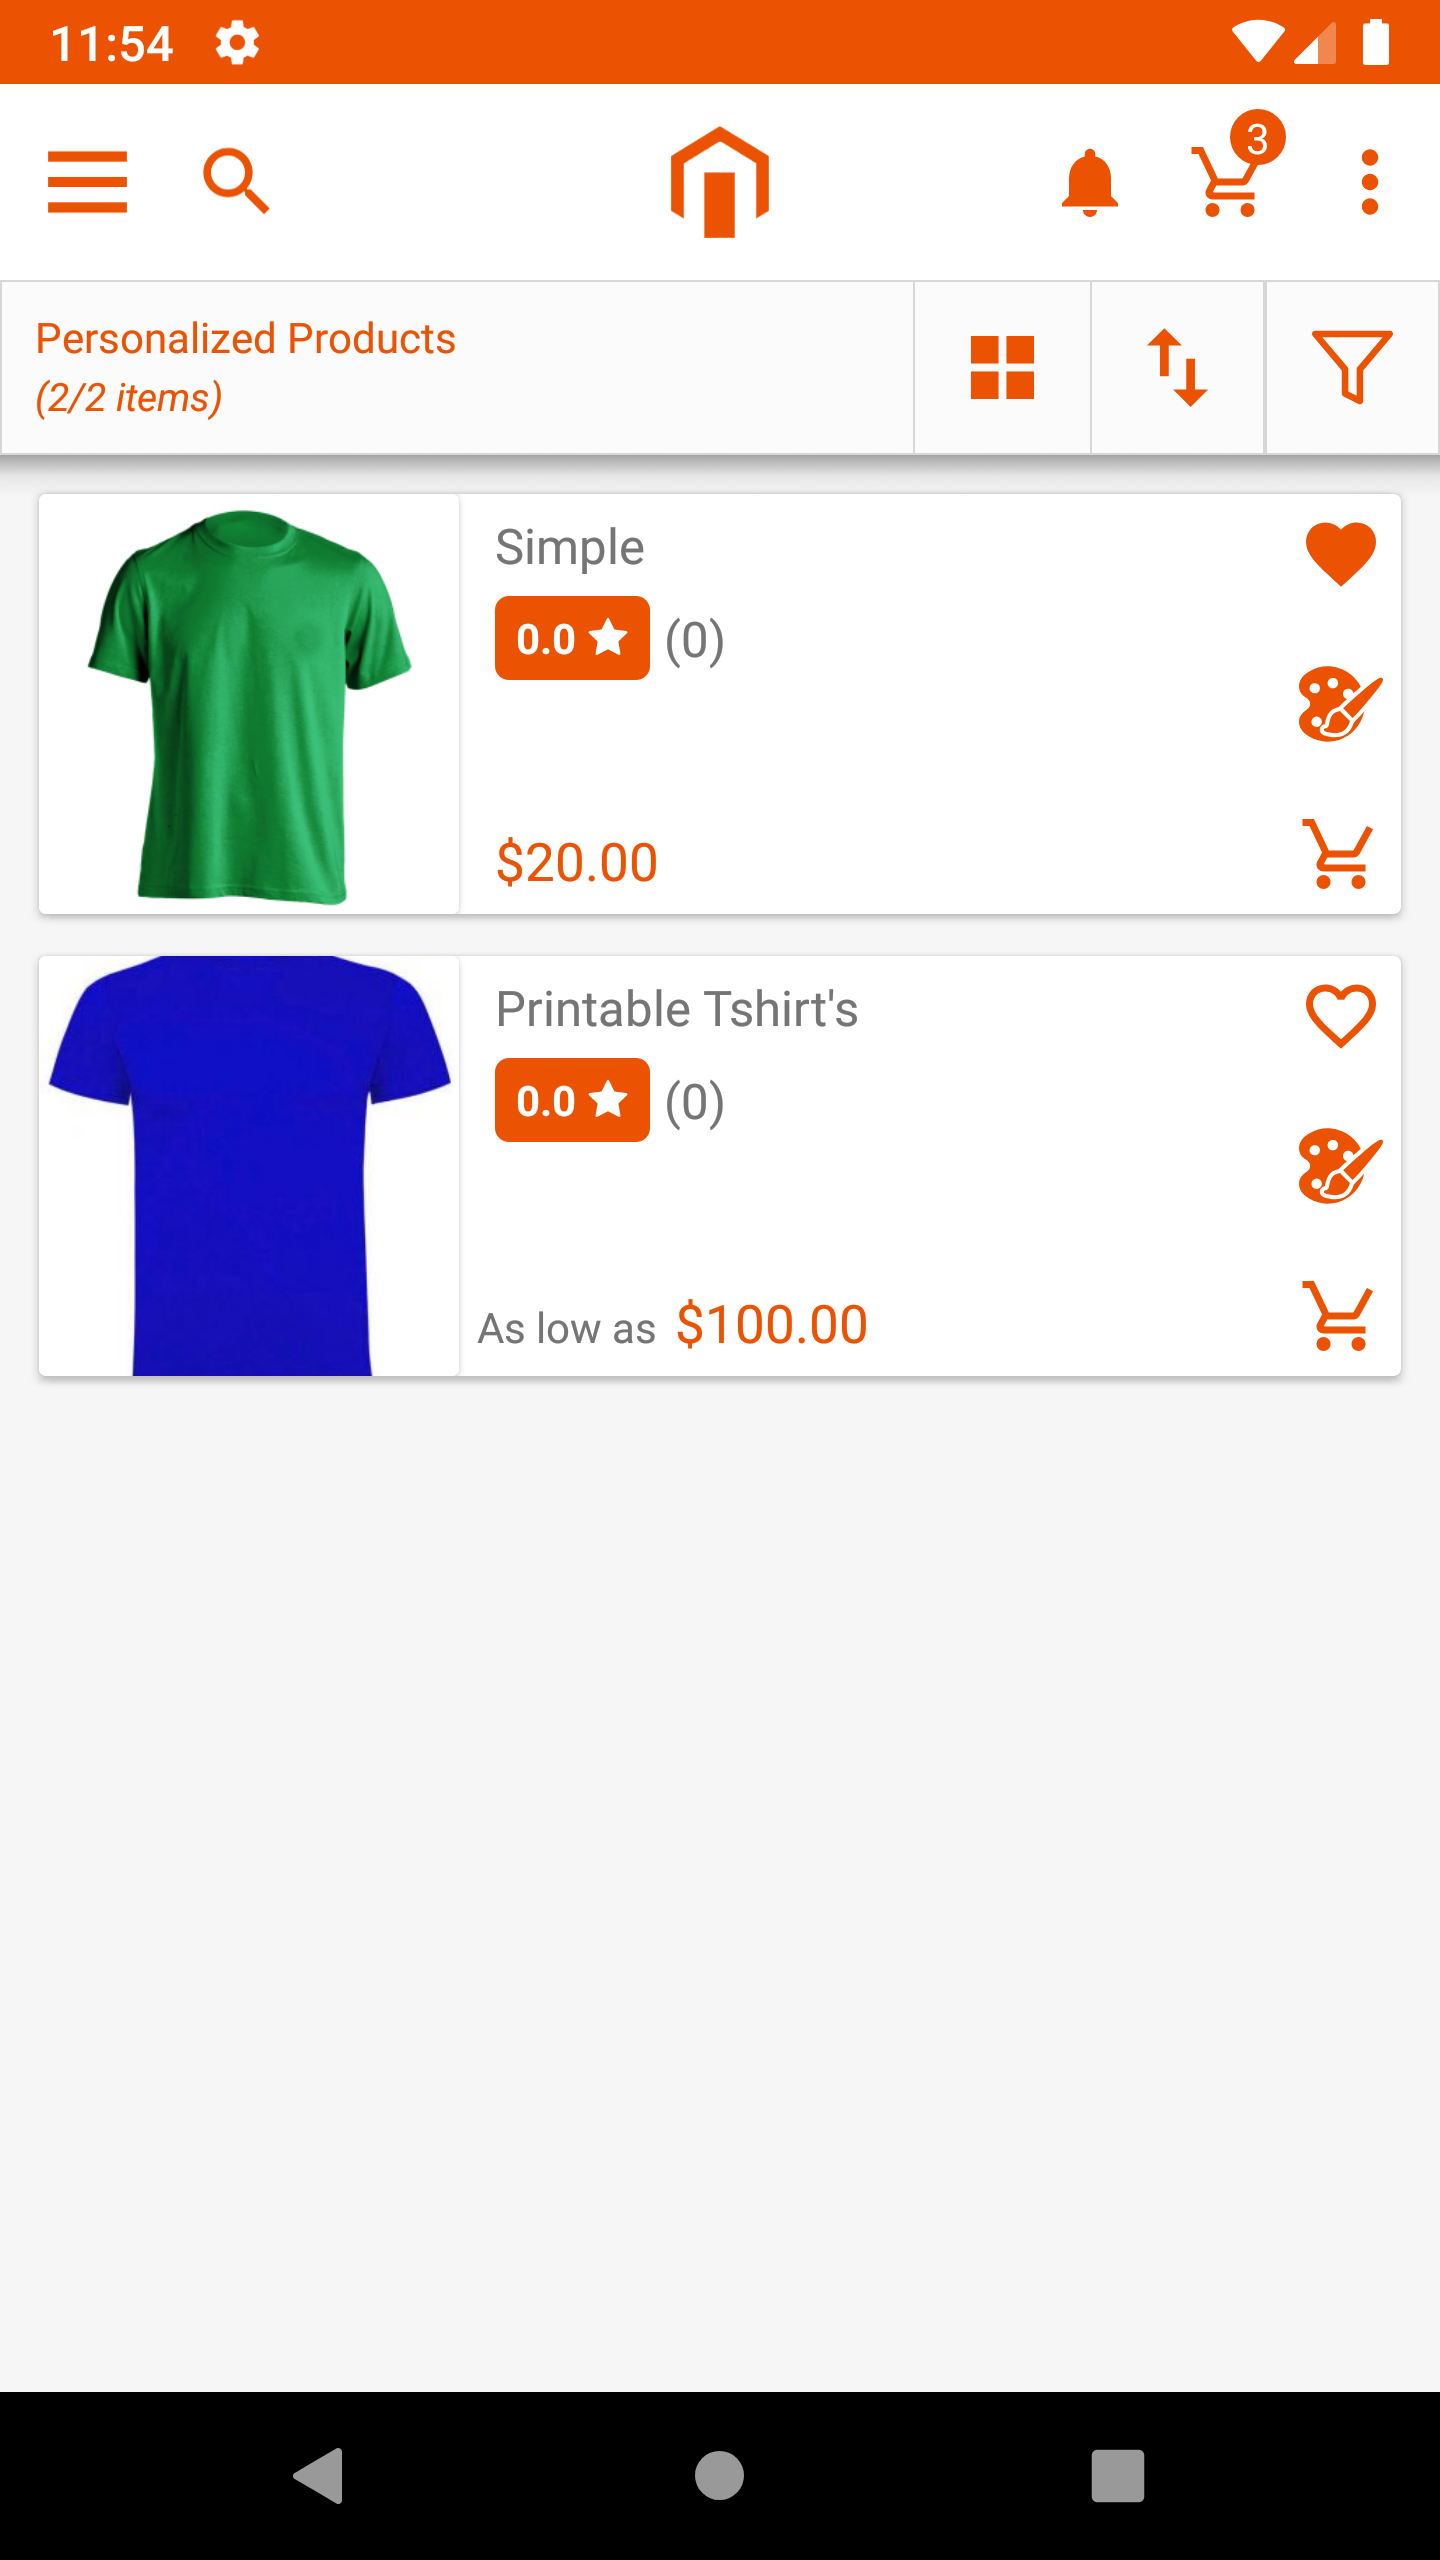
Product listing page contains product list with product name, price, description, and ratings.
It can also sort by price low to high, high to low and filtered with different options like category, color, size, etc.
To view product tap on the product. With icons in the right, user can move on the tool to design the product or add the product into Wishlist or cart.
Admin user can manage product details as per requirement.
It shows the product in the list as well as the grid view.
Product Details Page
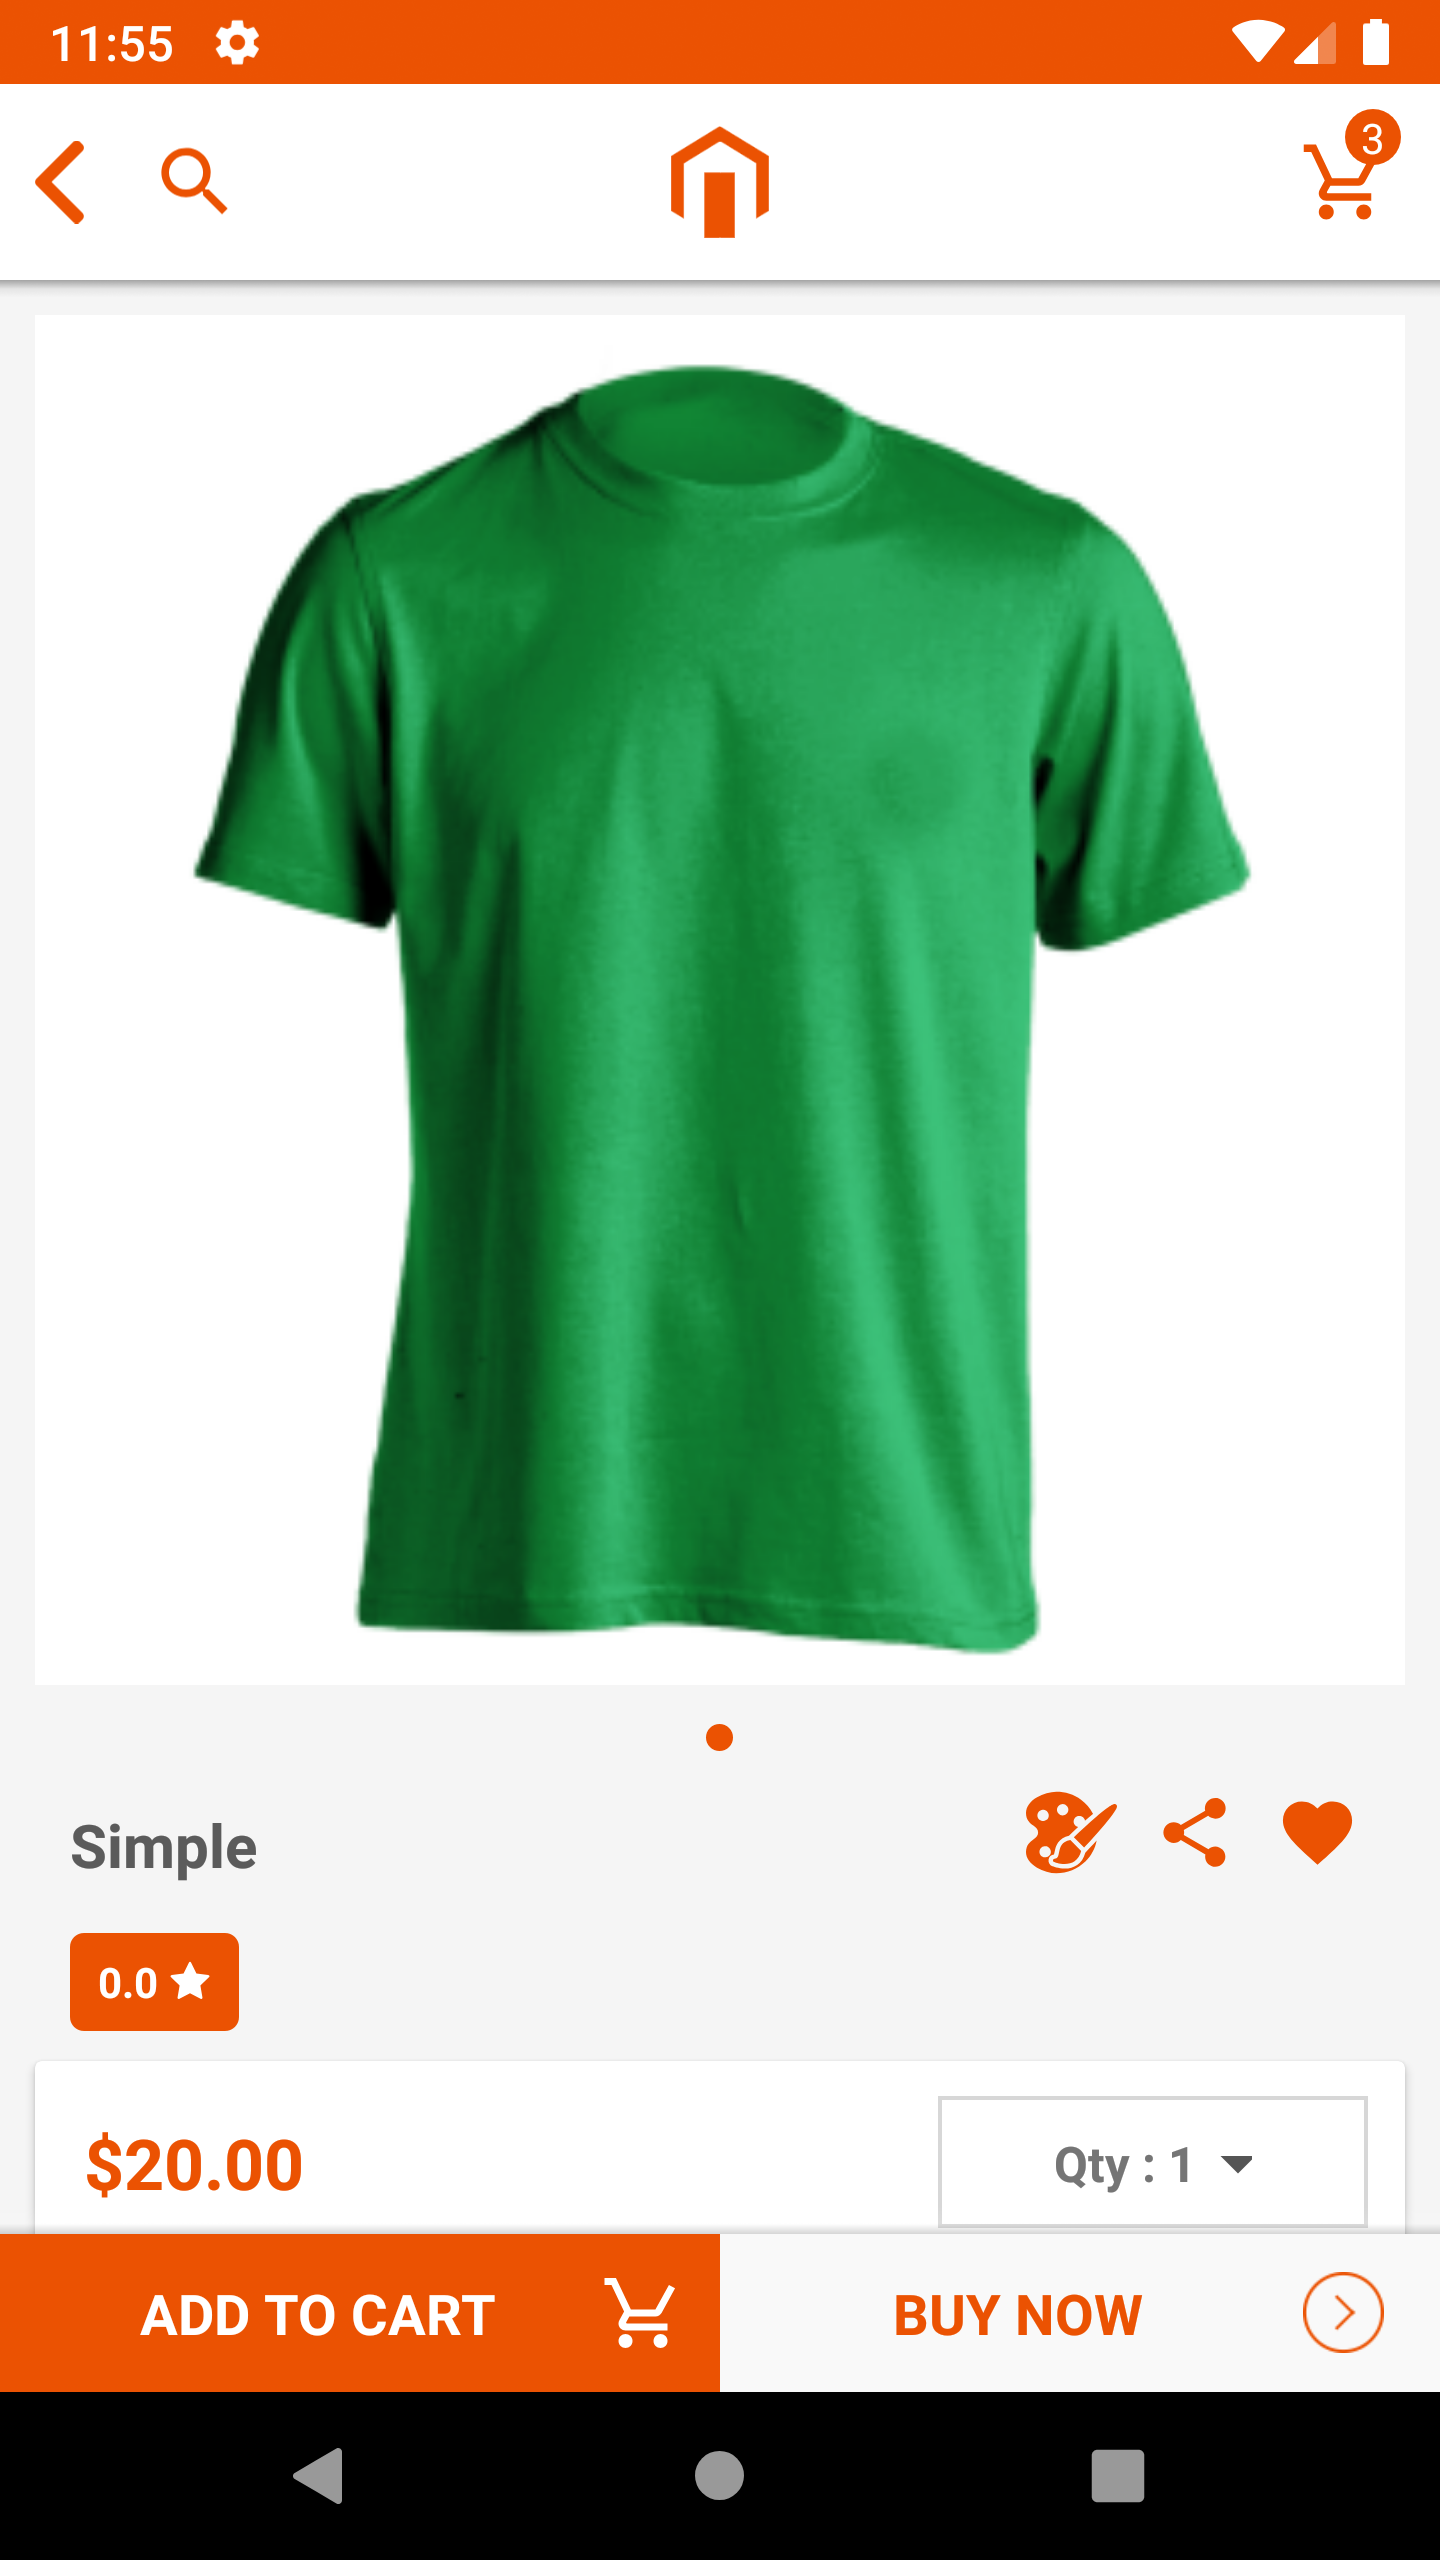
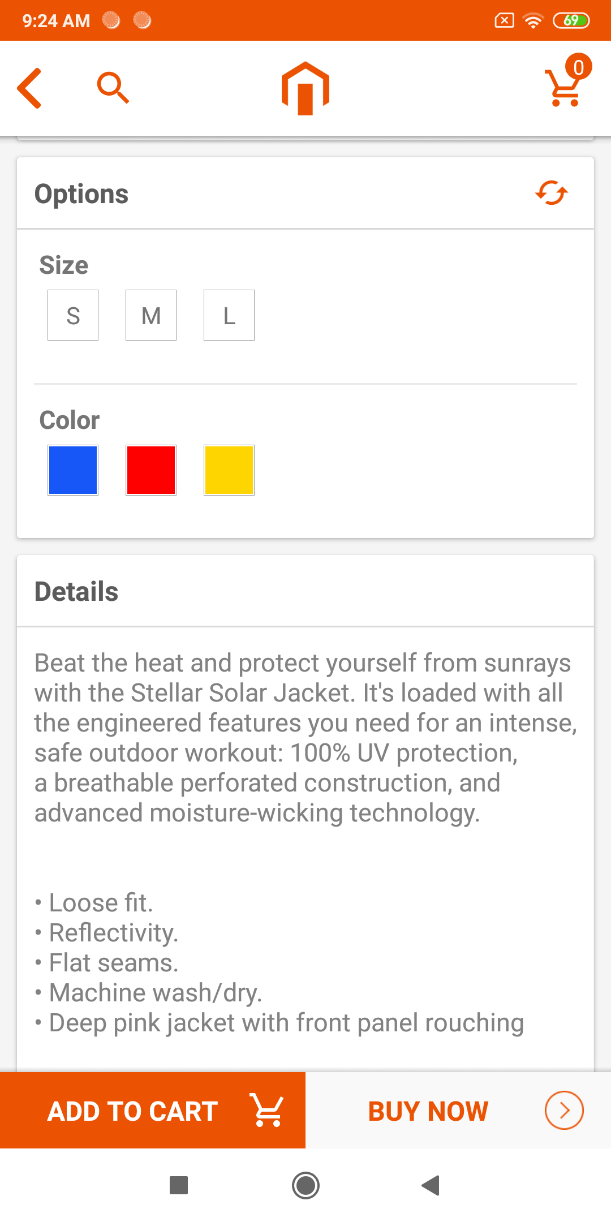
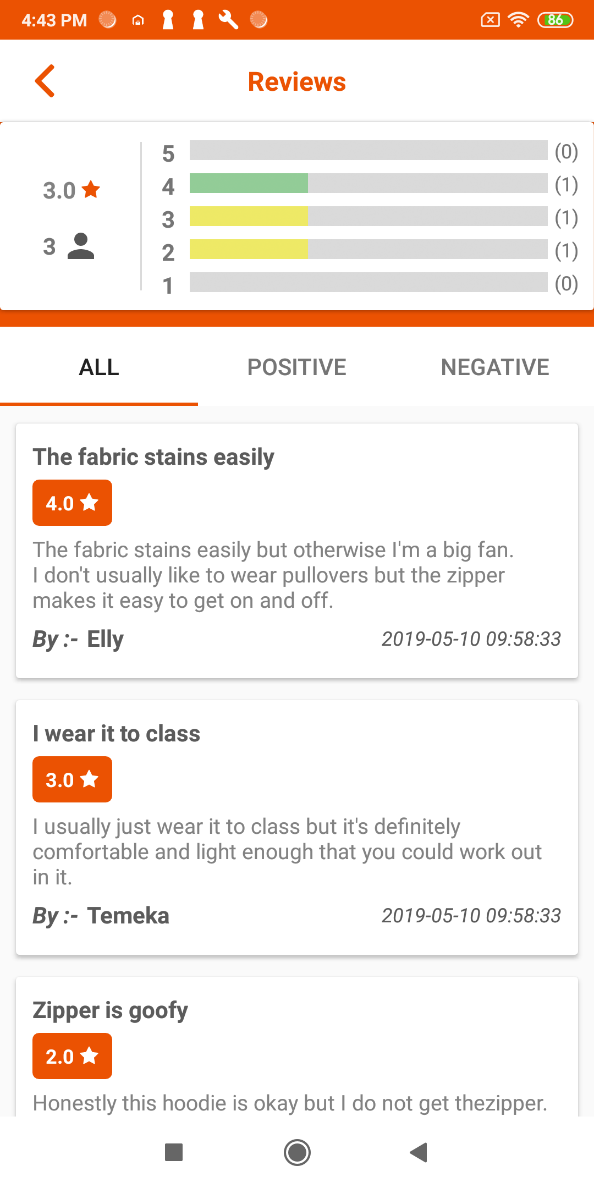
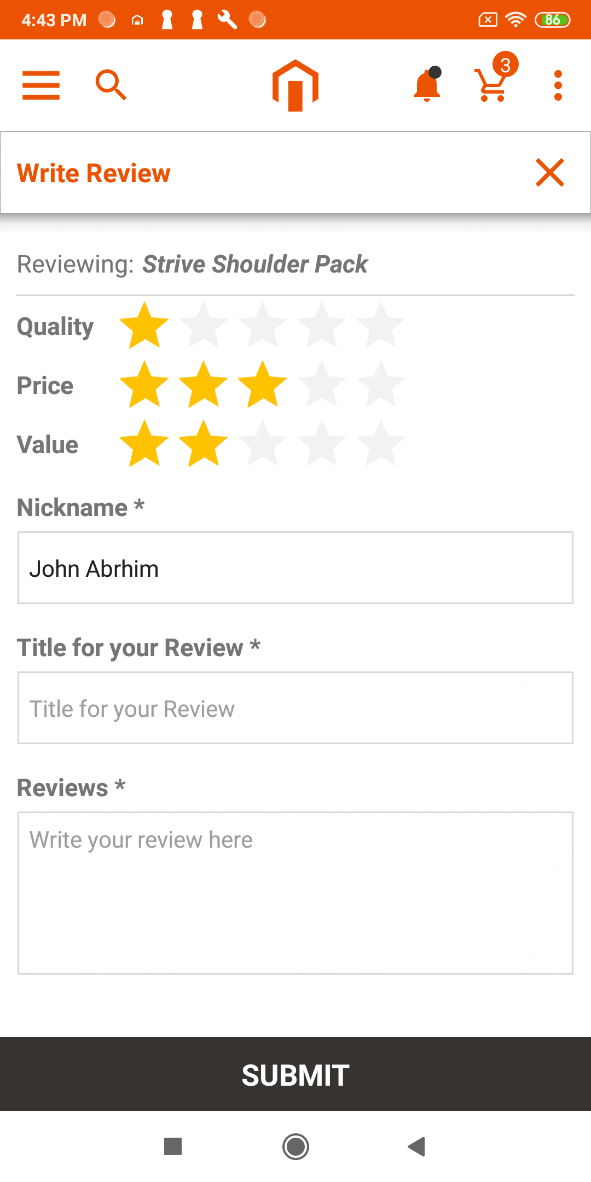
As you tap on the product from Product Listing Page it will redirect to product details page in which user can find the detailed description for the product, color, size, available quantity, reviews, ratings and buttons to add product in cart or buy now to proceed checkout.
User can add the product into Wishlist and also share product via a different social media platform.
User can also navigate to the PrintXpand designer tool to design the product.
Product Designer Tool
As you tap on the product designer icon, it will redirect you to the PrintXpand product designer tool.
User can use all the functions and design the products which admin has set for products from the backend.
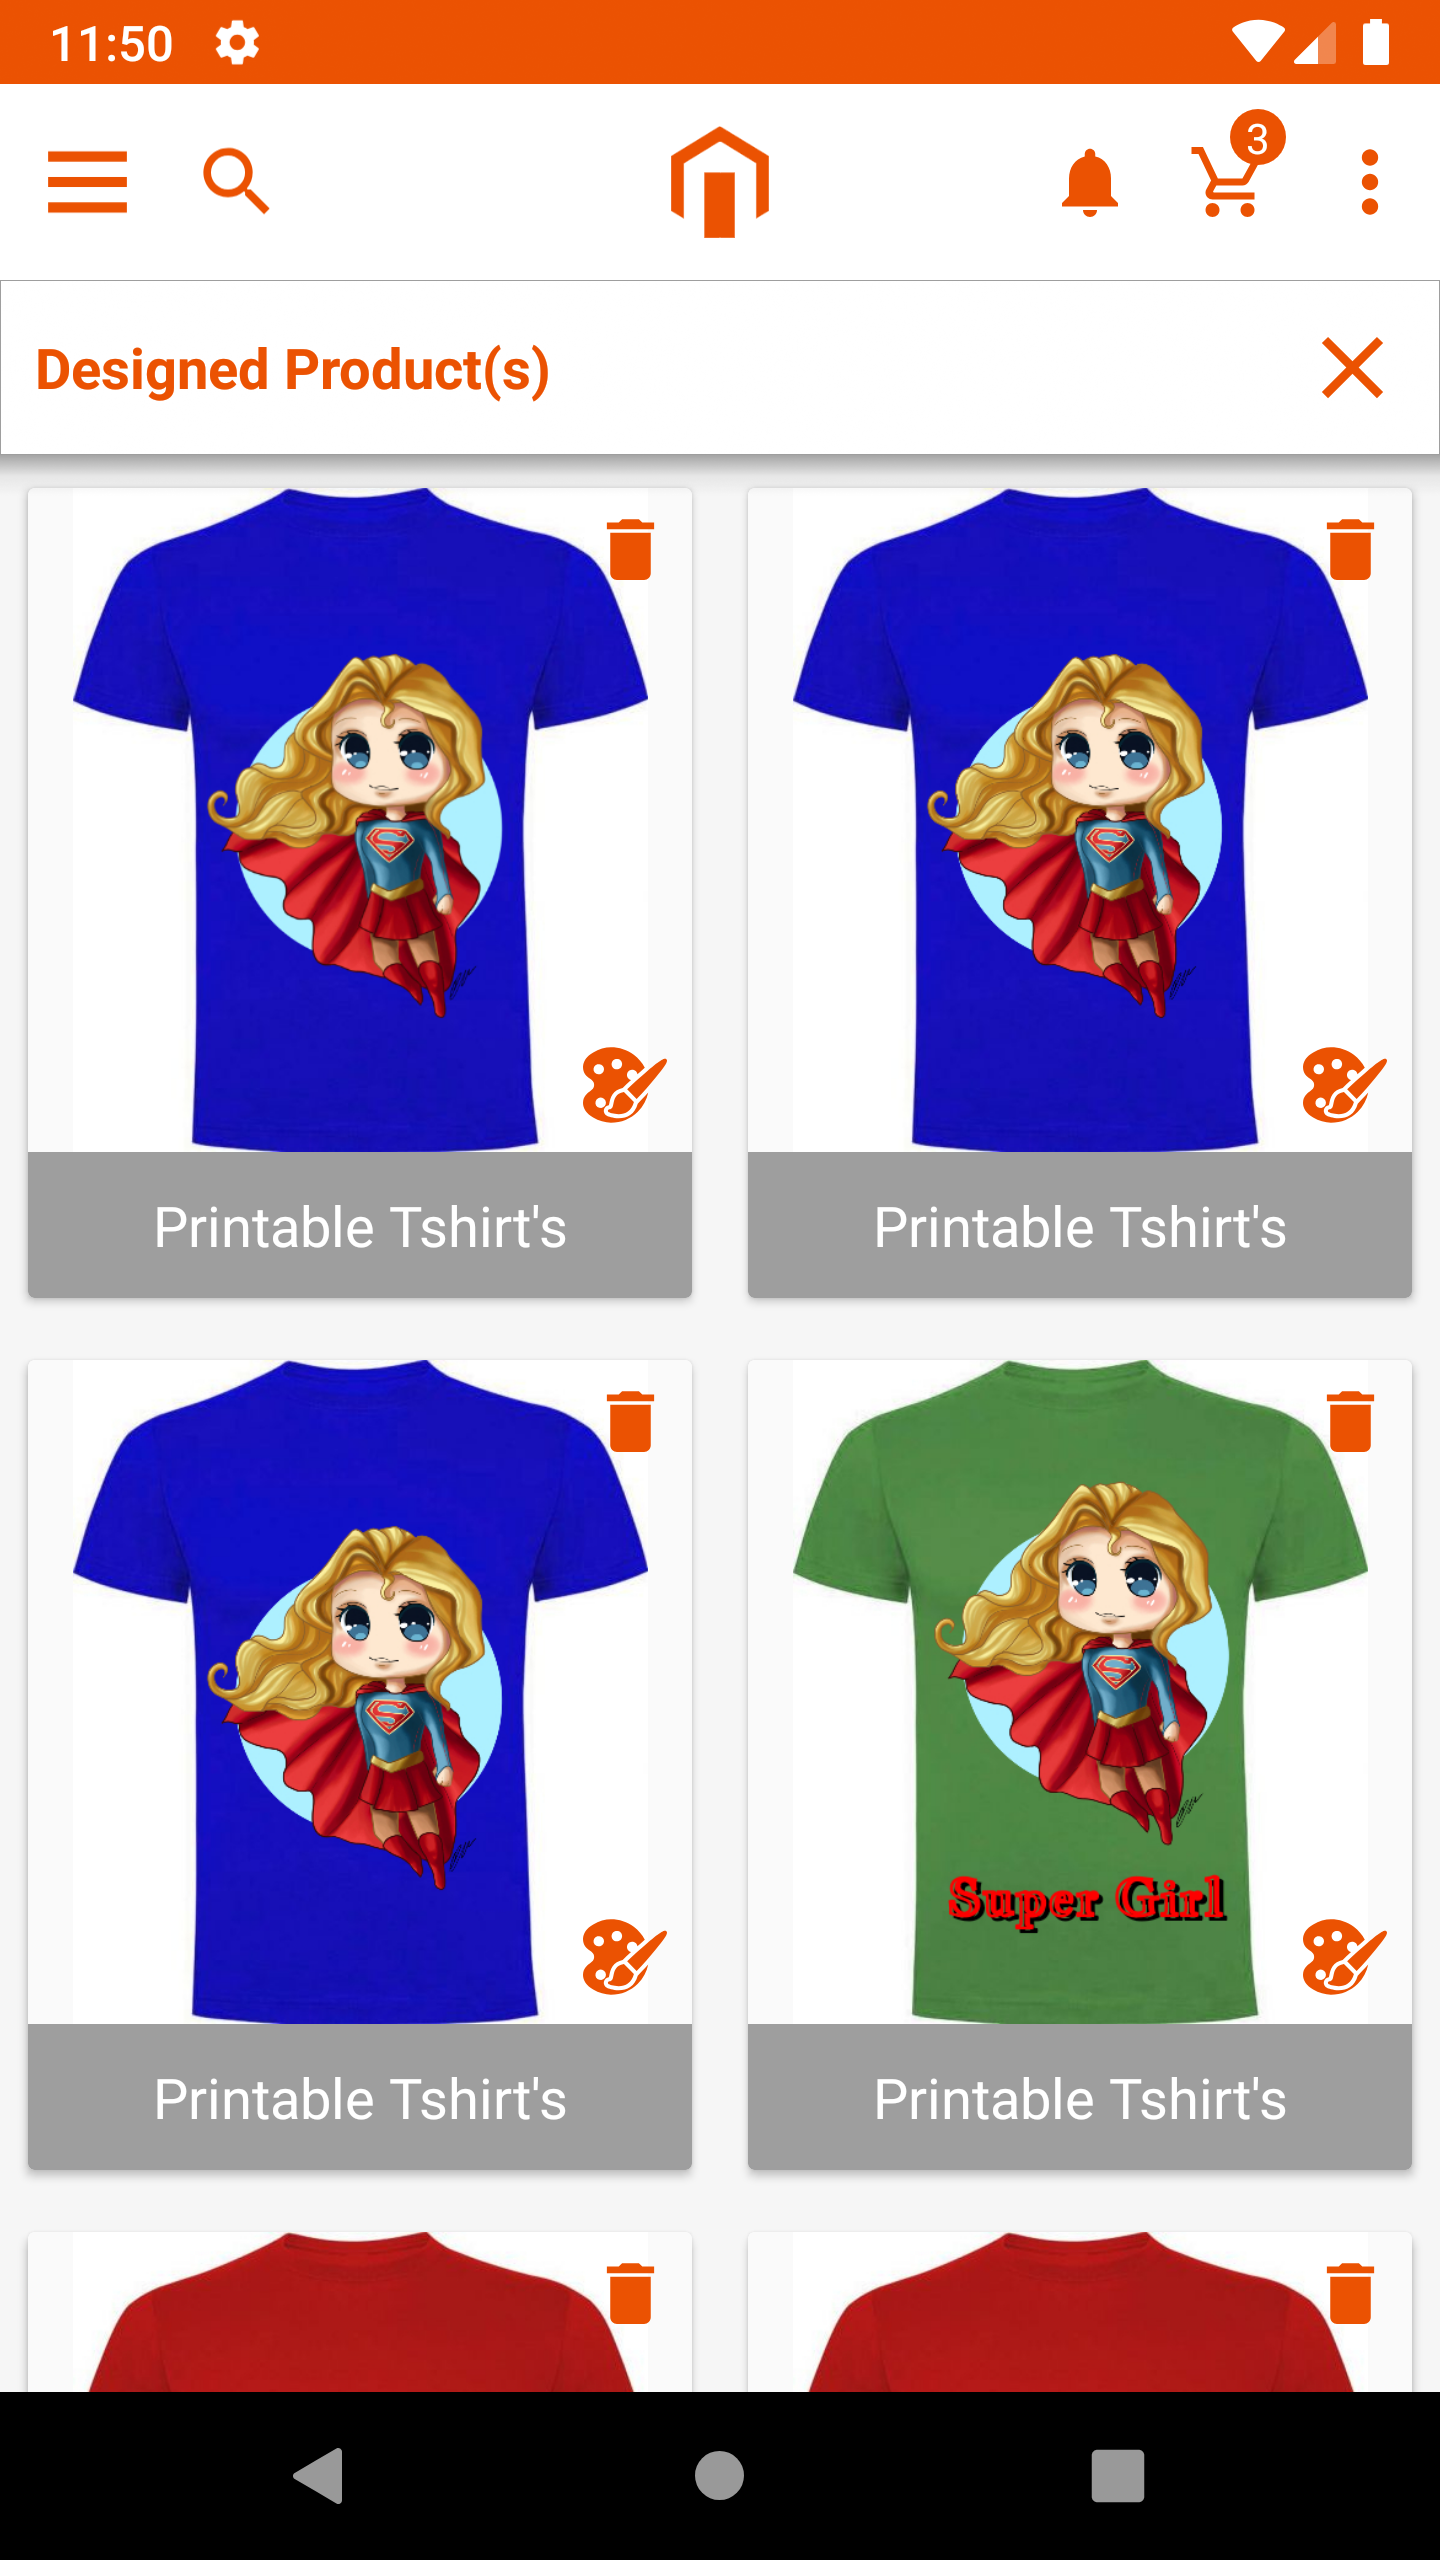
User can also access and re-design the previously ordered products by selecting “My Design” option from the dropdown in the top-right corner of the app.
Notification Page
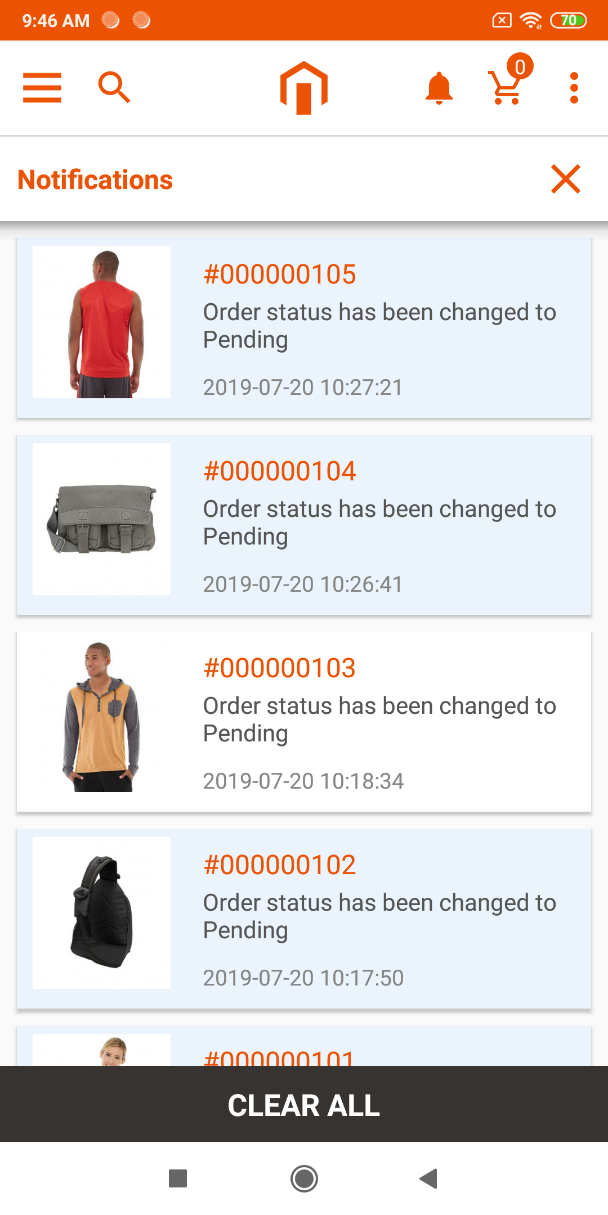
User can view all notifications that are shown. It also can be removed by Clear All button.
In this page some notification tabs are highlighted with blue color, it shows that notifications are unread, others are already read by the user.
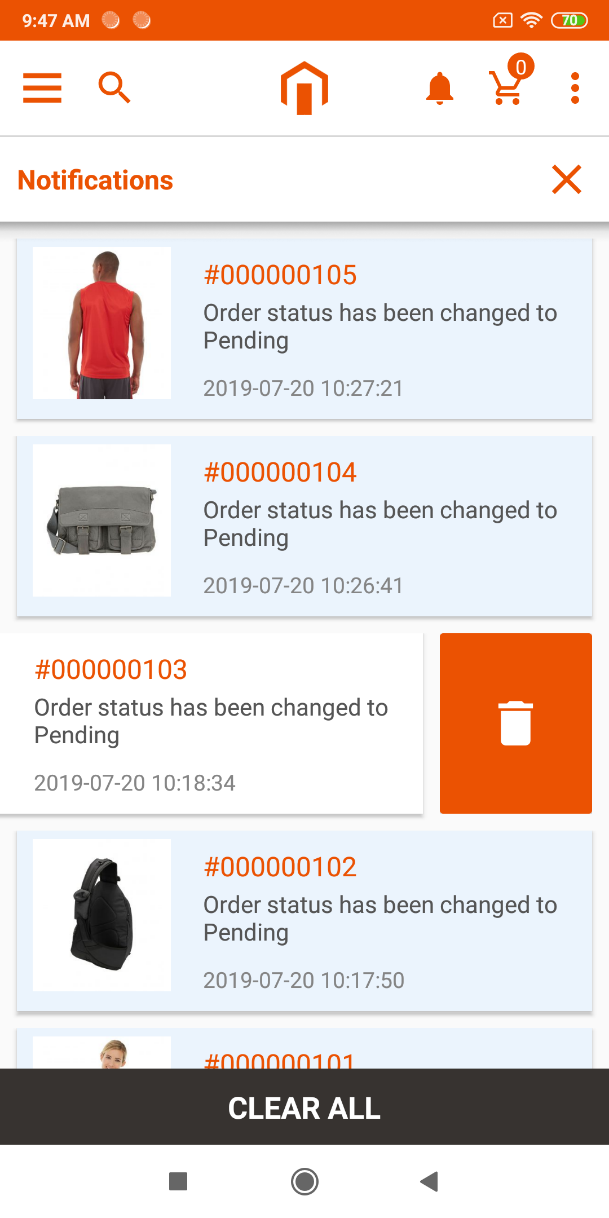
By swiping left it shows delete button to remove that particular notification.
Shopping Cart Page
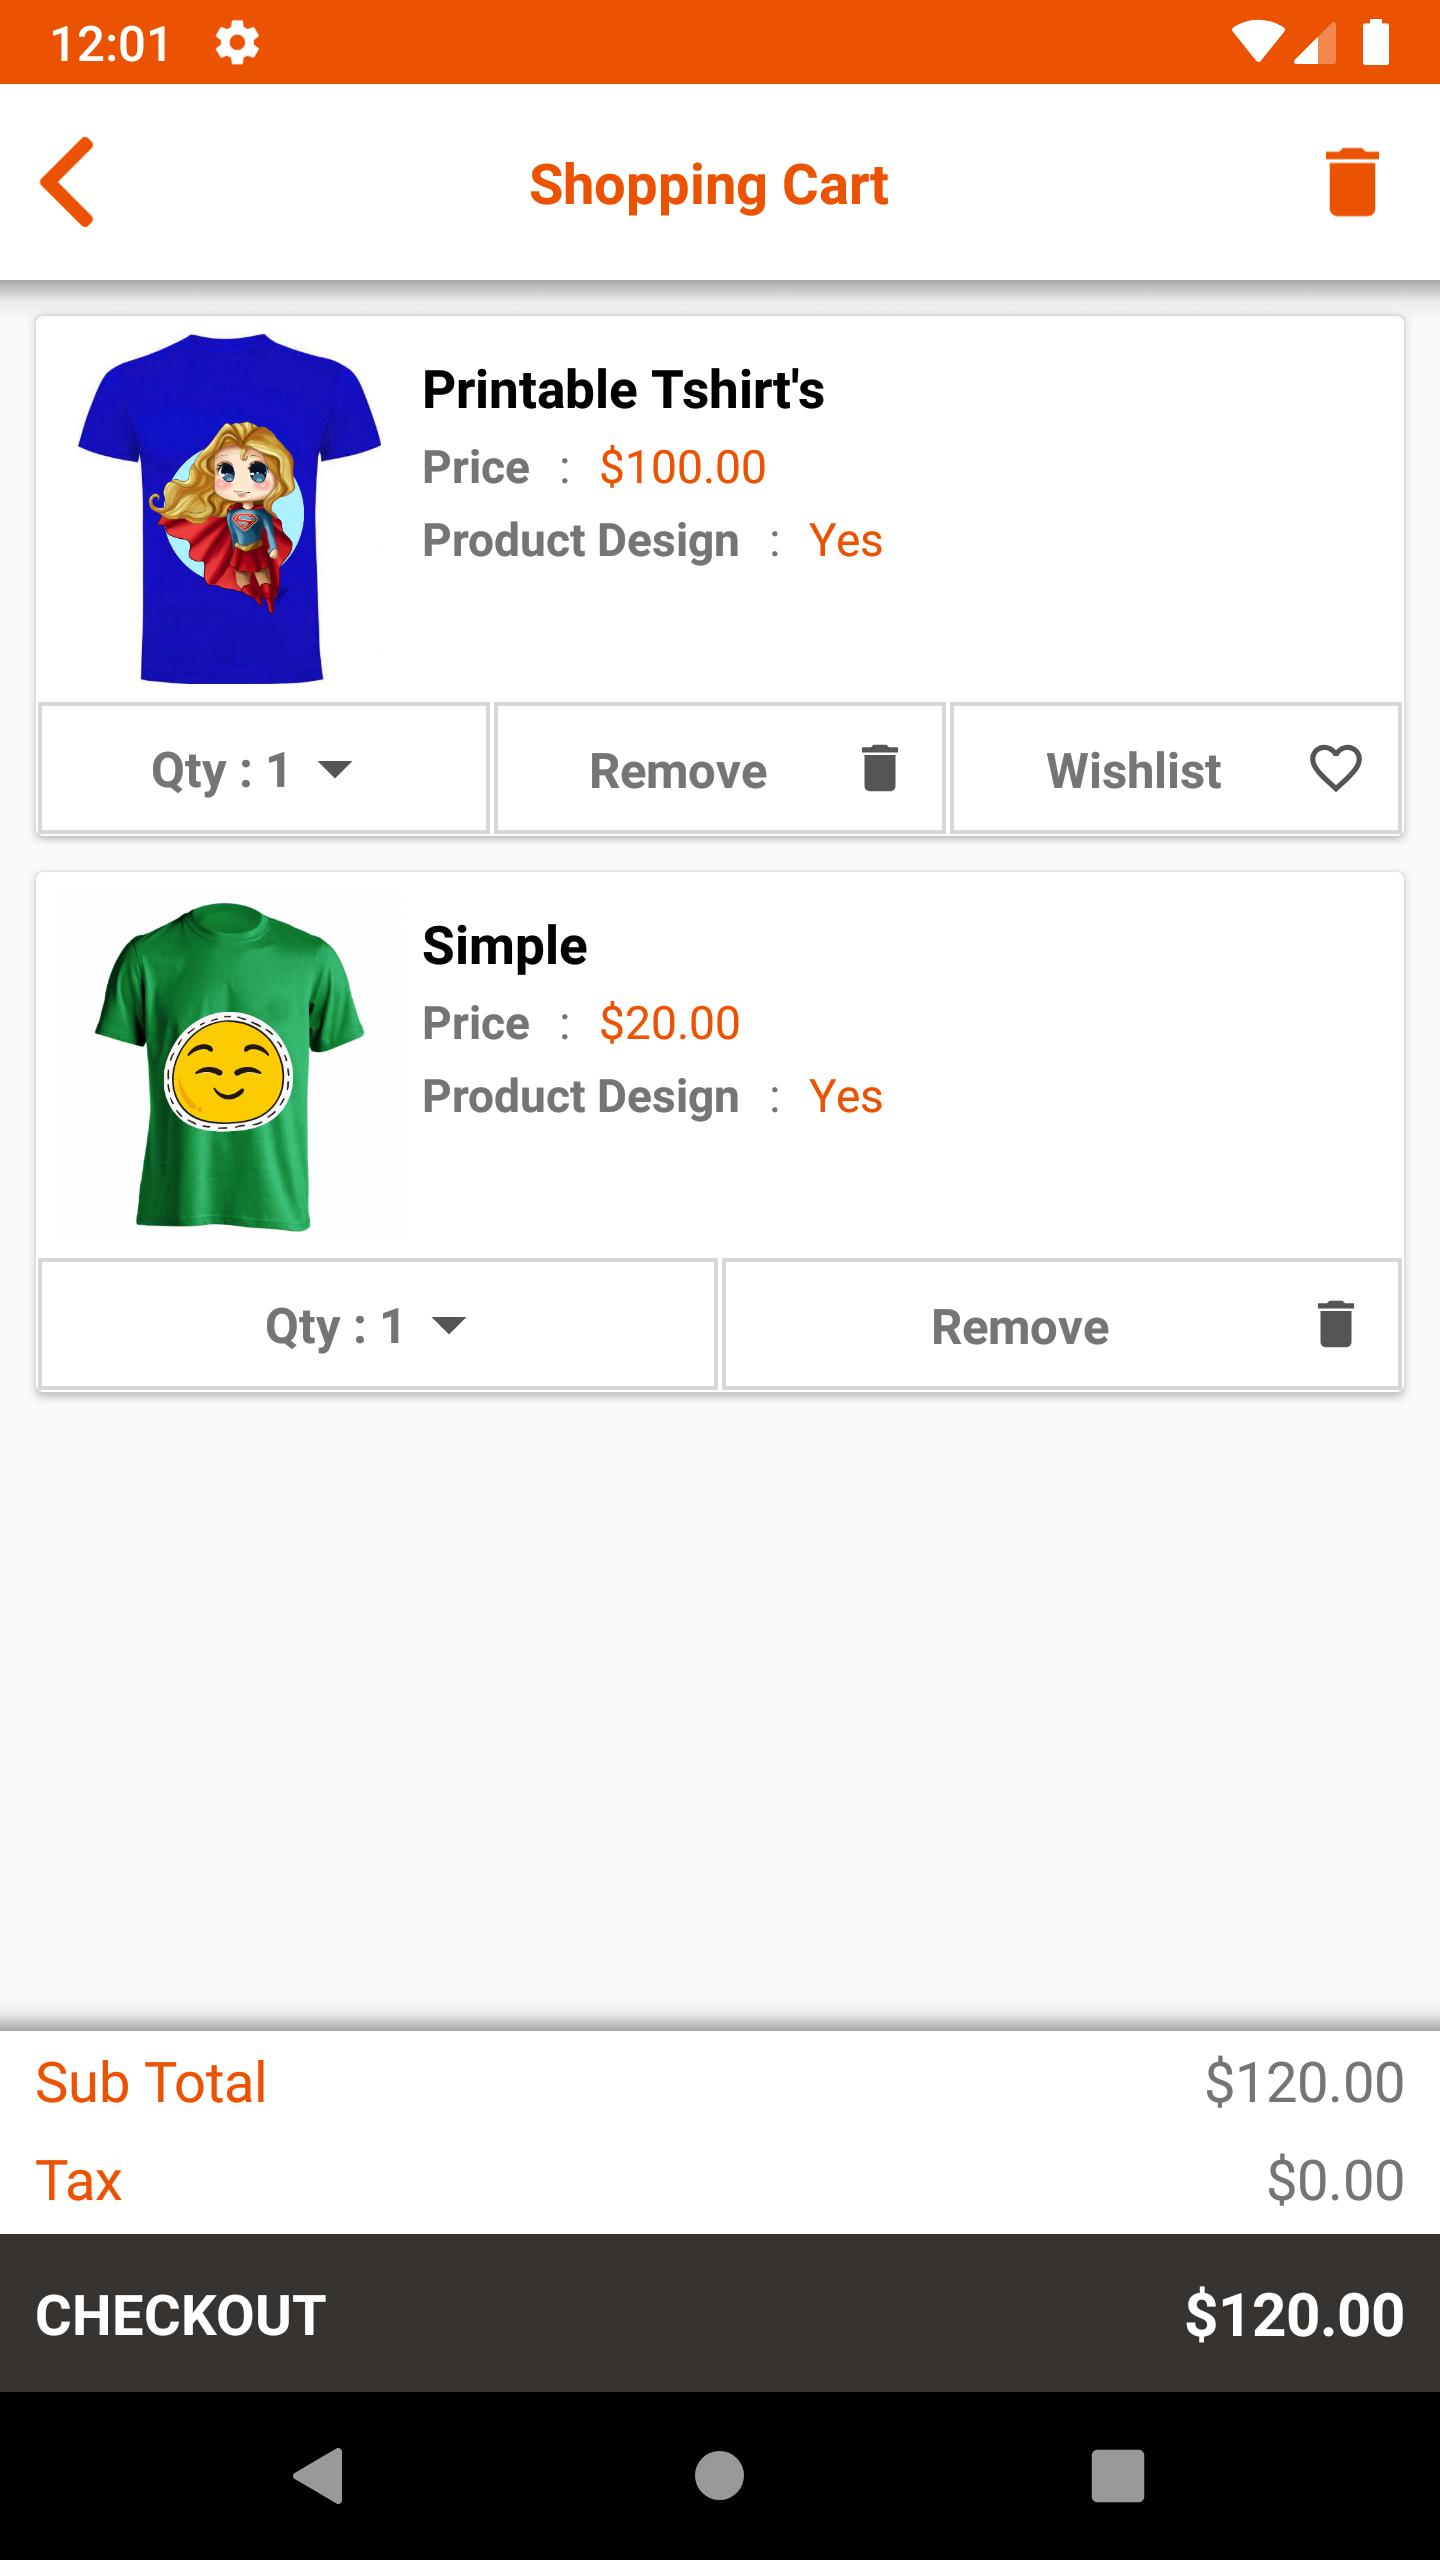
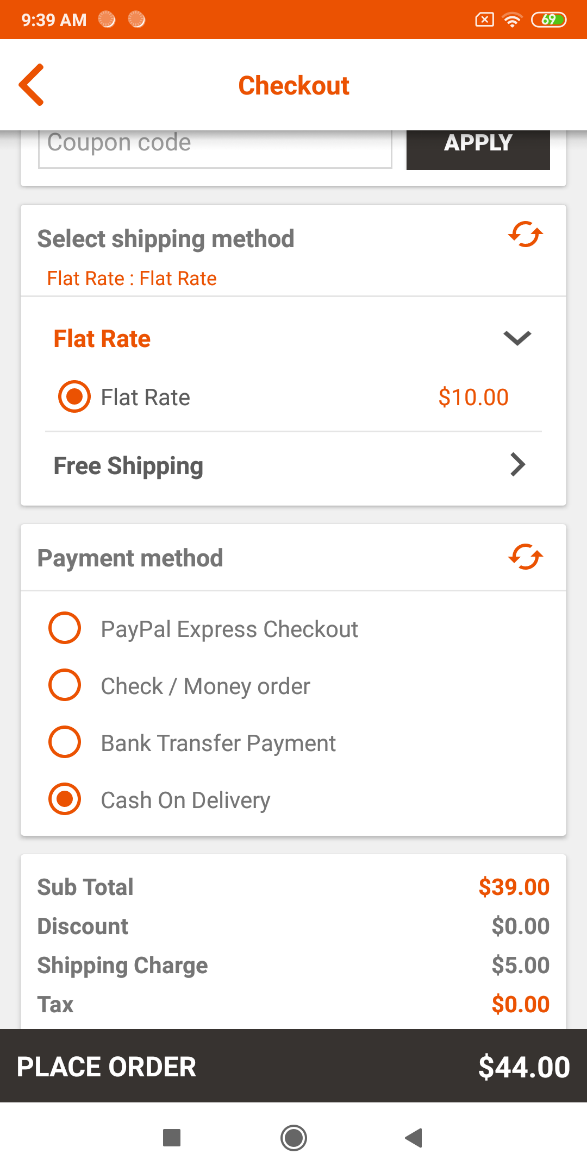
With this page, user can manage items which are added in the cart to proceed checkout.
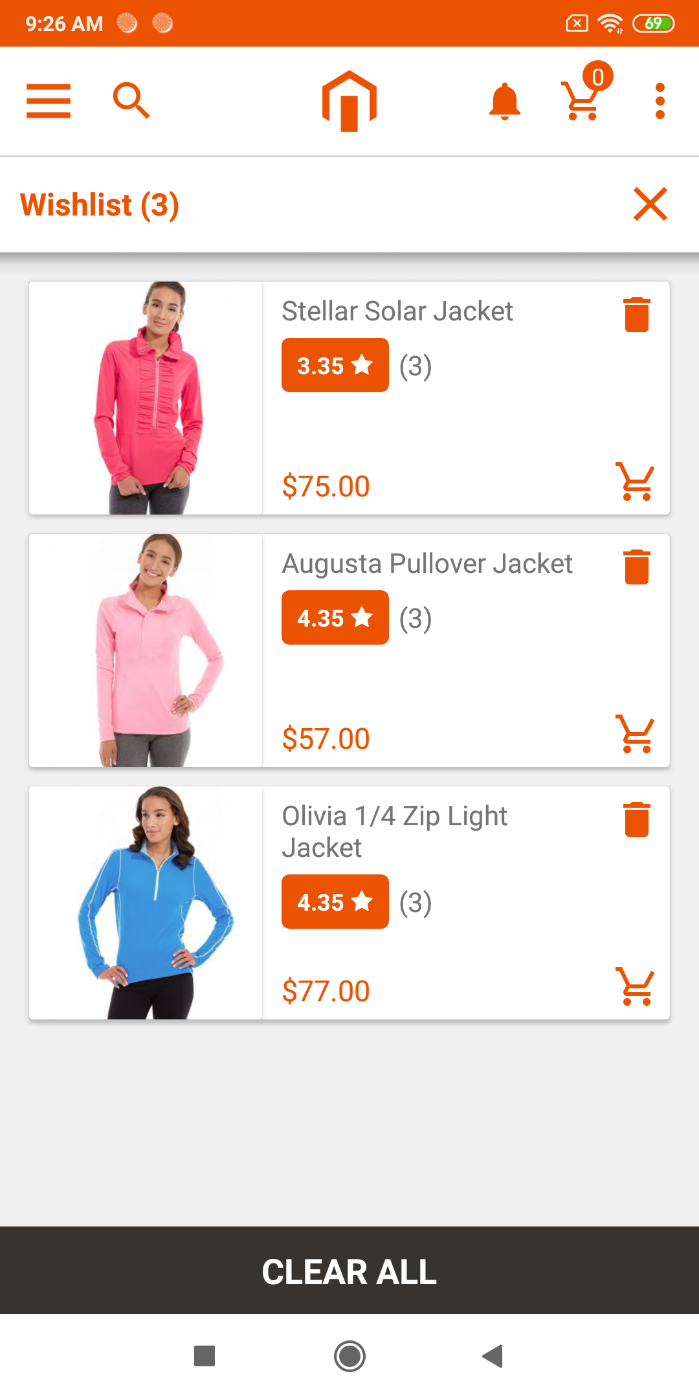
User can manage quantity, remove the product from the cart, and add the product to wishlist to proceed checkout.
Note: By adding the product into wishlist it will remove from cart.
Track Order Listing Page
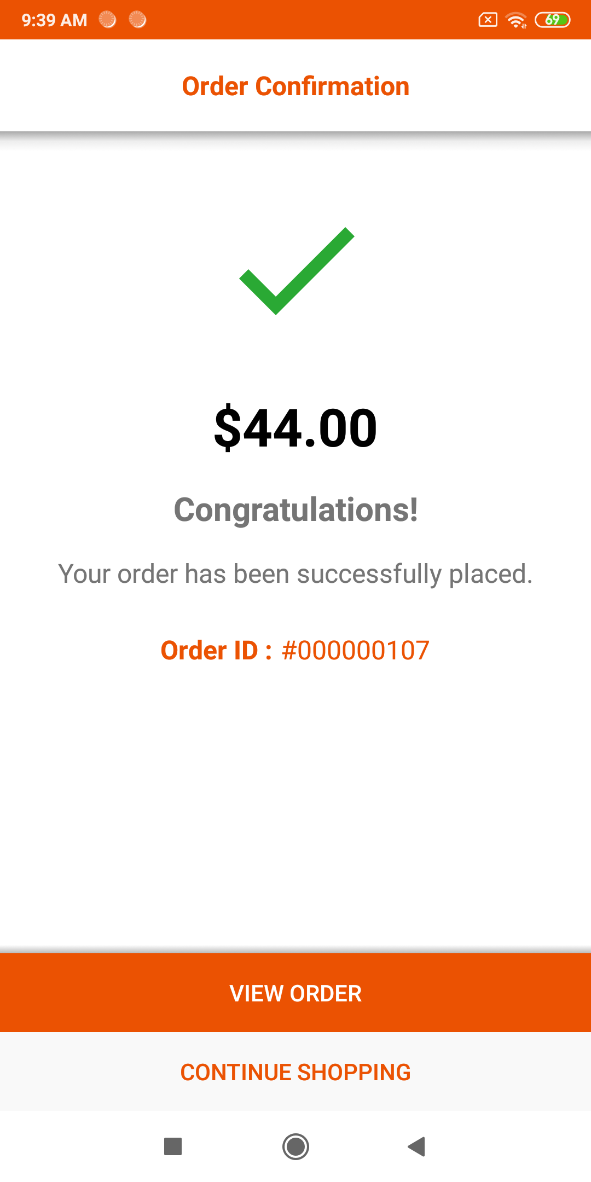
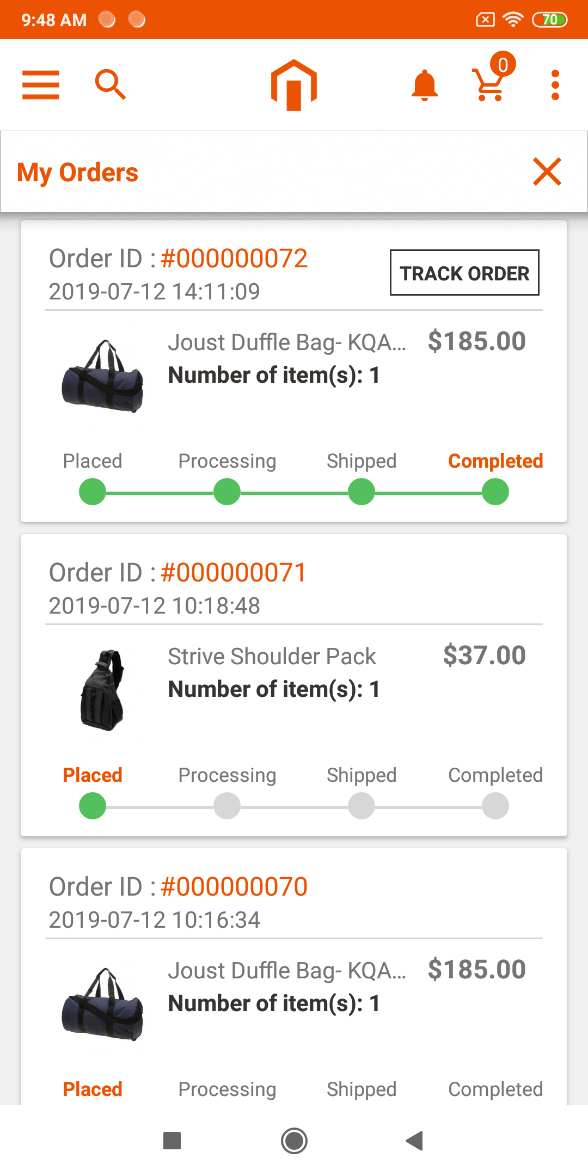
By clicking on the view order button, it redirects to order listing page which displays list order you have placed and their status of shipping.
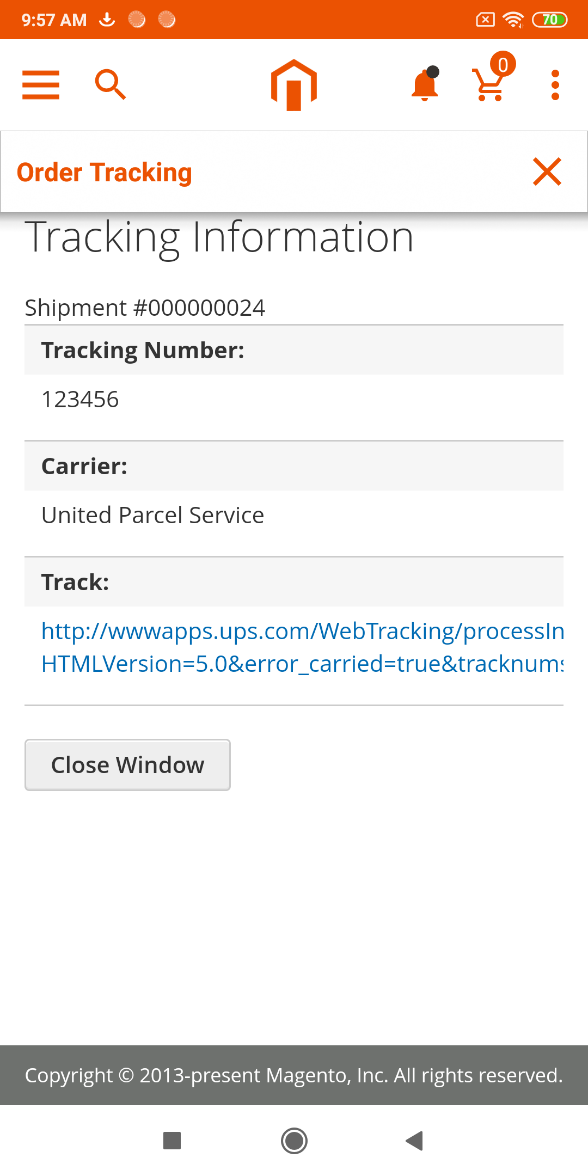
User can track their order, tap on order it will show details about delivery and other information.
By clicking on the Track Order button, it shows the current status of that order.
Order Details Page
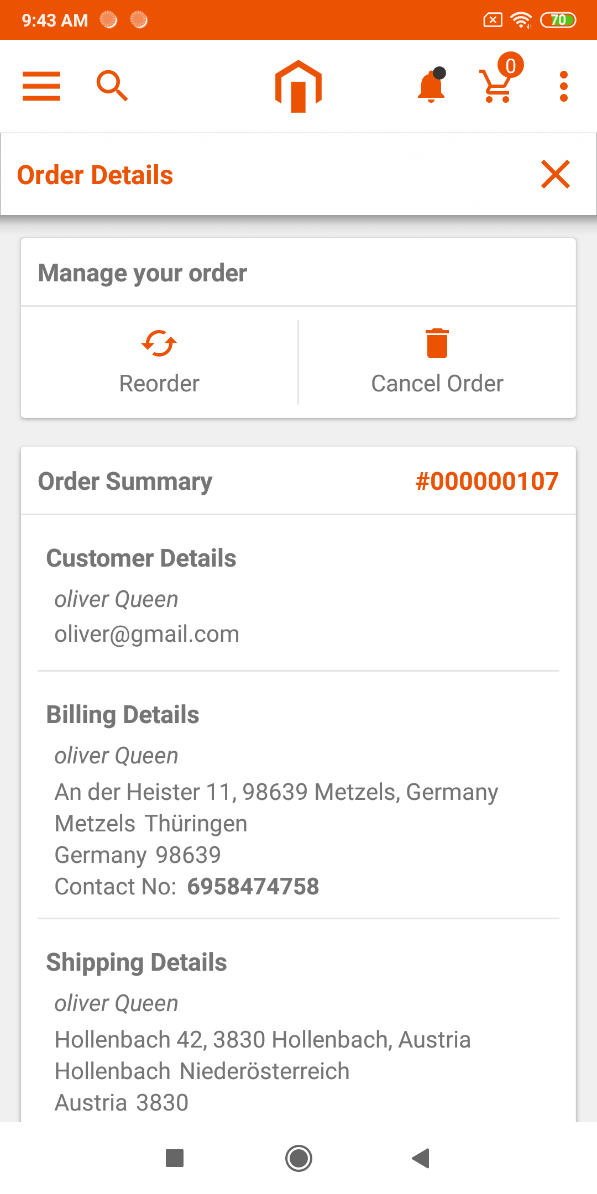
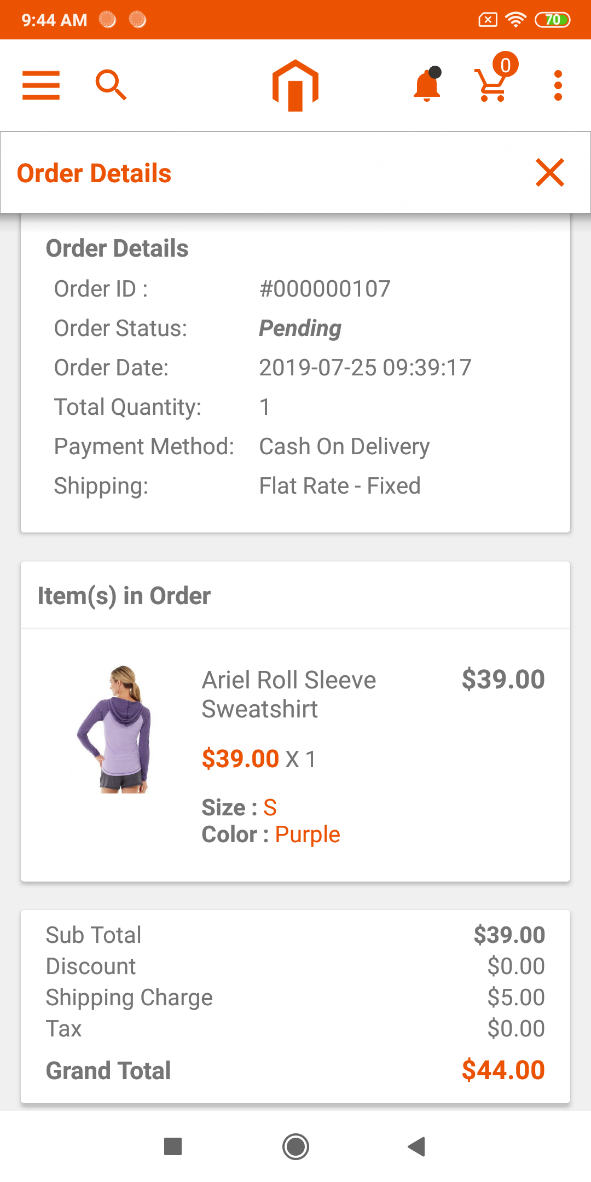
By clicking any of the order in order list page it shows details about that order like customer details, billing address, shipping address, order status, order date, quantity, payment method, price, tax, grand total etc.
It also provides buttons to cancel that order or reorder.
Address Page
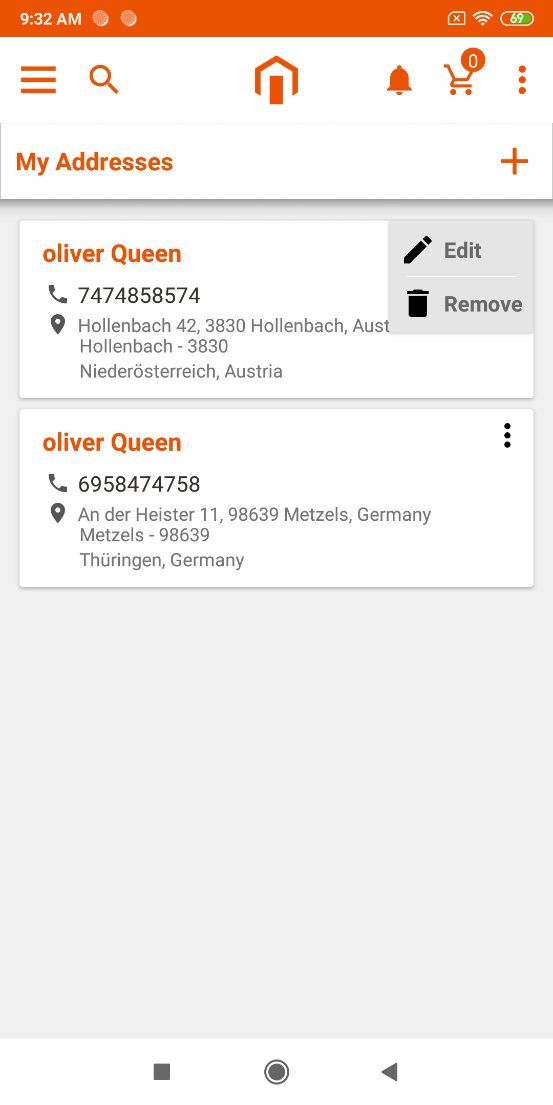
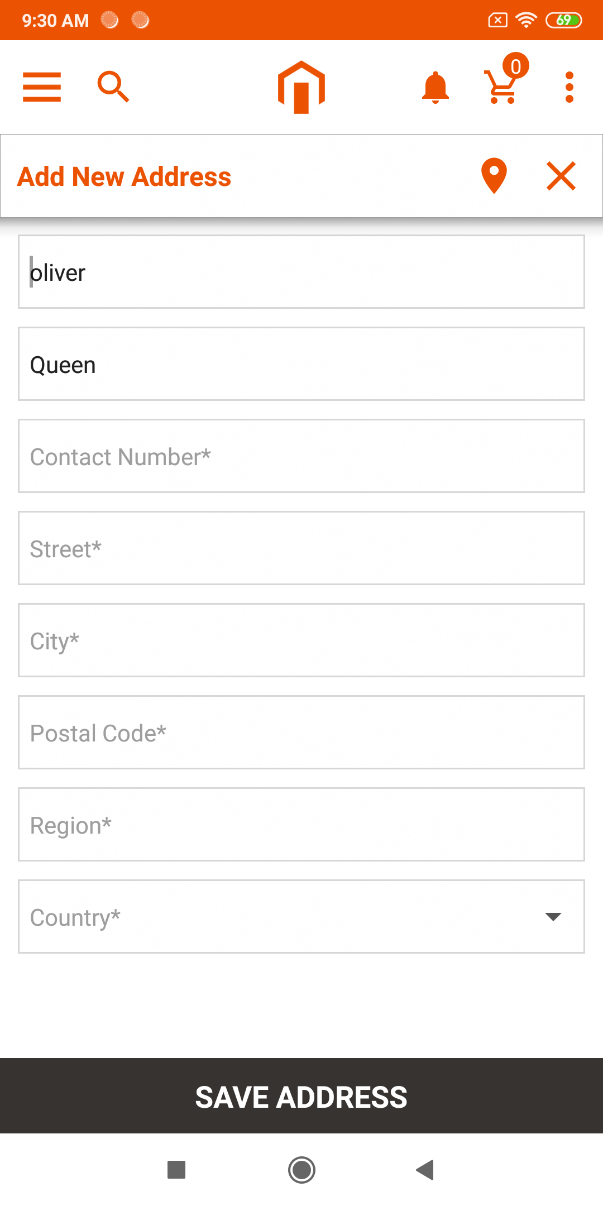
User can add an address to ship the order by clicking on the add button on the top right corner. Here you need to define address details like street, city, postal code, etc.
User can also manage address by editing or removing saved addresses.
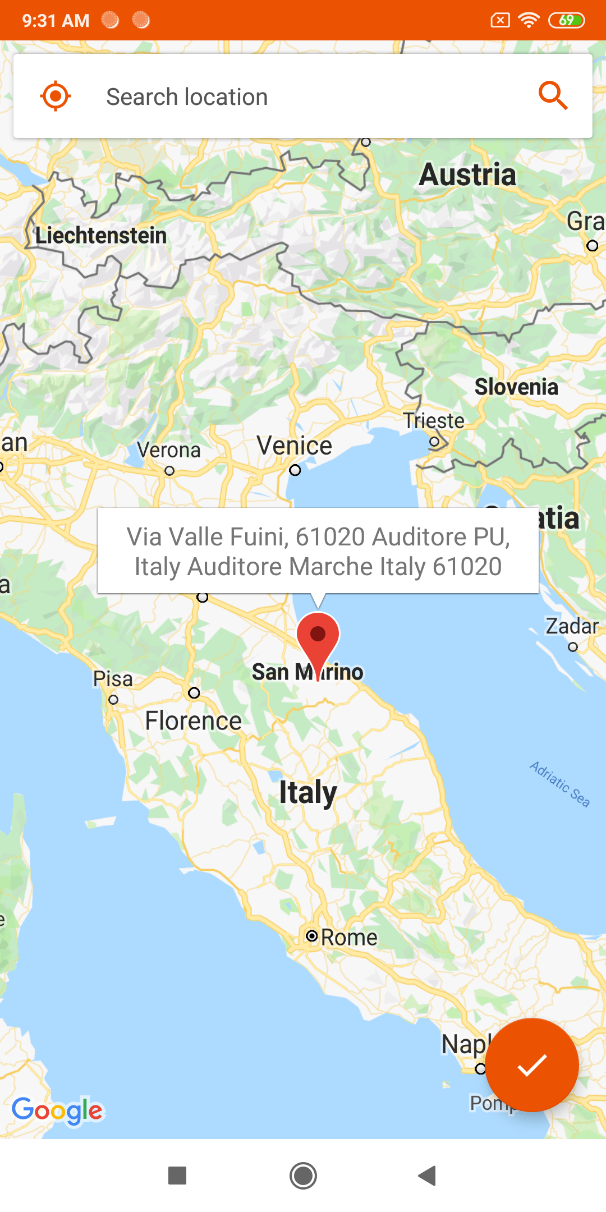
User can also find an address which you want to save on google map by placing a pointer to that address. It will fetch directly to defined address fields.
Points To Note
Products in all the modules of MageMob App Builder will only be visible if they are assigned to the website selected while purchasing the Extension.

