MANAGE IMAGE EFFECTS AND FILTERS
Your customers can apply filters on images while designing the product by using our Image filters feature.
Backend Configuration
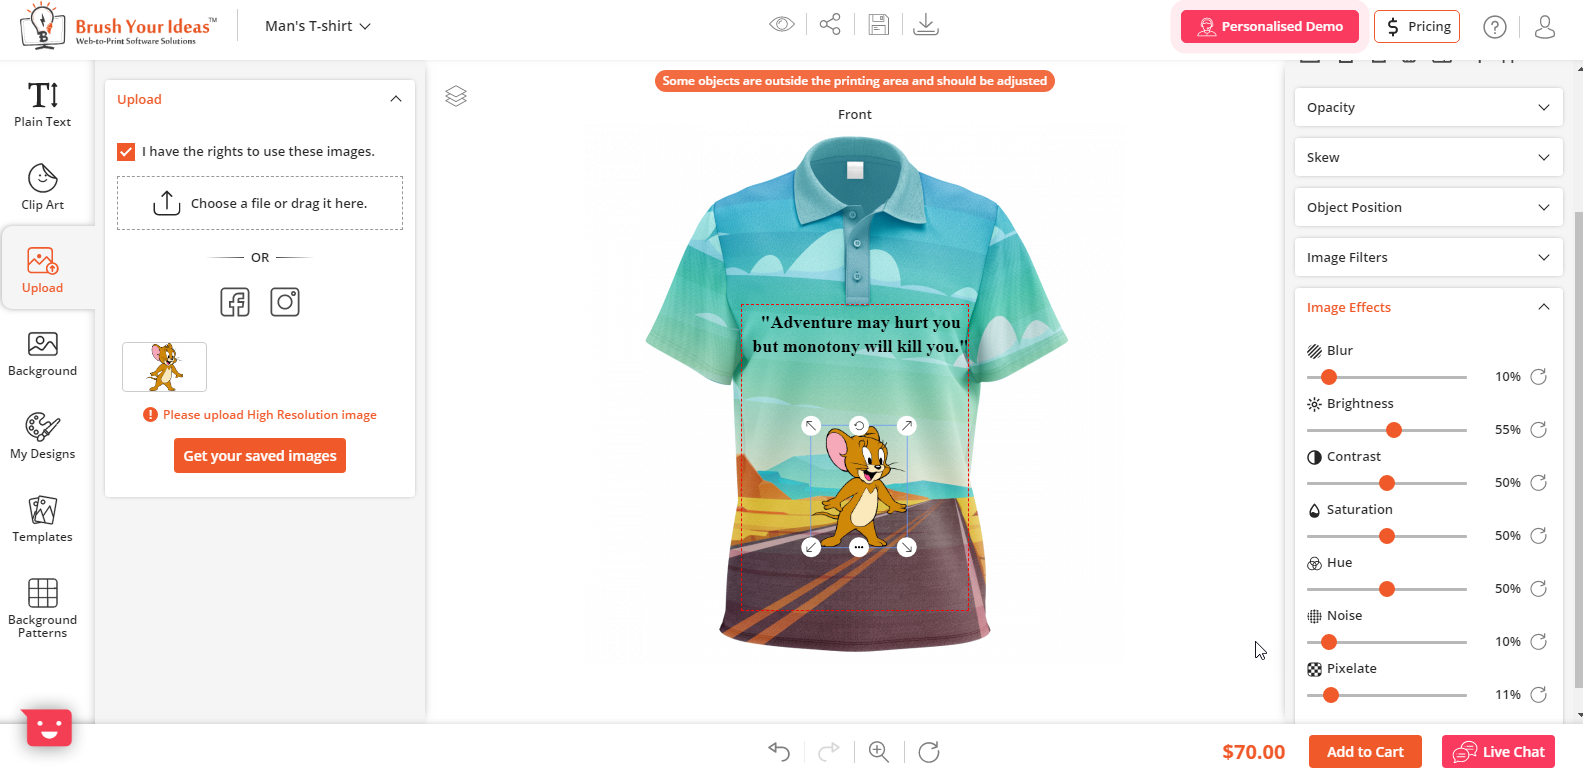
The designer tool comes with effects like blur, brightness, contrast, hue, Noise, Pixelate, and Saturation. Also, there are filters available like Black and white, brownie, emboss, grayscale, invert, and sepia, and more based on the tool’s package you purchase. Users can apply any of the filters and edit it using effects to get the desired output.
The list of effects and filters is already provided. You have the rights to Enable/Disable them as per your convenience.
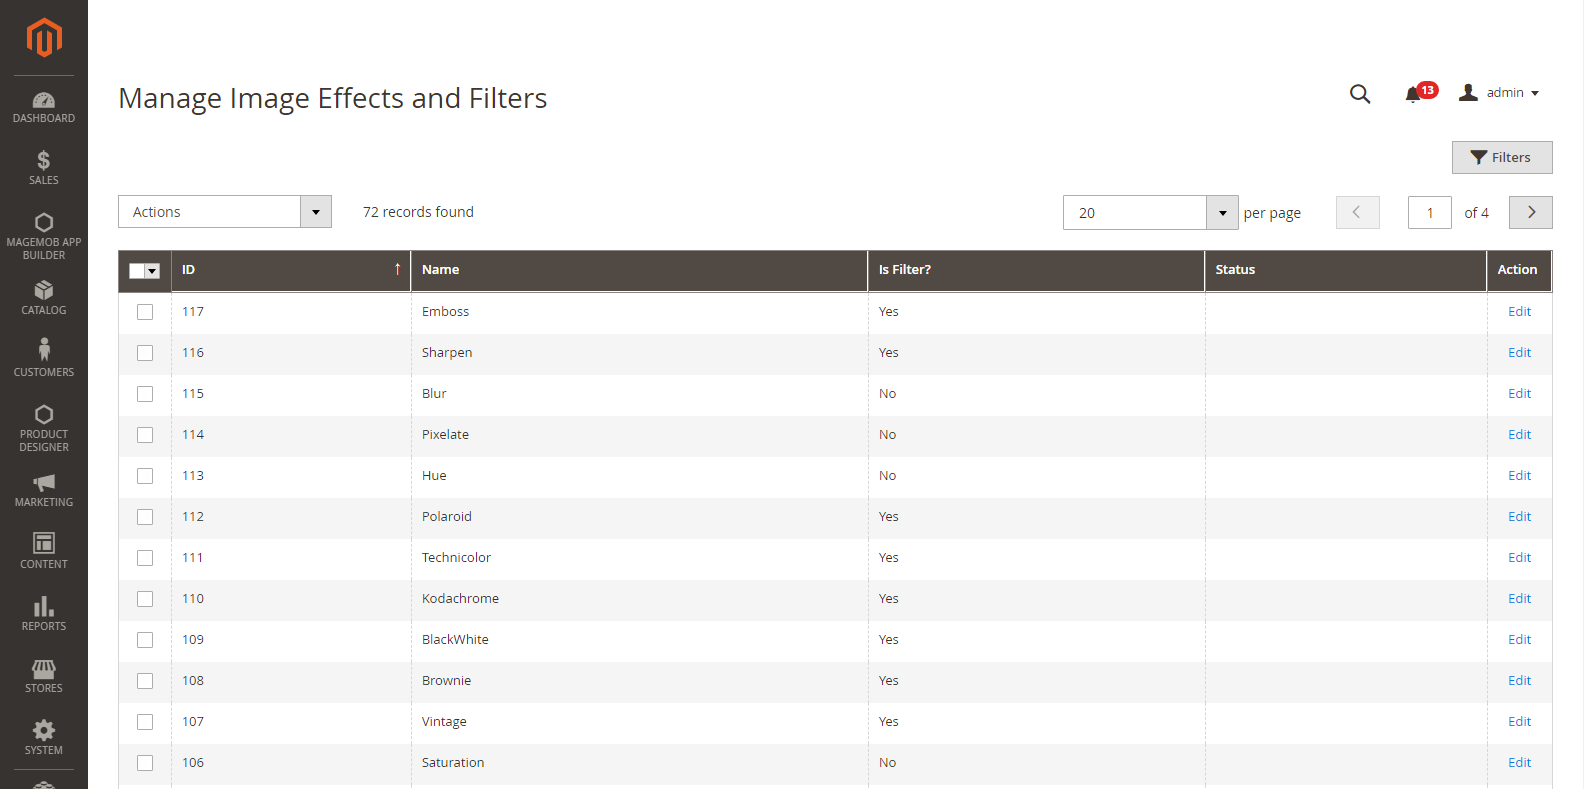
To edit and manage the Image effects, go to Product Designer → Manage Image effects and filters
Here, you can view the list of Image effects with the details like ID, Name of Image effects default Status and Actions.
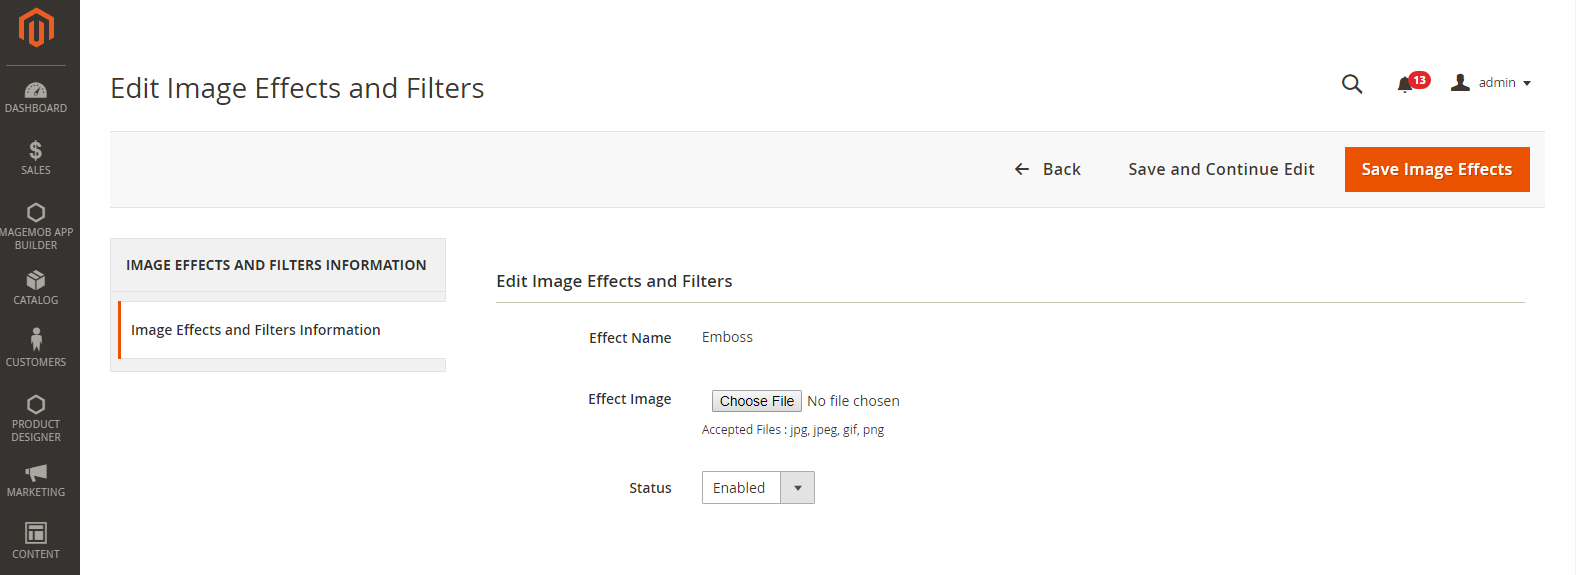
To ‘Edit’ any of the image effects from the list, click on the “Edit” option. By clicking on it, you will be redirected to the Edit Image effects page.
Effect Image: To update the image for it, click on ‘Choose File’ button and select the file to be uploaded.
Status: Choose the current status of it. (Enable/Disable)
After editing, click on ‘Save’ button to save the changes.
Note: Image effects are part of the Premium package.
Front End View
Image Filters
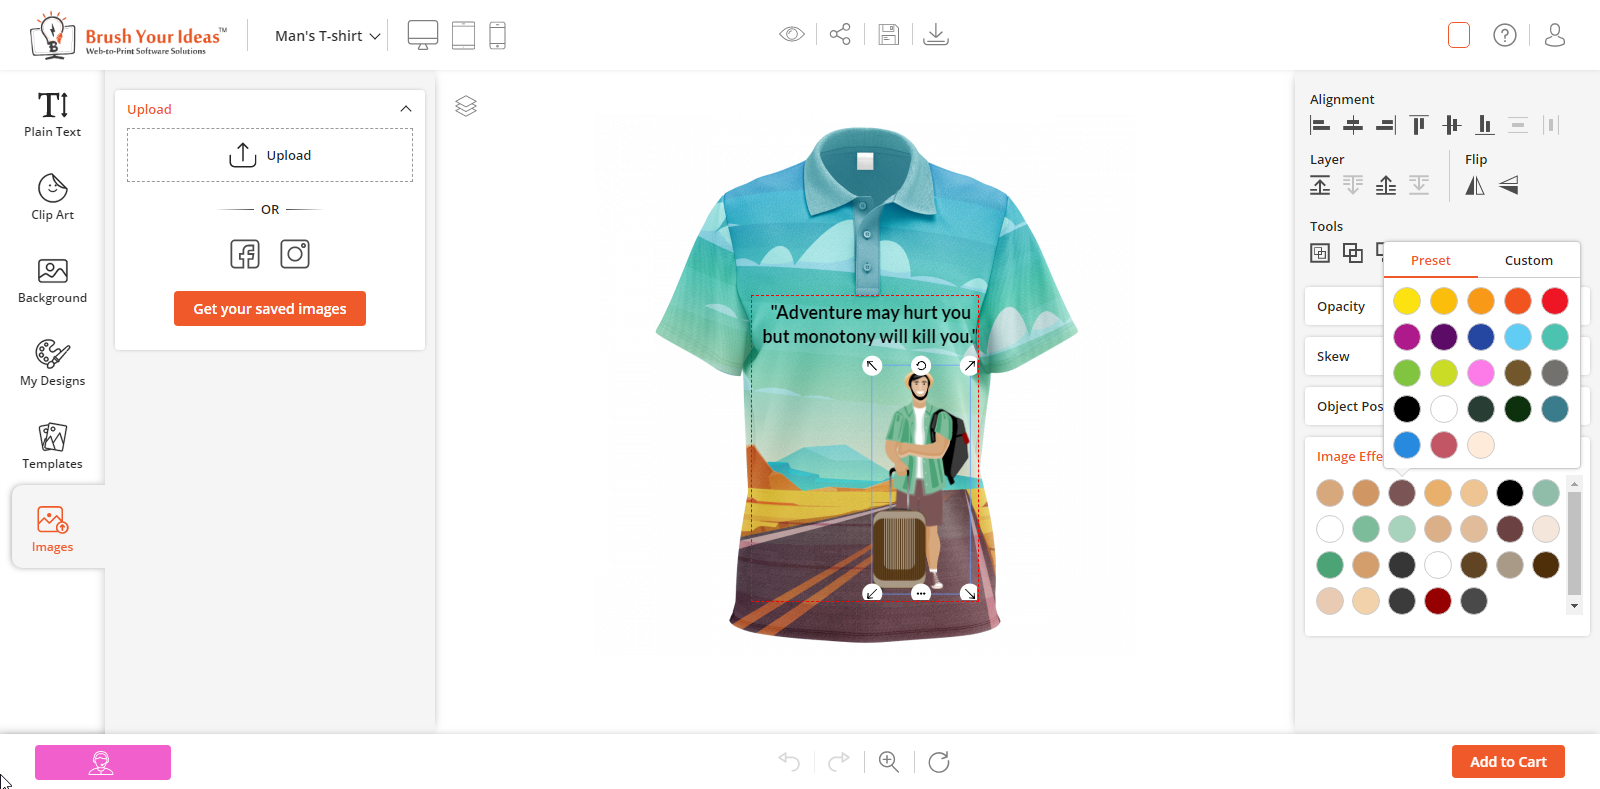
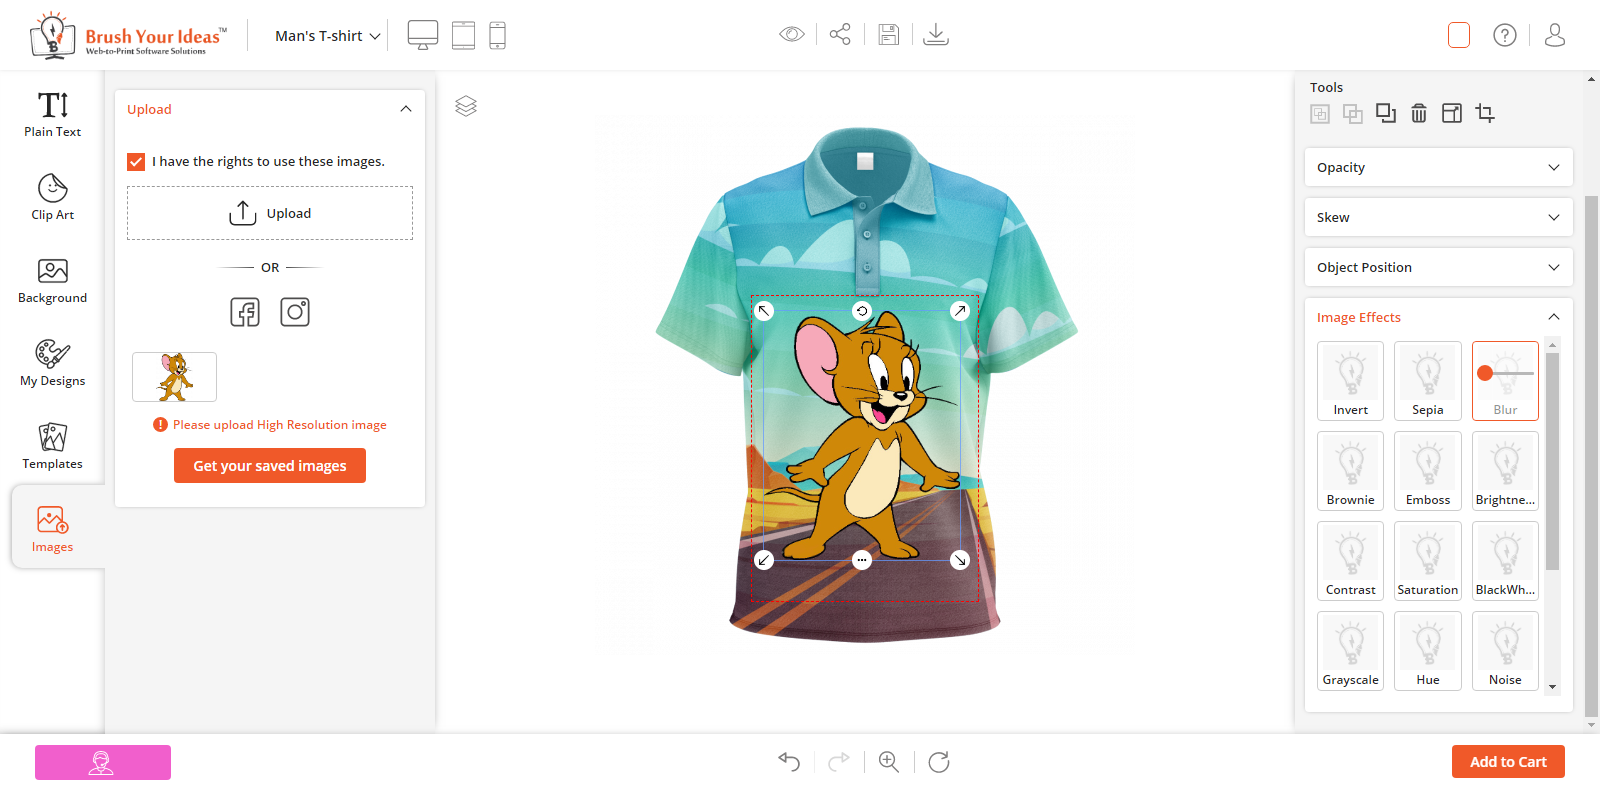
Once image effects have been configured and managed from the Back End, your customers can view the Image Filters in the Designer Tool (right side).
When the customers will upload an image from the “Upload Image” option or Clipart (PNG, JPG) and add to the canvas, the Image Effects tool will be displayed in the designer tool (right side).
Note: These Image Filters will apply only if the file format of an image is JPEG & PNG. But, if the file format is SVG, the customers can only change the internal colors of that image.
